Tools, parts and what you need for guitarmaking

-
Tools & Jigs
-
Tools
- Fretting Tools (Base)
- Pliers
- Sanding Blocks
- Brushes
- Files
- Routers
- Routing Templates
- Templates / Straight Edges
- Fretting Templates - Fret Scale Templates
- Clamps
- Knives
- Measuring Tools
- Tool Sets
- Reamer
- Keys, Wrenches
- Drill Jigs
- Saws
- Drill Bits
- Scrapers
- Bending Irons
- Other Tools
- Fret Hammer
- Fret Pressing
- Fretboard Protector
- Fret Bender & Tang Nipper
- ... More
- Jigs for Luthiers
-
Tools
-
Hardware & Parts
- Necks & Bodies
- Tuners
-
Hardware / Parts
- Truss Rods
- Carbon / Titan Reinforcement
- Trussrod Nuts
- Washer for truss rods
- Bridge Pins
- End Pins
- Bridges & Tailpieces E-Guitar
- Bridges & Tailpieces
- Covers
- Pickguards / Scratch Plates
- Strap Locks
- Bridge Accessories / Spare Parts
- Screws, Nuts, Washers
- Neck Attachement
- String-Ferrules
- Jack plates
- Control Plates
- String Retainer / String Trees
- knobs (pots/switch)
- Relic Parts
- ... More
- Nuts & Saddles
- Fret Wire
- Pickups & Electronics
- Materials & Supplies
- How-to
- Guitar Making
Shop Startpage Guitar Making Luthiery E-Git (CHRISTIAN) Fretboard
The Preparation of the Fretboard Inlays - "Birds"
I'm already going a bit deeper with the description below - more about this can be found in the other projects
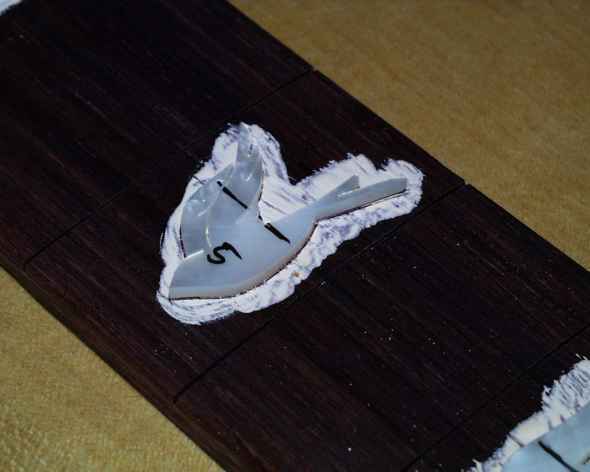
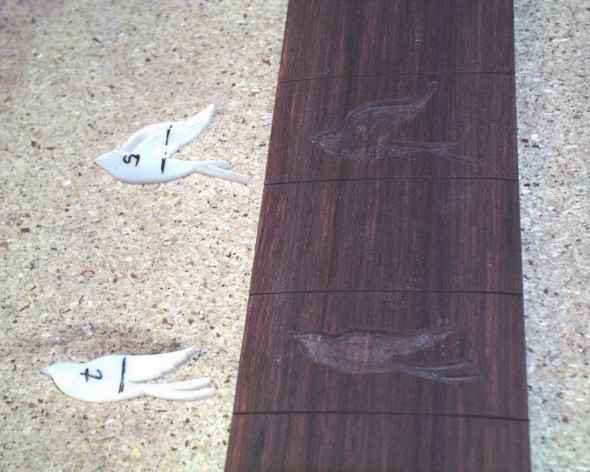
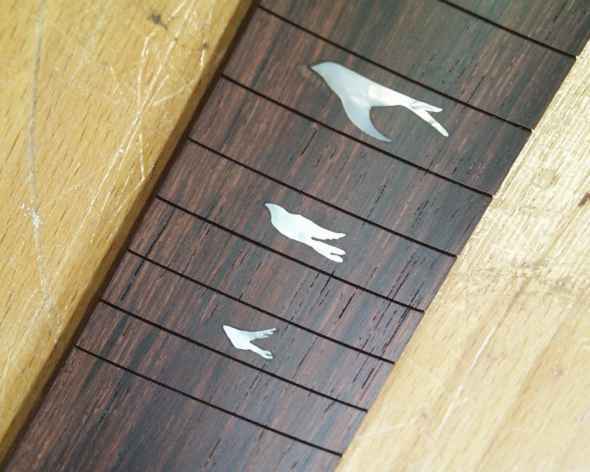
The inlays are made of real mother of pearl and show a swallow in flight. At the later milling points these are aligned on surfaces painted with Plaka colors and fixed with a small drop of super glue.
With a pointed scalpel I follow the outside to create an impression. Now carefully lever with the knife between the wood and the inlay to remove it.
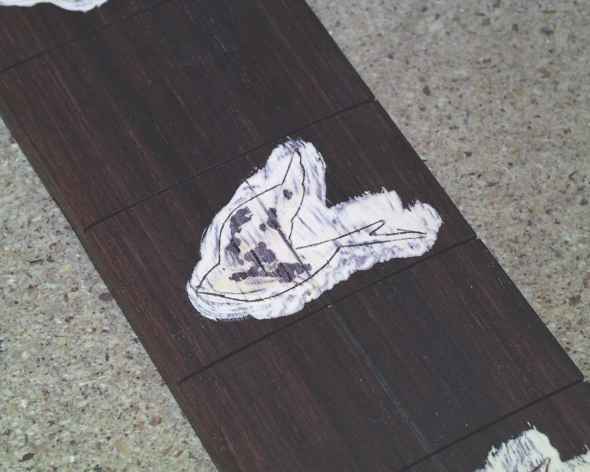
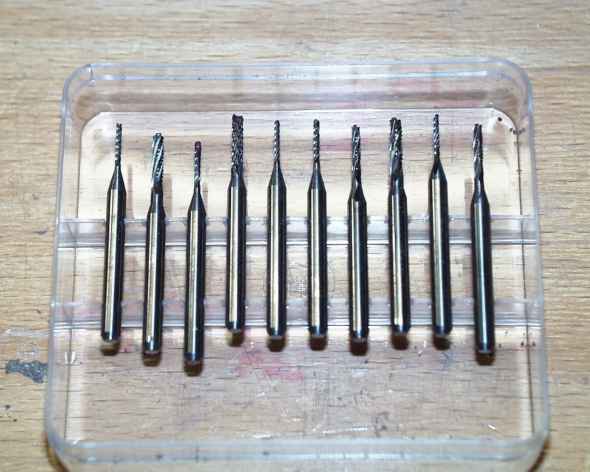
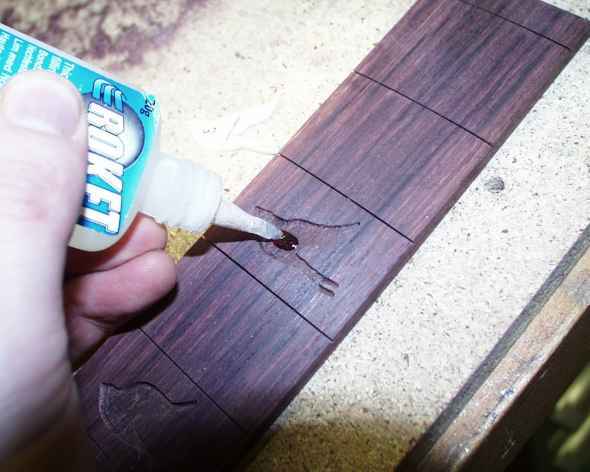
After the contours of the inlays have been drawn, they must now be worked out with a small, sharp milling cutter.
The Dremel is used to mill along the marked structure to the depth of the insole. A little bit (1-3/10mm) should protrude!
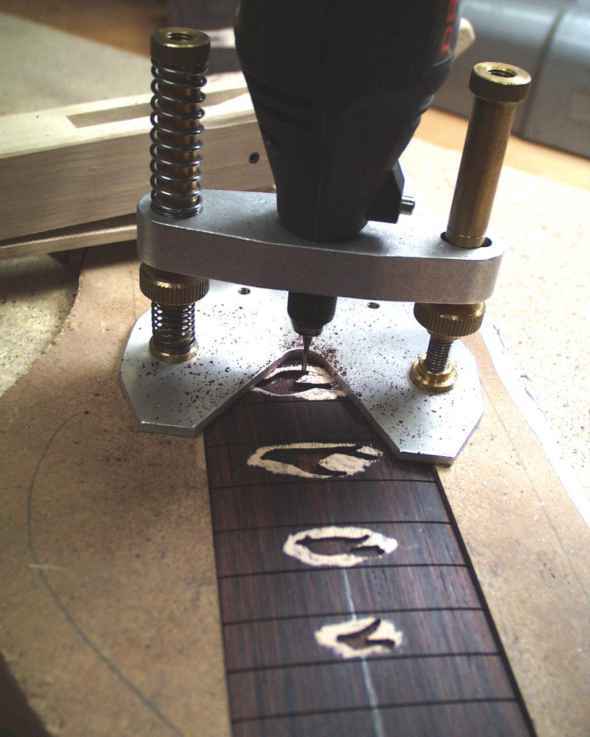
To prevent the router from wobbling on the fretboard radius, there are boards of corresponding height on the right and left.
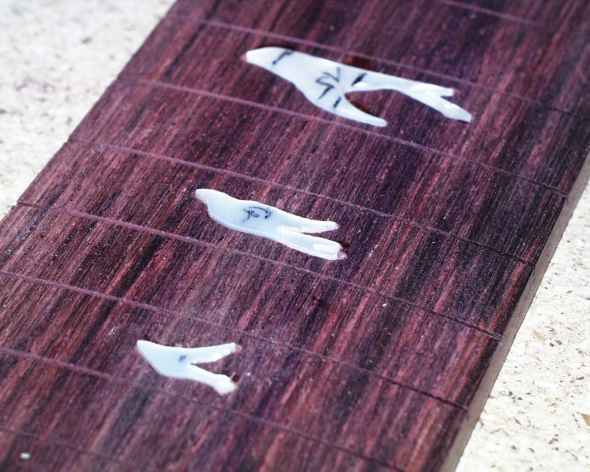
Test the fit and remove the paint with sandpaper.
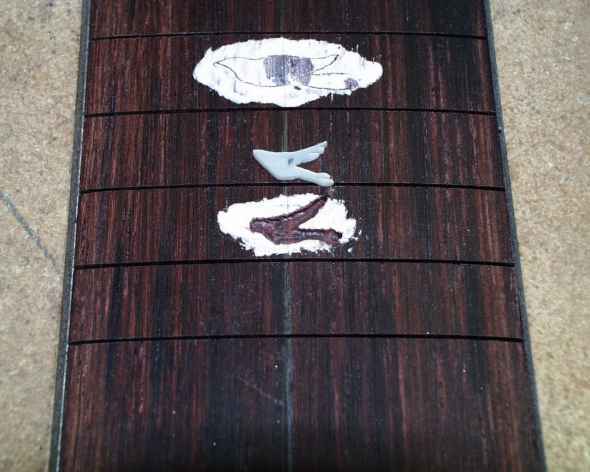
Fill the base with some superglue and then press the inlay firmly.
If the inserts are glued, they look like this:
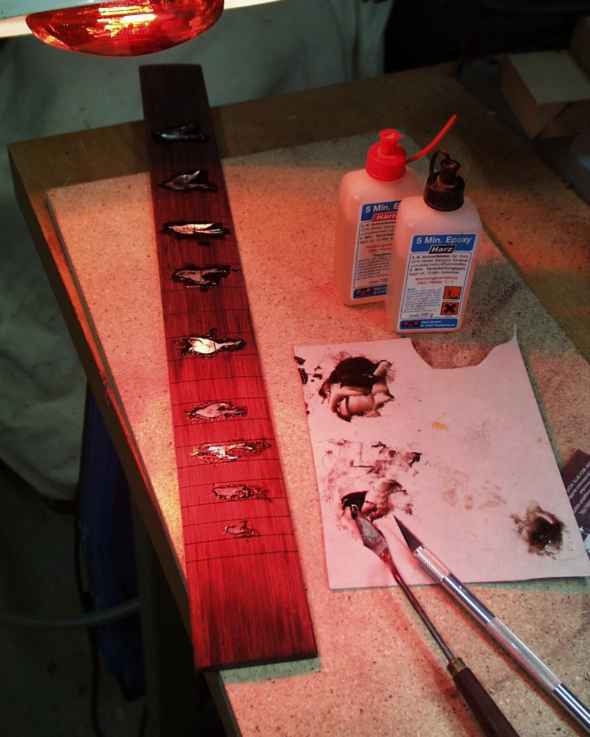
The open, small gaps are filled with 5min epoxy. To make sure the glue has the same color as the fretboard, I collect fine sanding dust from the fretboard and mix it under the glue.
With a little heat the adhesive flows better. For this reason I use a red light bulb for preheating.
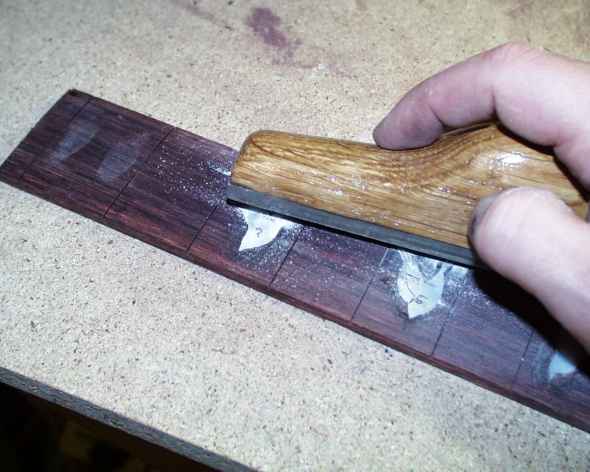
With a file the excess of the inlays and the glue can be easily removed.
Finished inlays:


|
Rall Guitars & Tools Hauptstrasse Tel +49 (0) 8803-48856-56 Retail Shop: By appointment only
|
Subscribe our Newsletter By subscribing our newsletter you accept our Privacy Policy and Terms and Conditions. |