Tools, parts and what you need for guitarmaking

-
Tools & Jigs
-
Tools
- Fretting Tools (Base)
- Pliers
- Sanding Blocks
- Brushes
- Files
- Routers
- Routing Templates
- Templates / Straight Edges
- Fretting Templates - Fret Scale Templates
- Clamps
- Knives
- Measuring Tools
- Tool Sets
- Reamer
- Keys, Wrenches
- Drill Jigs
- Saws
- Drill Bits
- Scrapers
- Bending Irons
- Other Tools
- Fret Hammer
- Fret Pressing
- Fretboard Protector
- Fret Bender & Tang Nipper
- ... More
- Jigs for Luthiers
-
Tools
-
Hardware & Parts
- Necks & Bodies
- Tuners
-
Hardware / Parts
- Truss Rods
- Carbon / Titan Reinforcement
- Trussrod Nuts
- Washer for truss rods
- Bridge Pins
- End Pins
- Bridges & Tailpieces E-Guitar
- Bridges & Tailpieces
- Covers
- Pickguards / Scratch Plates
- Strap Locks
- Bridge Accessories / Spare Parts
- Screws, Nuts, Washers
- Neck Attachement
- String-Ferrules
- Jack plates
- Control Plates
- String Retainer / String Trees
- knobs (pots/switch)
- Relic Parts
- ... More
- Nuts & Saddles
- Fret Wire
- Pickups & Electronics
- Materials & Supplies
- How-to
- Guitar Making
Shop Startpage Guitar Making Luthiery 000-Standard Binding
Production of Bindings
Another requirement for a beautiful instrument is a long life span, despite extensive use. The corner joints between top and sides, or back and sides, which are sensitive to impact, should be mentioned here. For reinforcement, impact-resistant materials such as plastics or very hard woods are often used. Since everything in instrument making has to be not only functional but also beautiful, these trims (also called bindings) also have a high aesthetic character. A beautiful decorative strip is built up and glued with a functional plastic strip consisting of several layers. First the "beautiful": On the ceiling I use a "Herringbone Strip" - a fishbone strip. This was named after the diagonal approach of the veneer strips and can be found in almost all expensive models of the company C. F. Martin. I would like to mention in passing that these strips were almost exclusively sent overseas from Bavaria until WWII caused an import stop. The production of decorative stripes and tonewood has always been a domain of the Germans.
 |
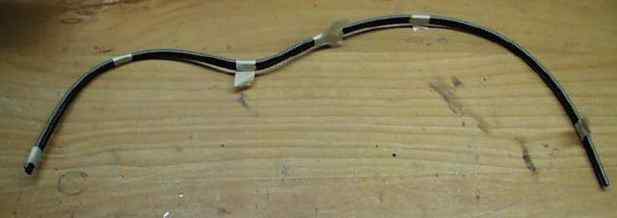 |
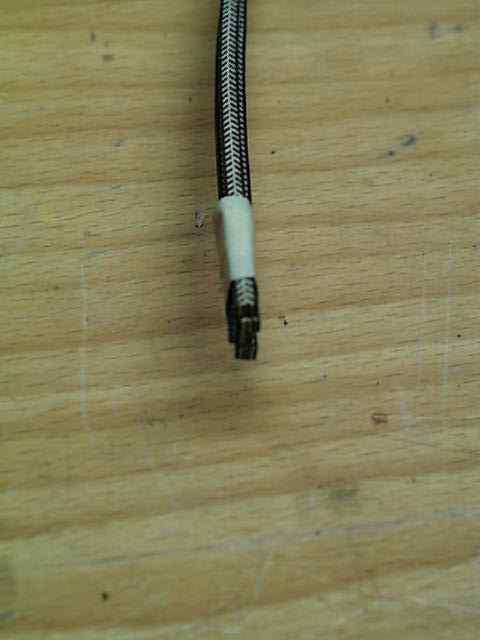
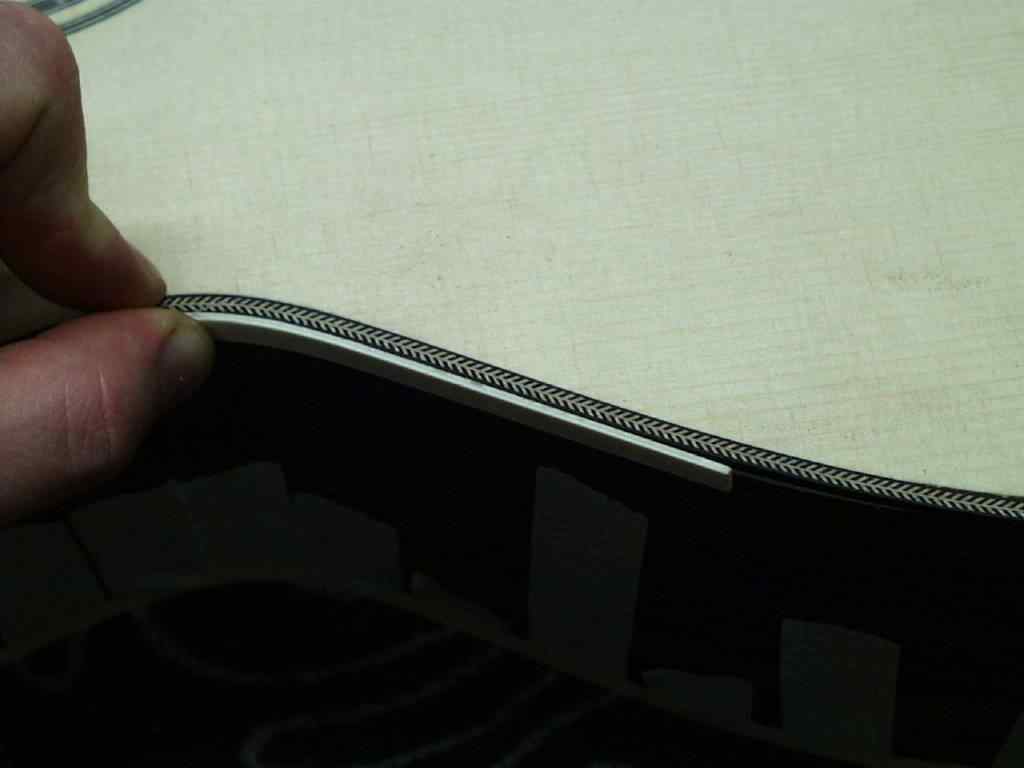
The decorative strips must be pre-formed before application, otherwise it will tear. Since I use a Foxbender to bend the sides, the same can be done for the decorative strips. First I put them into the bathtub for 2 minutes to suck water and then into the preheated device. Make sure that the strips do not fold over and dry in this position - they would be destroyed. To prevent this from happening, I pack the ornamental shavings with adhesive strips to each other, so they form a unit.
 |
 |
I make the millings for the decorative strips with my binding milling device. I try out the depths and widths on squared timbers before transferring this setting to the real guitar. You can also find the matching cutters in the shop.
 |
Both the decorative strip and the white plastic strip are glued on at once. The decorative strip transition at the end of the body must fit. The blunt ends of the strips must be worked with the chisel and file so that the fishbones merge evenly. The beginning of the white ABS plastic, on the other hand, must be placed against the neck block. Since these strips are sold in 1.7m pieces, these bindings can be made in one piece.
 |
 |
For gluing wood and plastic I use here "UHU crystal clear". The glue should contain solvents for plastics (such as acetone) and harden afterwards firmly and without discoloration. If black and white stripes are added beside the ABS, these plastic stripes can only be joined by using acetone. The affected areas are wetted with a brush and then fixed in the desired shape. Over the years I also used ABS glue from model making. I finally ended up with Ruderers L 530 TF. Also available in the shop.
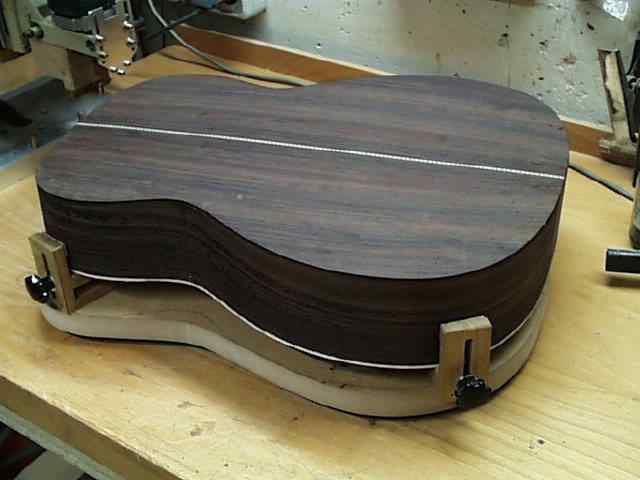
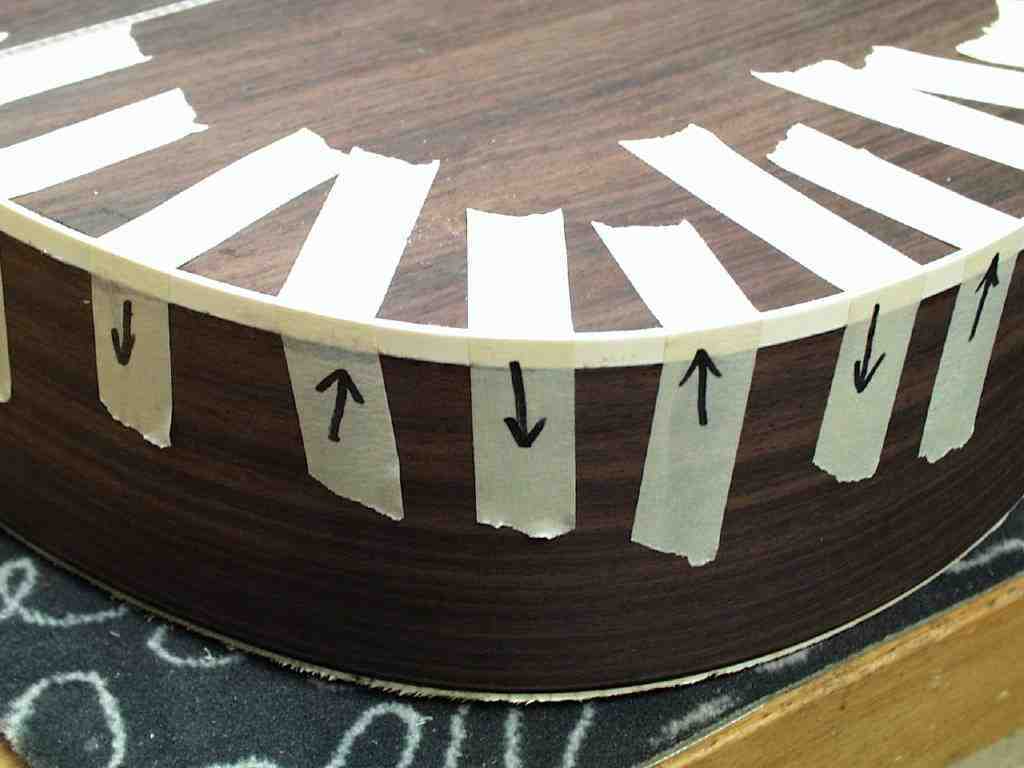
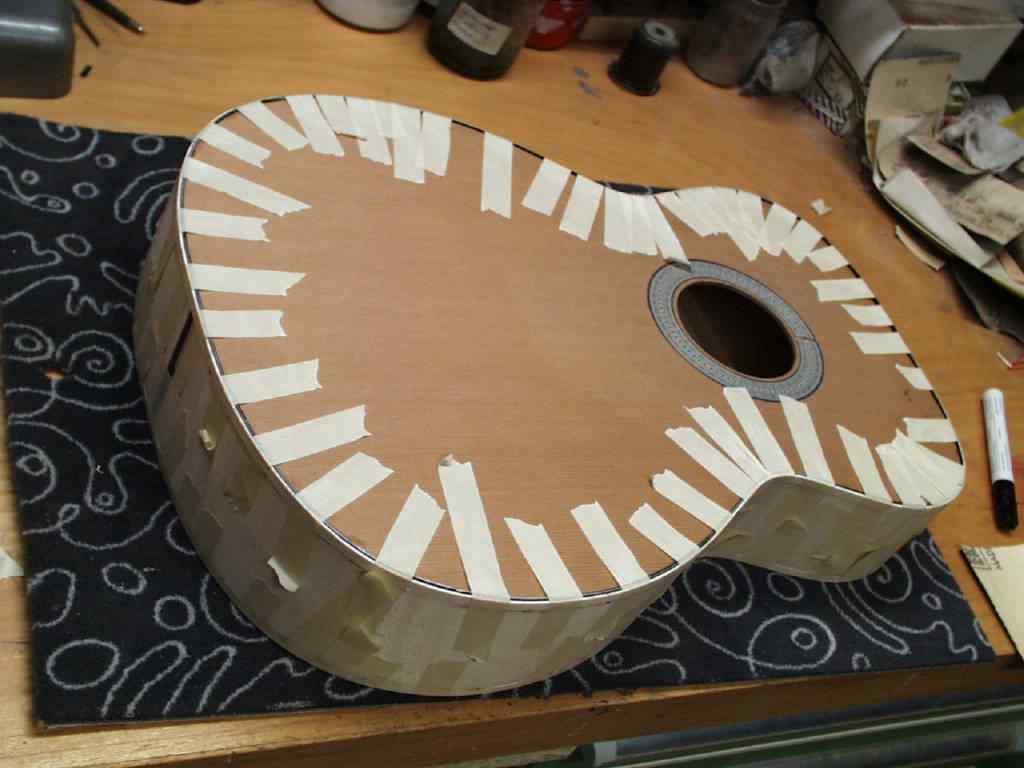
But before you fix the decorative strips, you need about 30 adhesive strips per side of the frame, already cut off and ready to hand. As you can see in the picture, you alternately glue the strip from the frame and from the bottom and then pull the strip and the glue tight. This alternation gives an even glueing and a closed glue gap.
 |
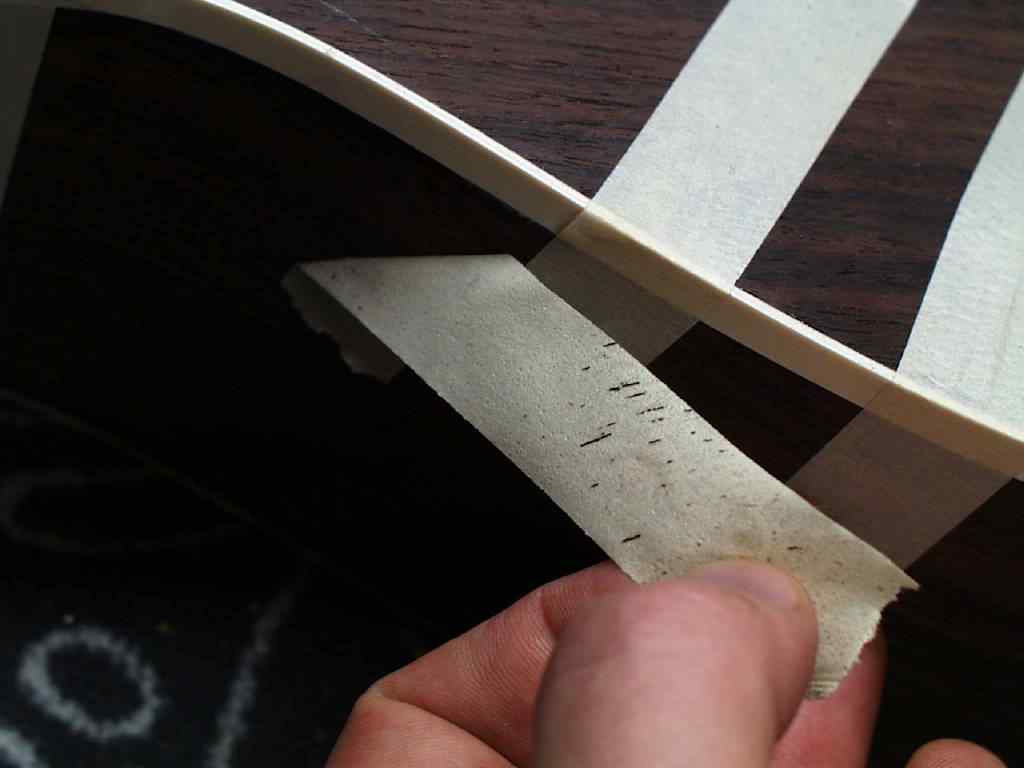 |
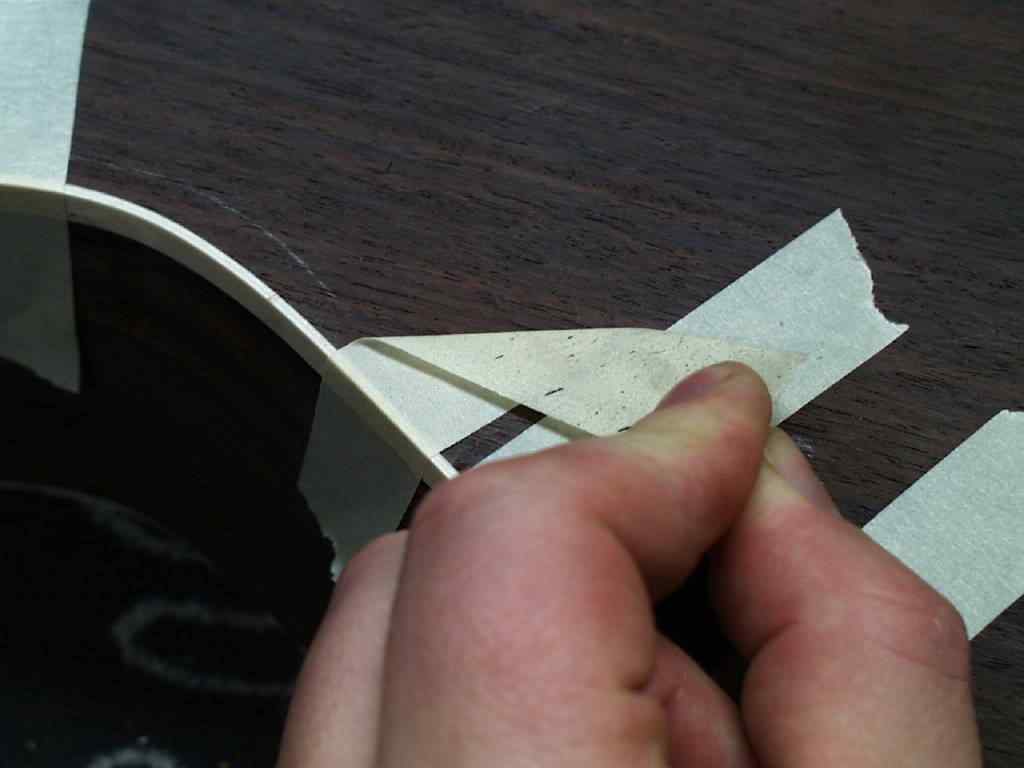
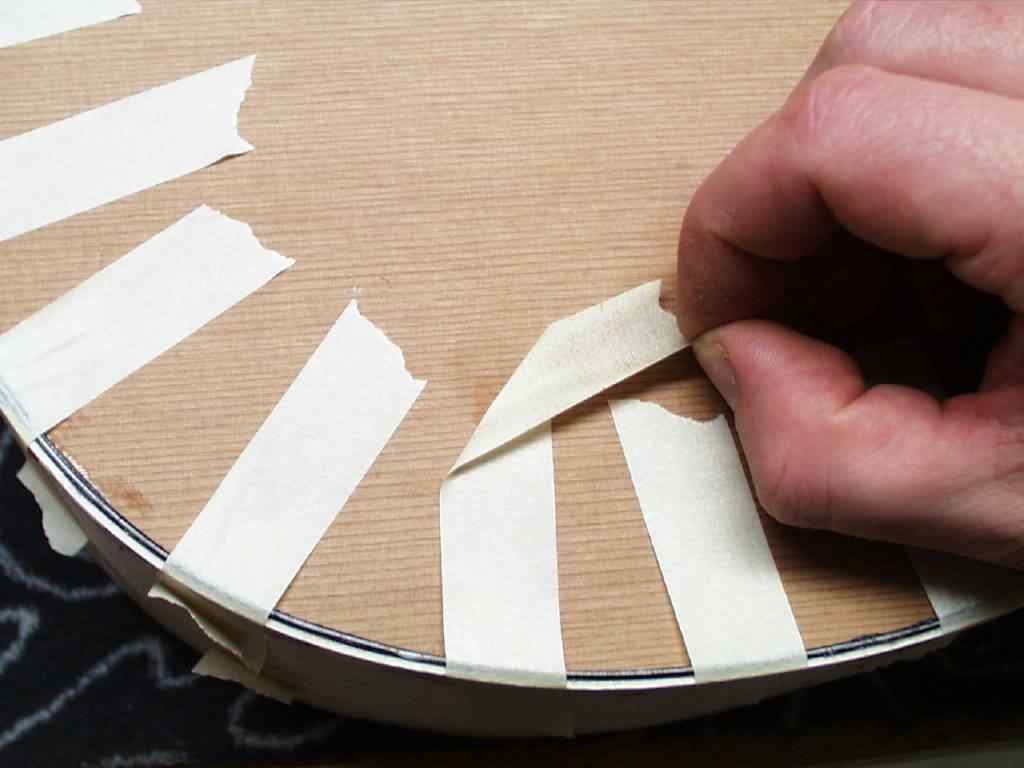
Overnight I let the glued bodies dry. The adhesive strips are removed carefully, as shown in the picture above. Once the beginning of the tape is removed, it is pulled off at the corner to carefully loosen the wood. This is especially important with ceiling wood, especially the cedar is very sensitive.
 |
|
 |
 |
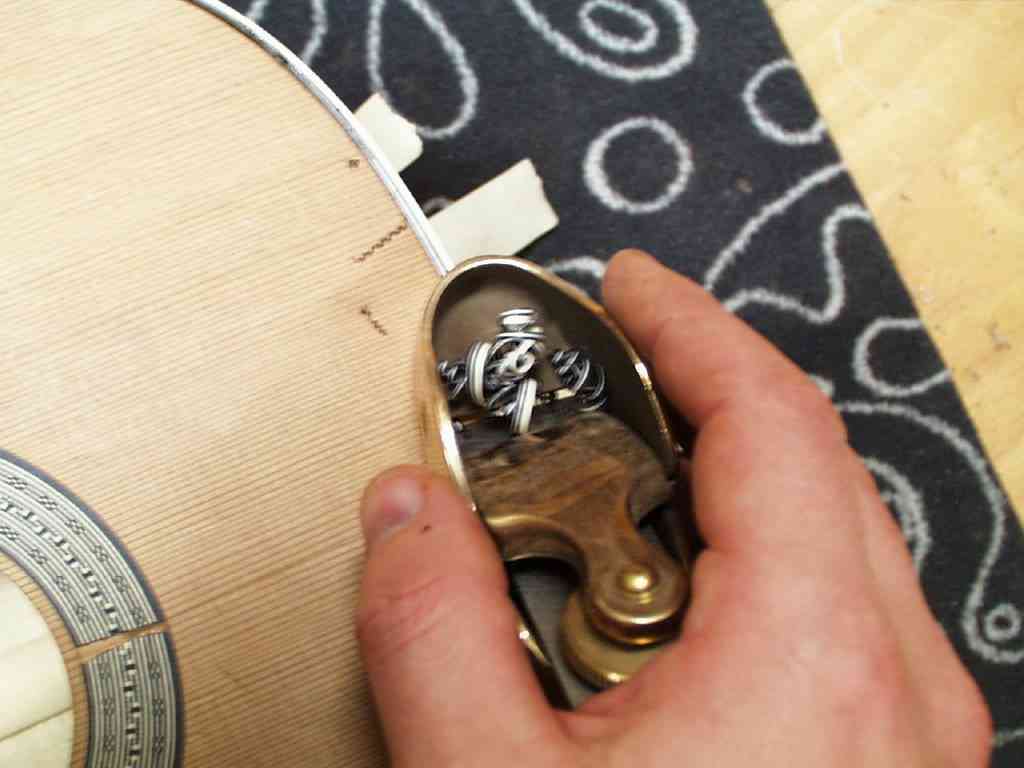
By planing or with scraper and sandpaper the overhangs are levelled. The blackish herringbone has to be sanded down on the ceiling especially before the edges. There is a danger that the black color particles will stick to the light wood of the ceiling and discolor it.
 |
 |
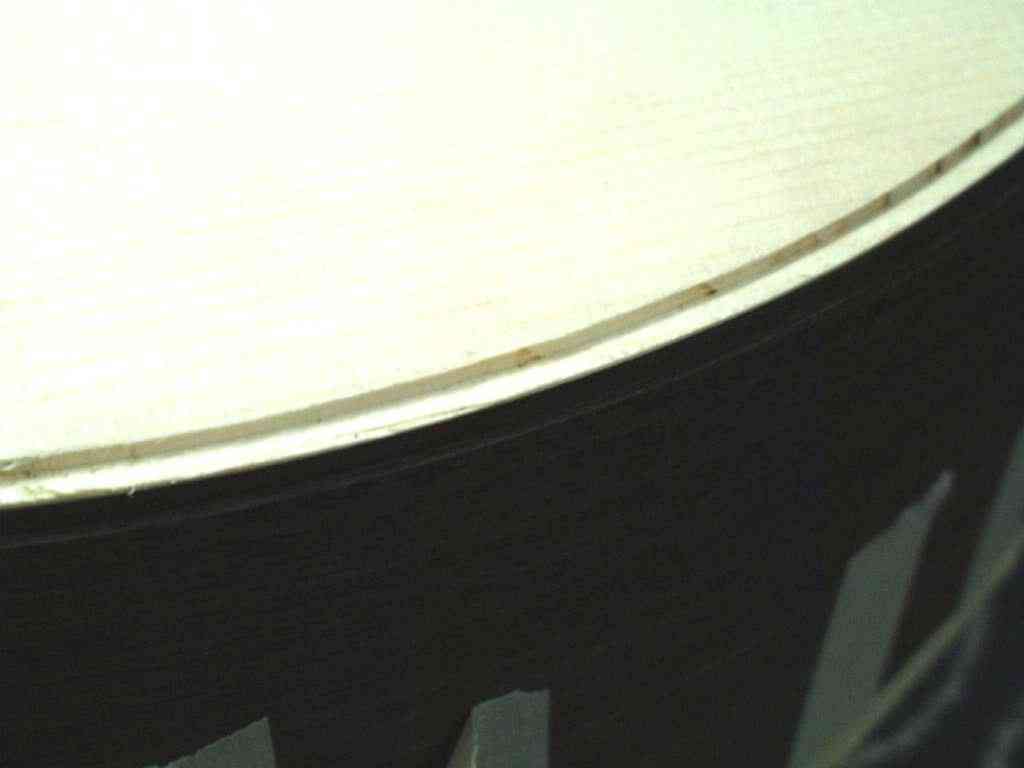
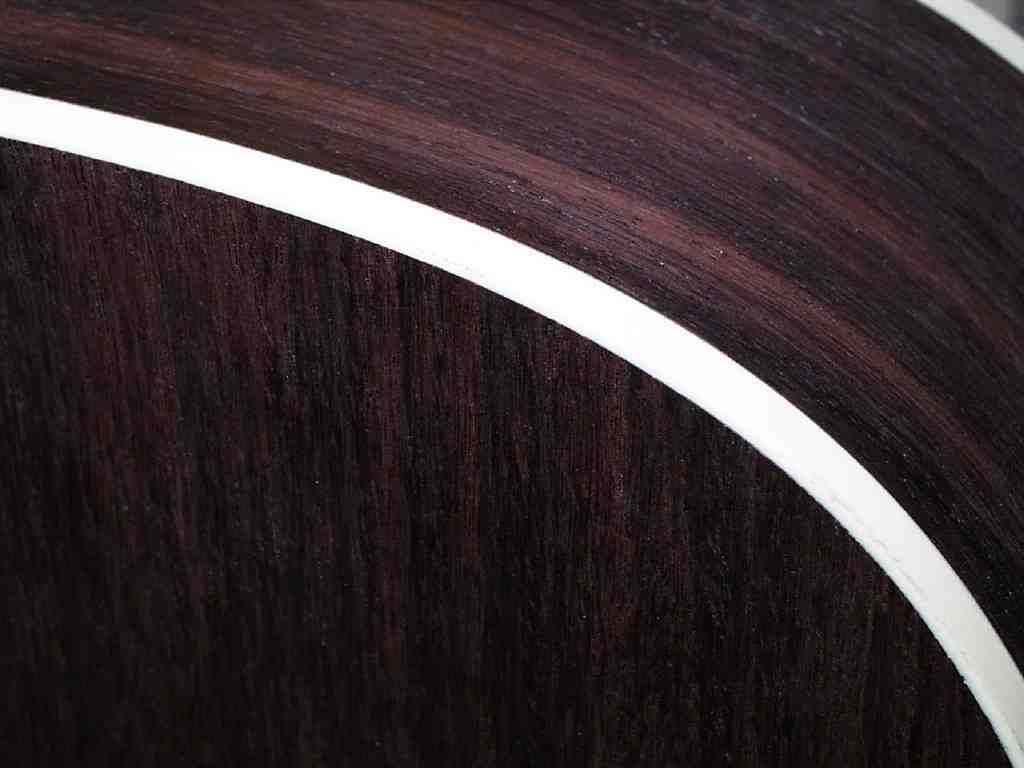
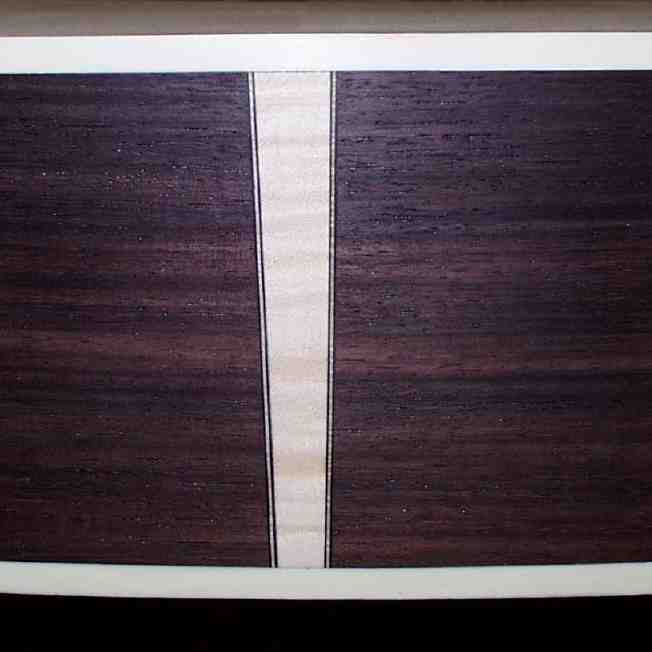
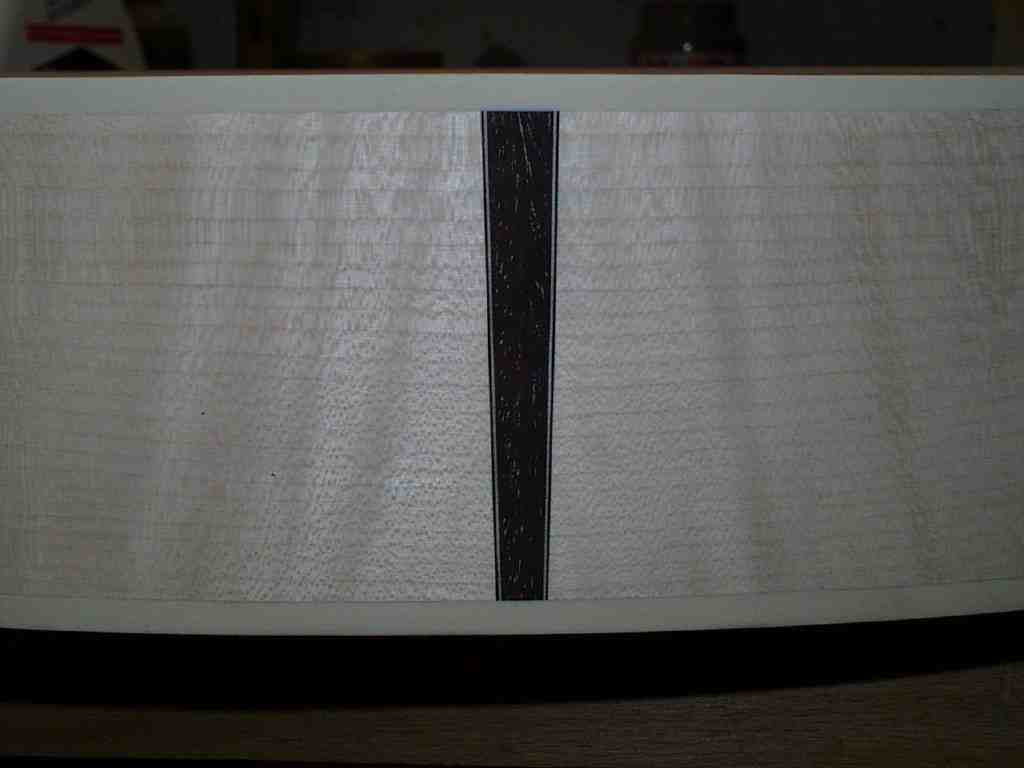
This is what the finished bindings look like in the top and bottom:
 |
 |
The frames are closed to each other by the end inserts. Dark rosewood is contrasted with light maple.
 |
 |

|
Rall Guitars & Tools Hauptstrasse Tel +49 (0) 8803-48856-56 Retail Shop: By appointment only
|
Subscribe our Newsletter By subscribing our newsletter you accept our Privacy Policy and Terms and Conditions. |