Tools, parts and what you need for guitarmaking

-
Tools & Jigs
-
Tools
- Fretting Tools (Base)
- Pliers
- Sanding Blocks
- Brushes
- Files
- Routers
- Routing Templates
- Templates / Straight Edges
- Fretting Templates - Fret Scale Templates
- Clamps
- Knives
- Measuring Tools
- Tool Sets
- Reamer
- Keys, Wrenches
- Drill Jigs
- Saws
- Drill Bits
- Scrapers
- Bending Irons
- Other Tools
- Fret Hammer
- Fret Pressing
- Fretboard Protector
- Fret Bender & Tang Nipper
- ... More
- Jigs for Luthiers
-
Tools
-
Hardware & Parts
- Necks & Bodies
- Tuners
-
Hardware / Parts
- Truss Rods
- Carbon / Titan Reinforcement
- Trussrod Nuts
- Washer for truss rods
- Bridge Pins
- End Pins
- Bridges & Tailpieces E-Guitar
- Bridges & Tailpieces
- Covers
- Pickguards / Scratch Plates
- Strap Locks
- Bridge Accessories / Spare Parts
- Screws, Nuts, Washers
- Neck Attachement
- String-Ferrules
- Jack plates
- Control Plates
- String Retainer / String Trees
- knobs (pots/switch)
- Relic Parts
- ... More
- Nuts & Saddles
- Fret Wire
- Pickups & Electronics
- Materials & Supplies
- How-to
- Guitar Making
Shop Startpage Guitar Making Luthiery 000-Standard Finishing
Finishing 000-Standard
With the paint finish, the icing on the cake is the many hours of hard work. If this work is not done very carefully, you can watch the disaster every time you play and get annoyed again - not my case!
 |
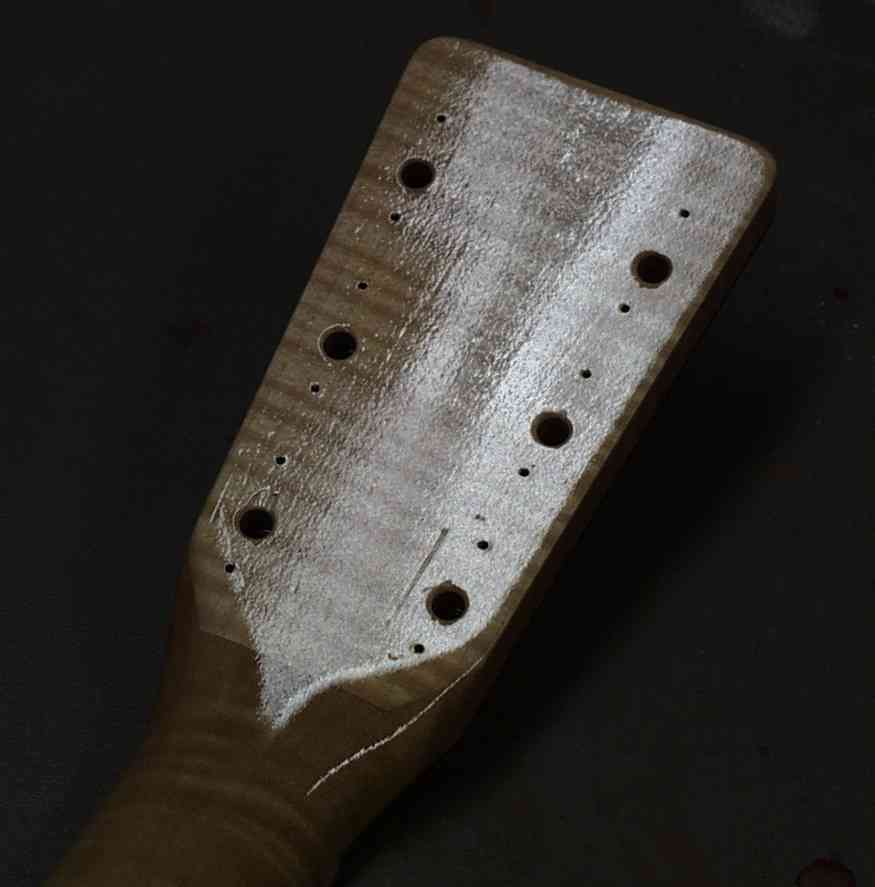
The pores of the bodies and the mahogany of the neck must be filled as a base layer. For this I use a Grain Filler from the company Behlen. Because the color mixing is not easy, you can also use colorless paint primers.
 |
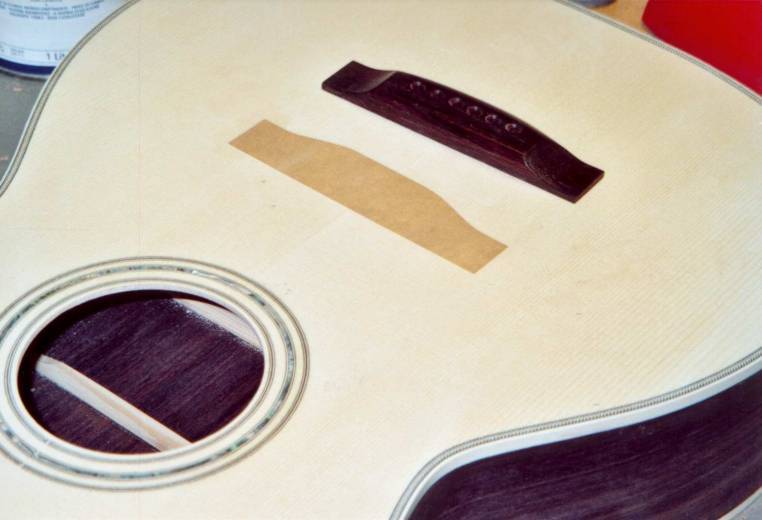 |
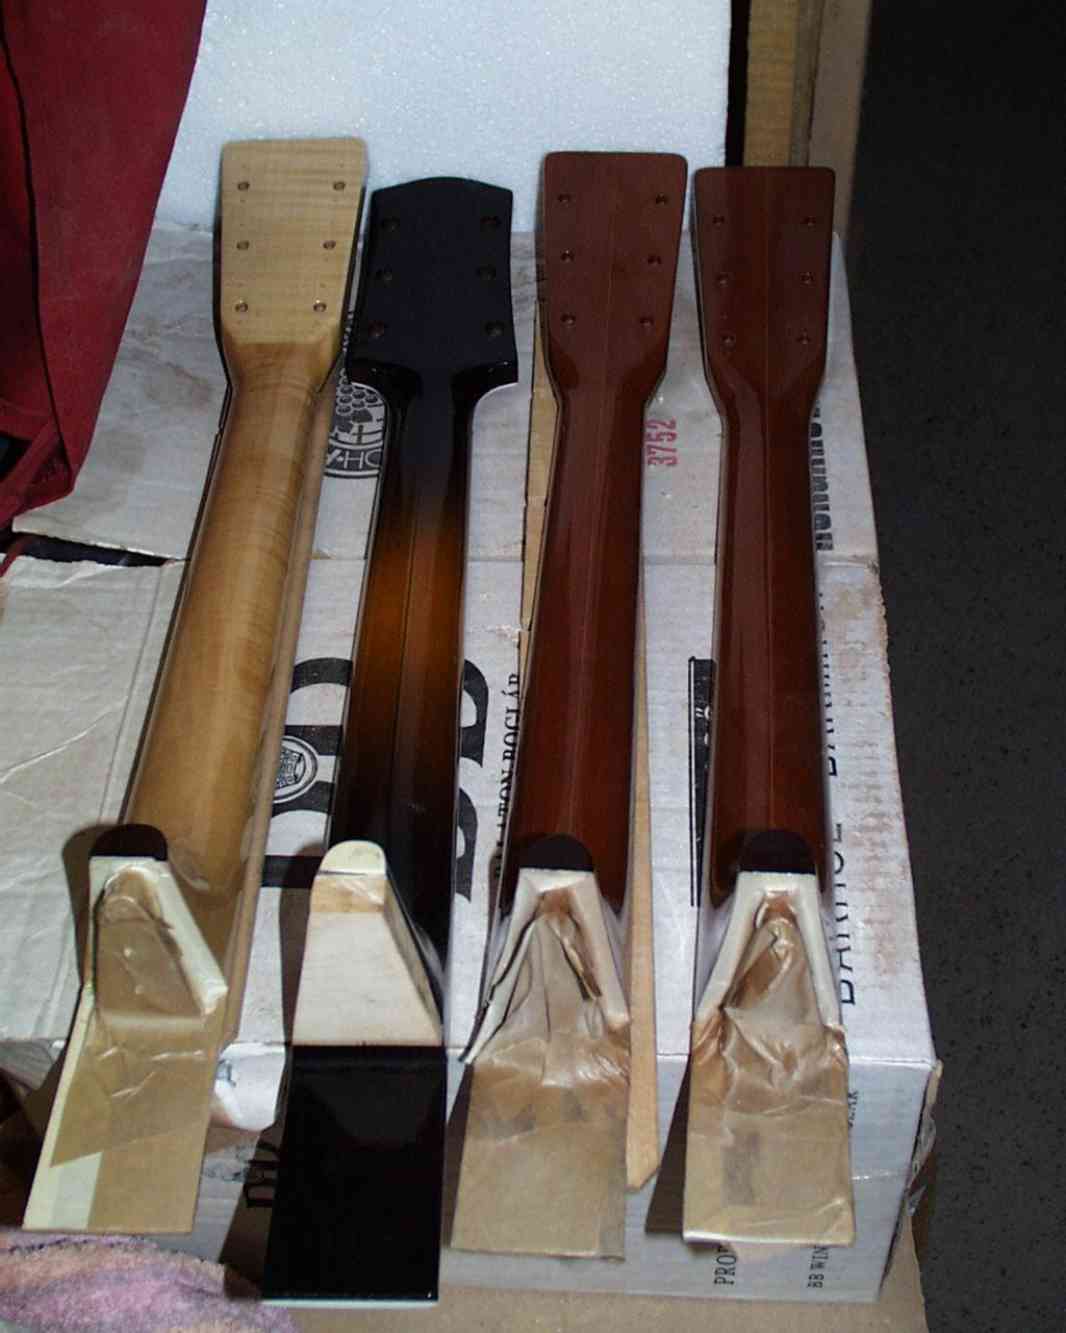
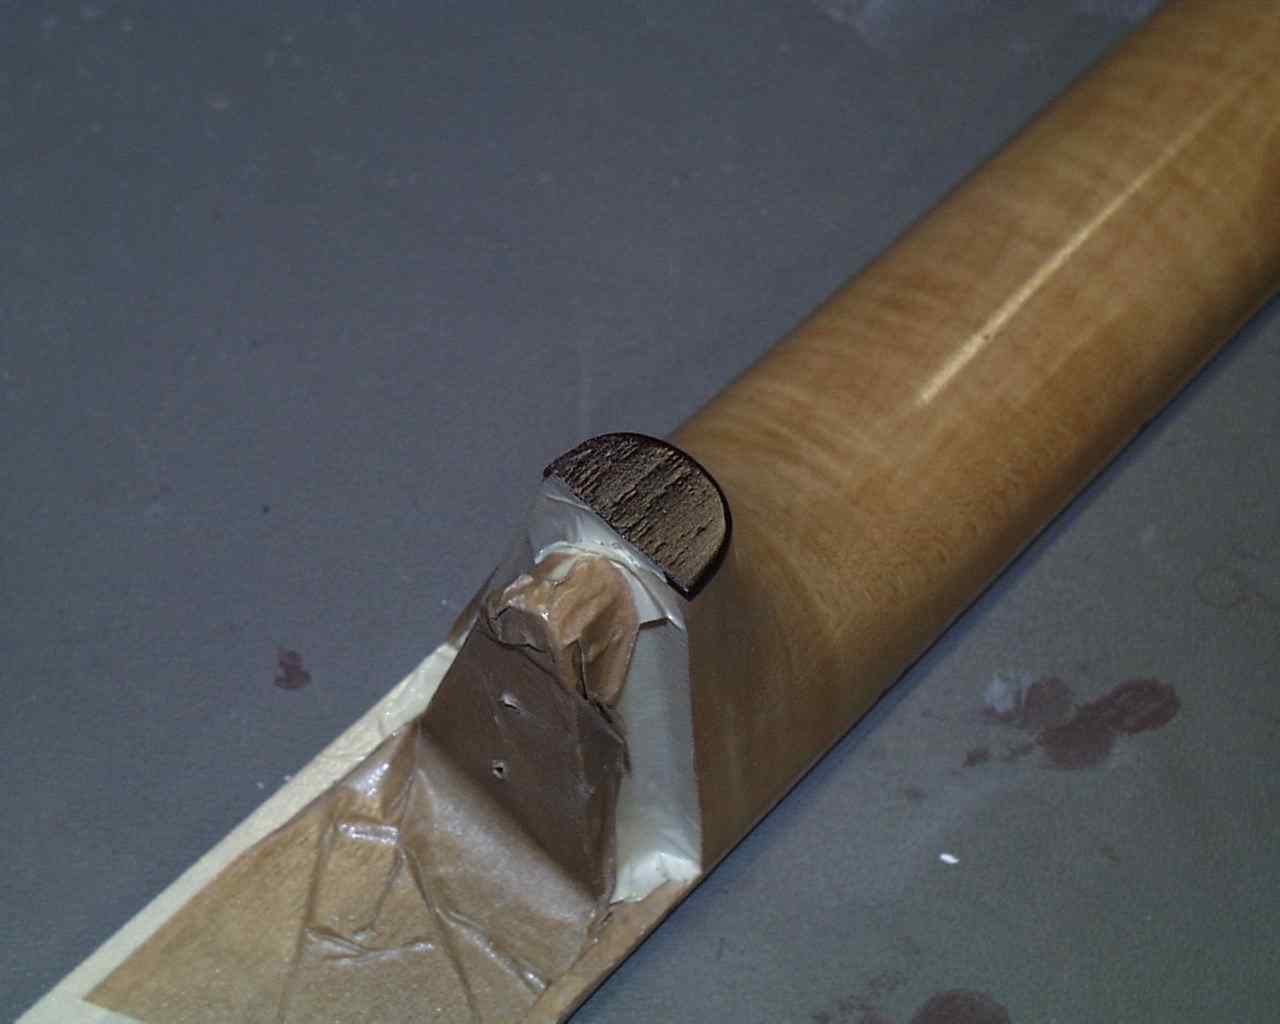
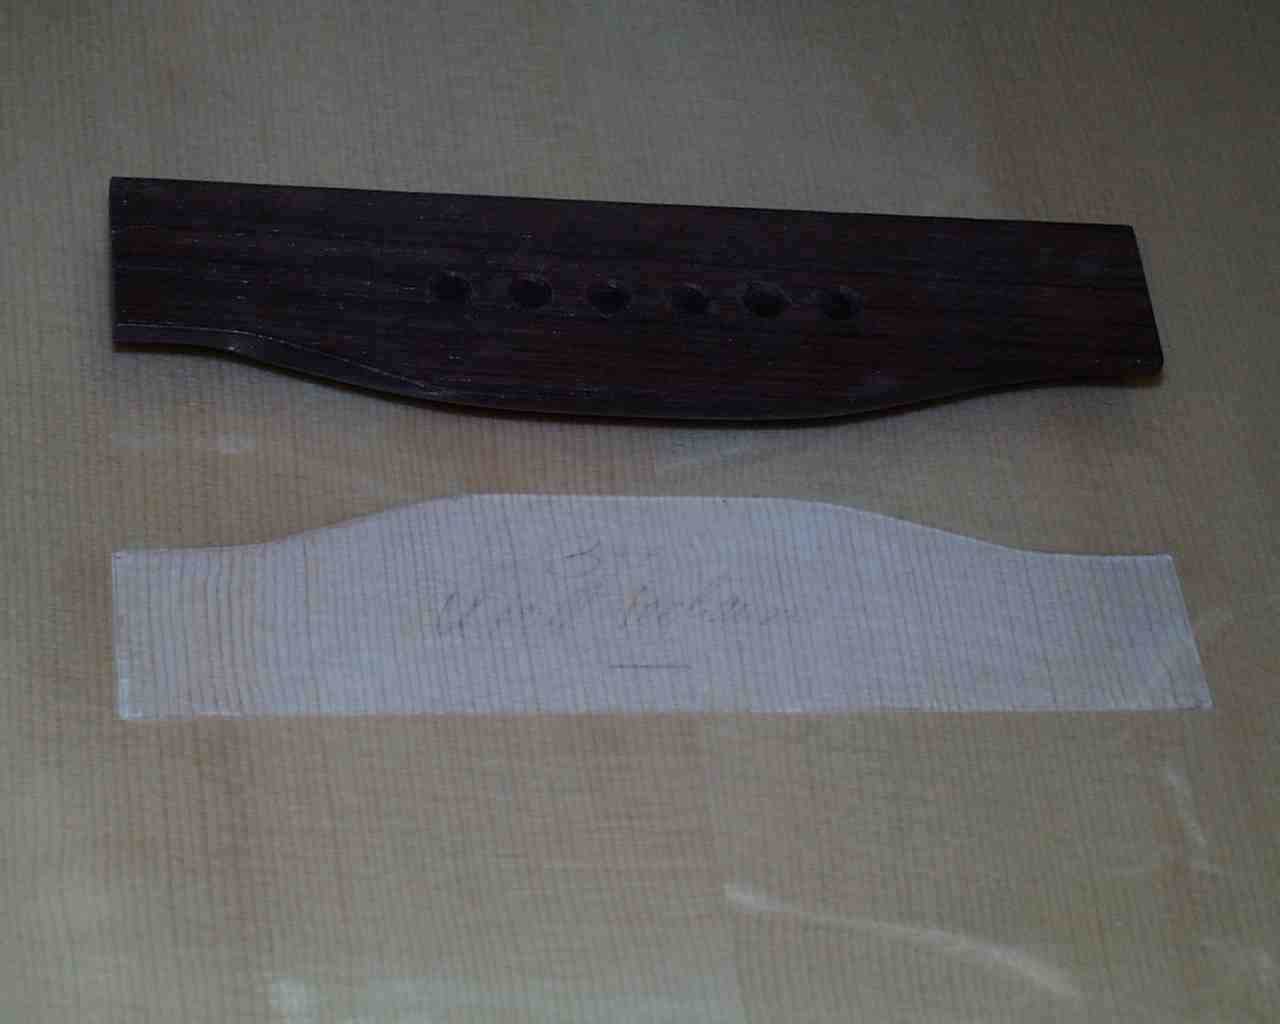
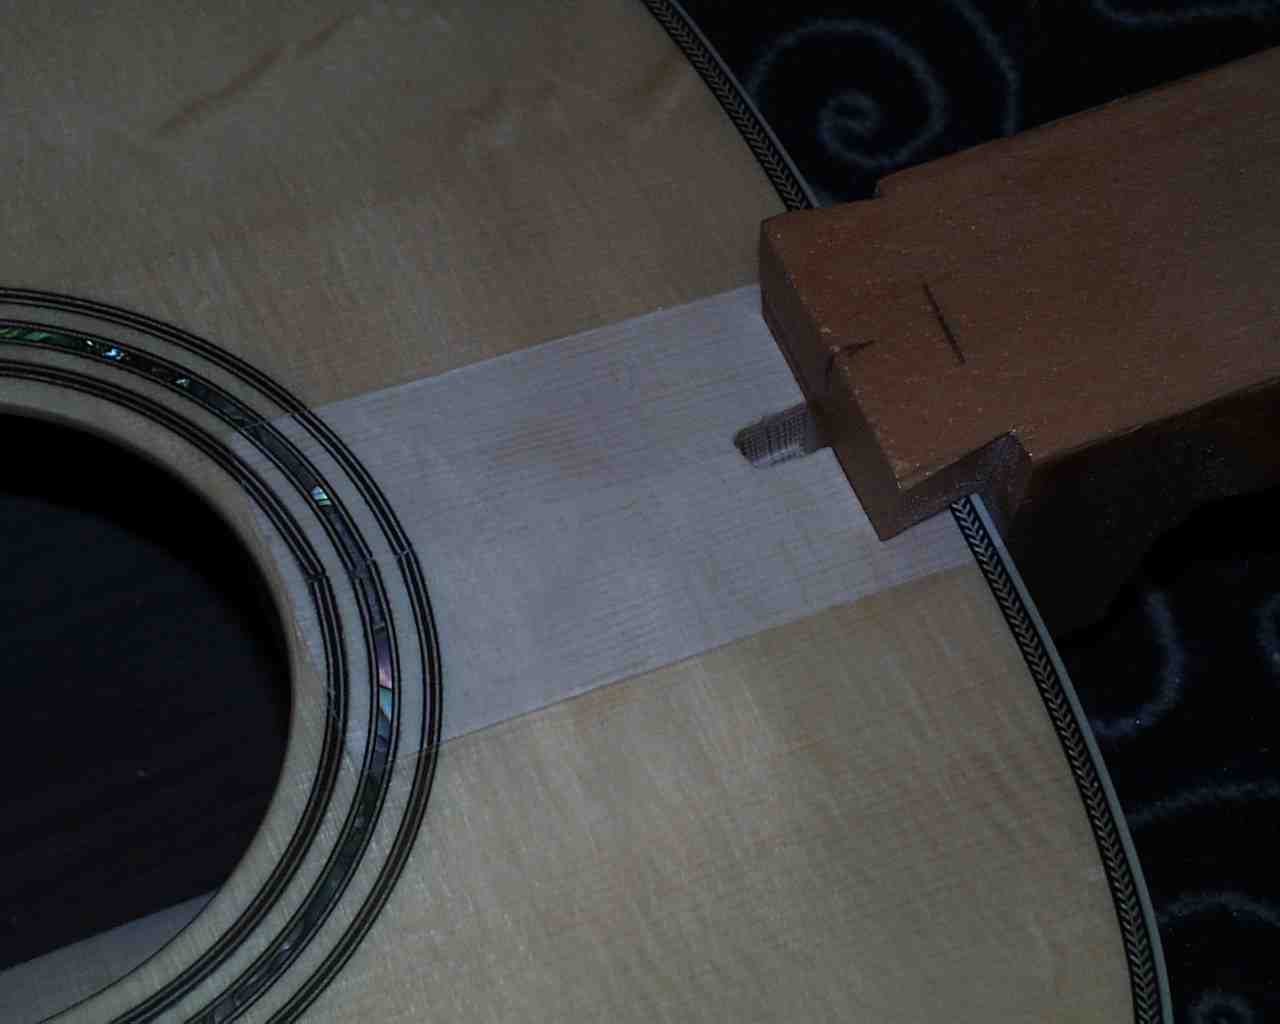
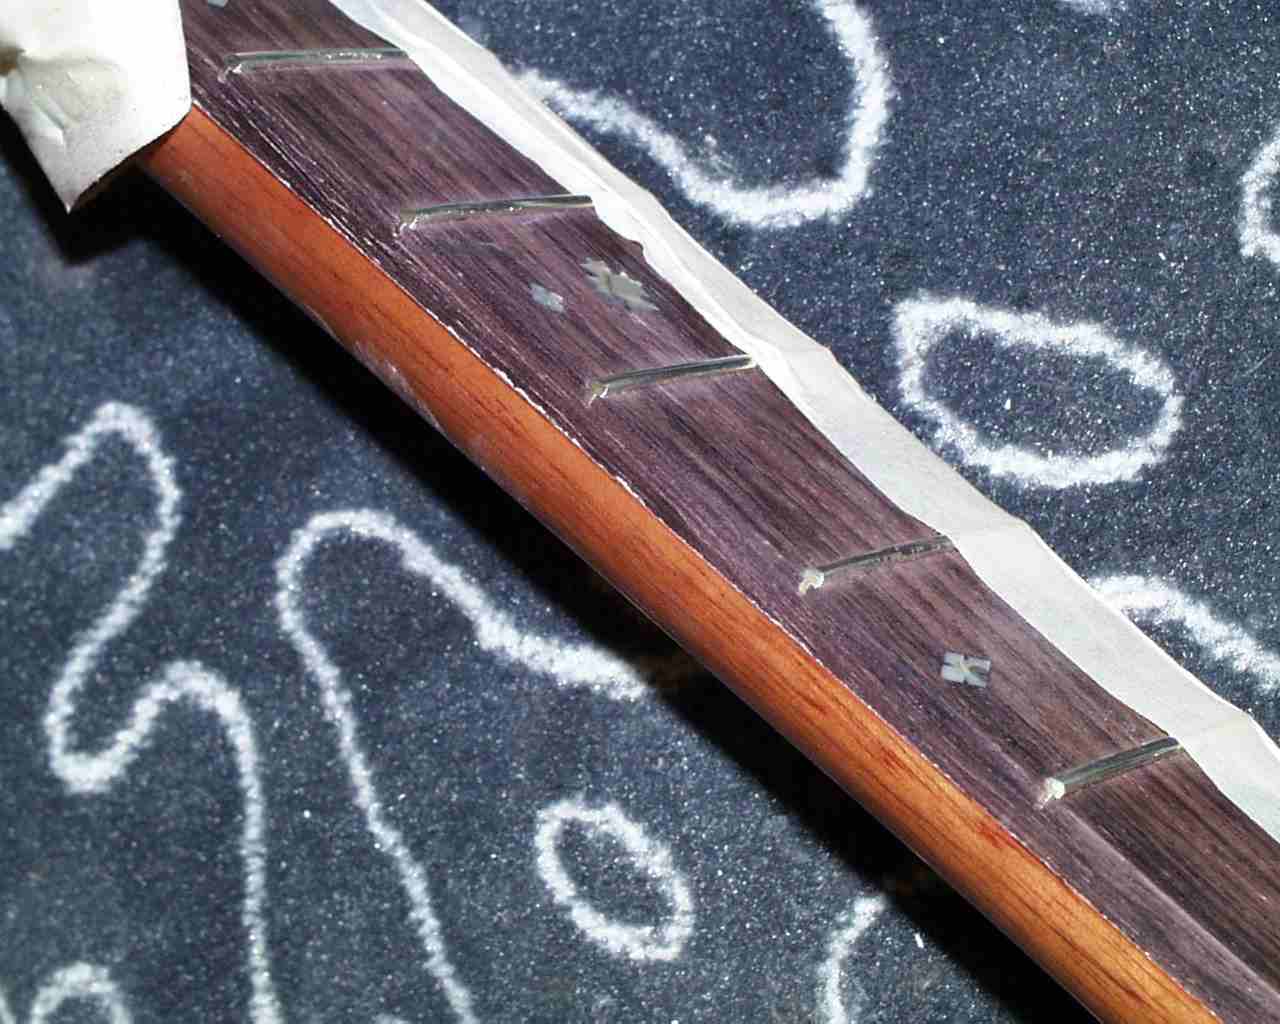
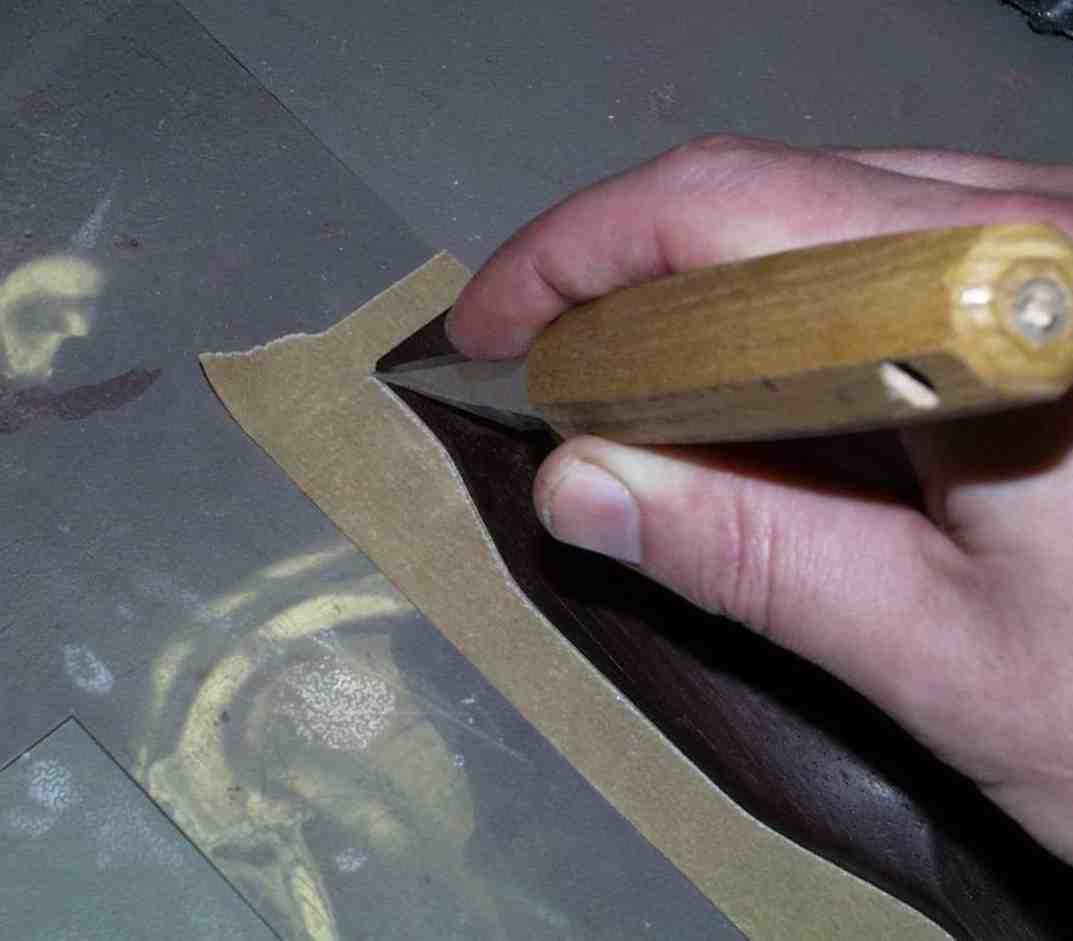
The glued areas of the bridge and the neck attachment must be masked before painting. Especially for the bridge this masking must be cut exactly. For this purpose I stick a piece of adhesive tape on a plexiglass carrier and cut around the bridge with a scalpel. After removing the excess, the foil can be taped directly onto the ceiling
Before the first layers of lacquer are applied, the body and neck are "watered". For this purpose, a well damp cloth is rubbed over the wooden surfaces which have been sanded with 240 grain sandpaper and then left to dry. This makes the wood fibres stand up. With a few strokes of 350 sandpaper these fibers are cut again. To be sure that there is no silicone or other grease on the wood, it is advisable to rub all surfaces to be painted with petroleum ether and silicone remover.
The painting area must be dust-free, even your own clothes must be dust-free. Please also check where you hang the painted parts to dry. It is not uncommon for an old hook to stir up ancient dust.
 |
After priming, two to three thin coats of lacquer are applied and sanded with 350 sanding paper.
 |
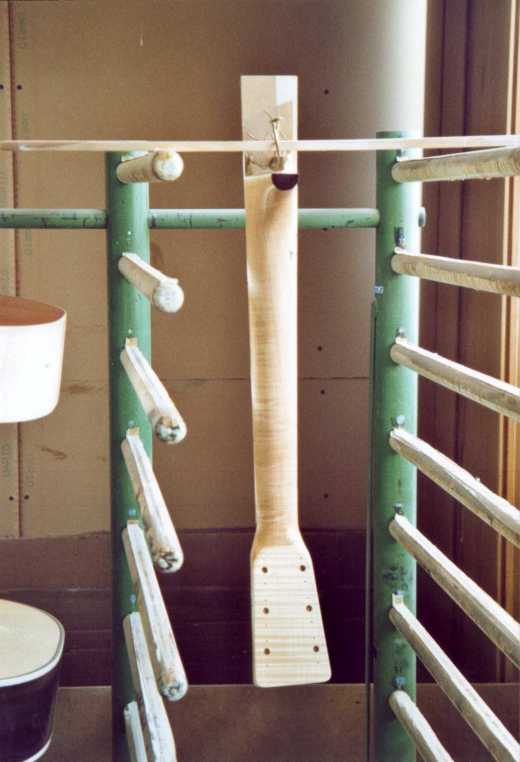 |
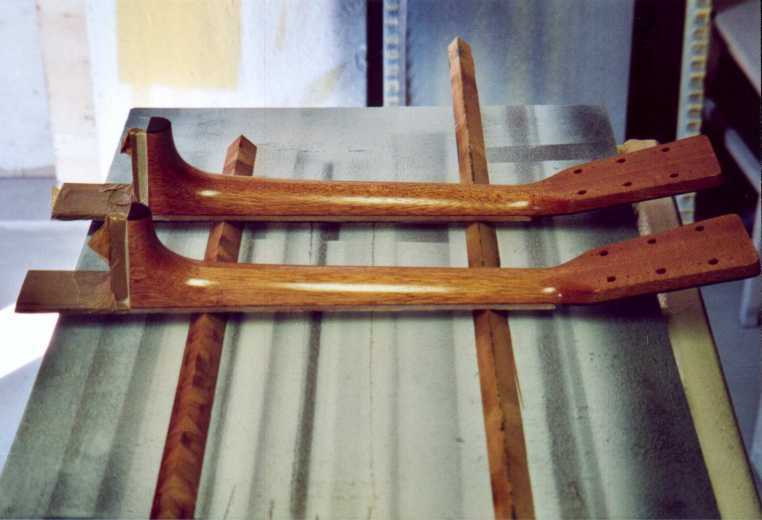
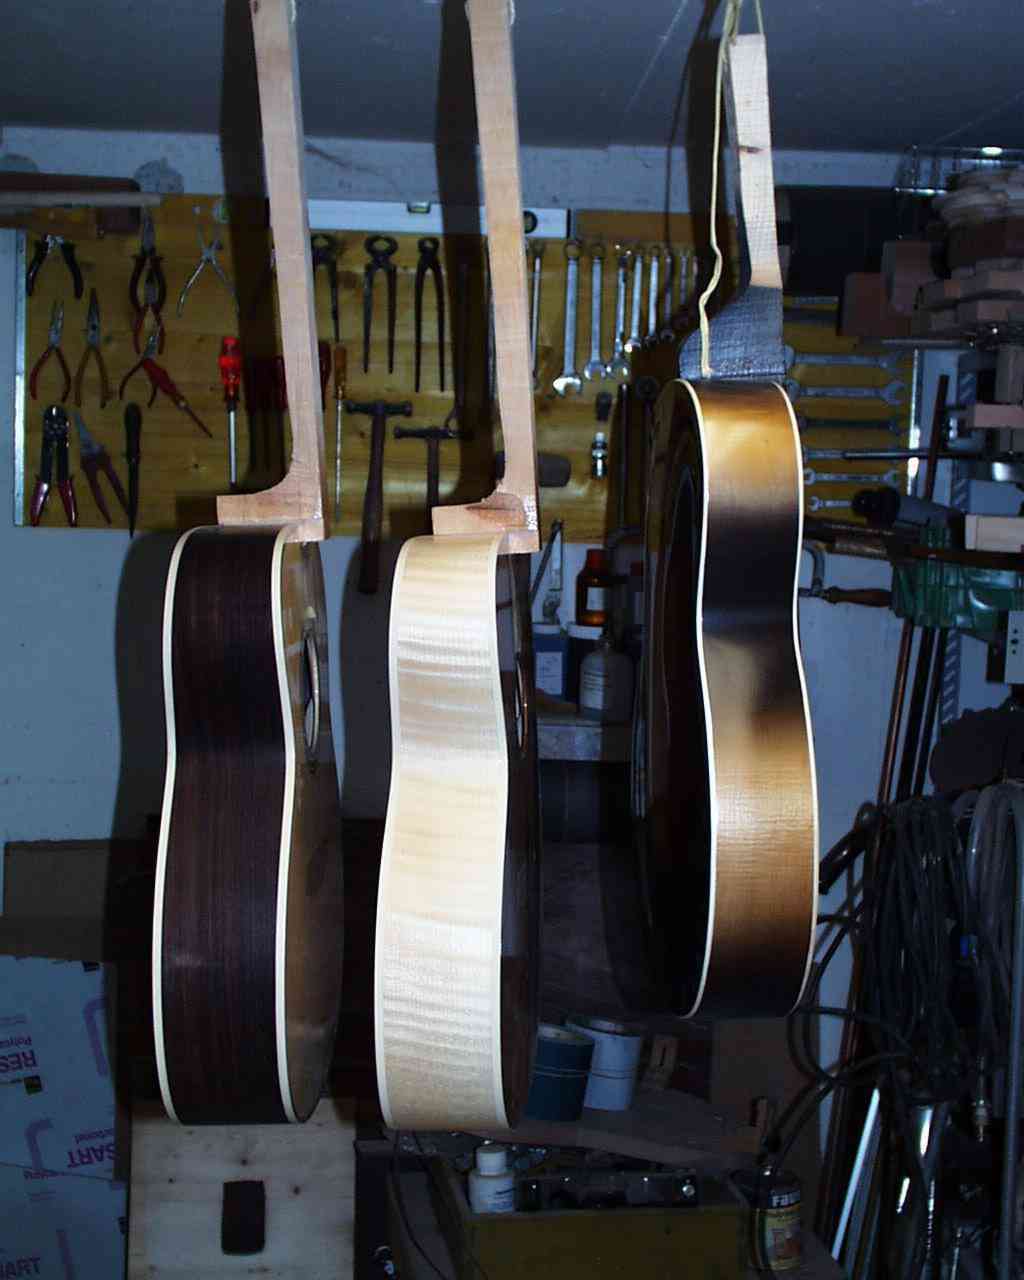
Necks and bodies laid or hung to dry.
 |
 |
 |
 |
 |
 |
 |
The final coating result can only be seen after the thinner has evaporated and the coating has dried completely. After at least 14 days, or preferably 4 weeks, you can start polishing the paint. When all layers of paint have stopped settling, you can be sure that the surface will reflect for a long time.
After a few days, the masking film can already be cut and removed. This early removal protects against the risk of larger chipping off after drying.
 |
 |
 |
 |
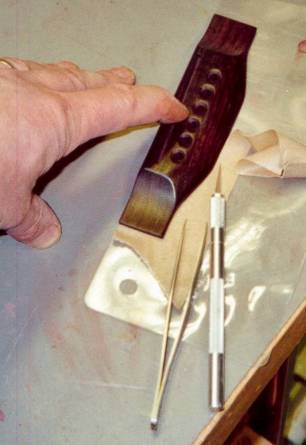
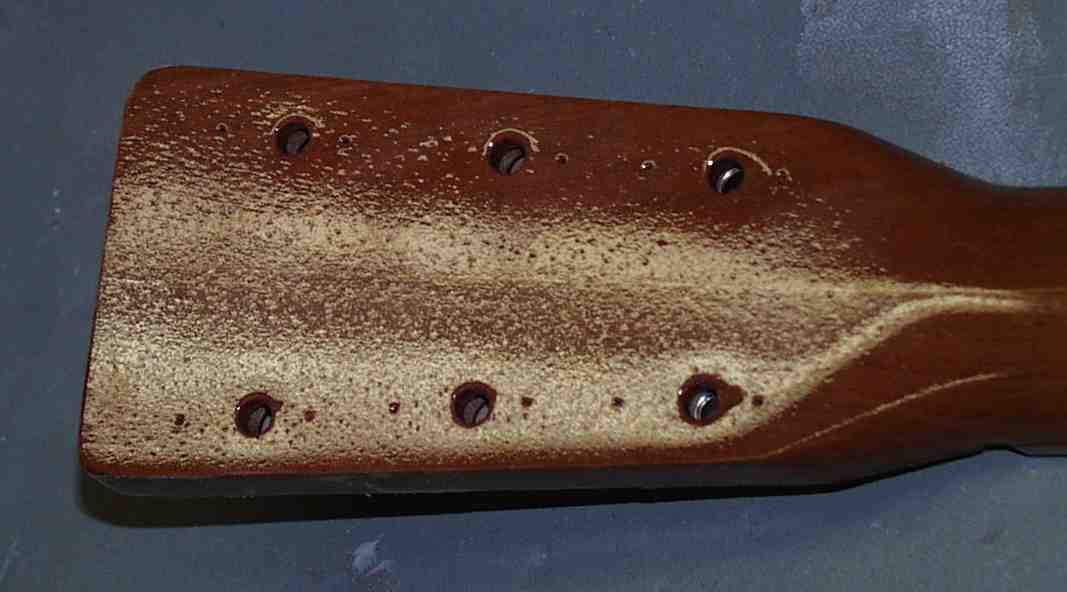
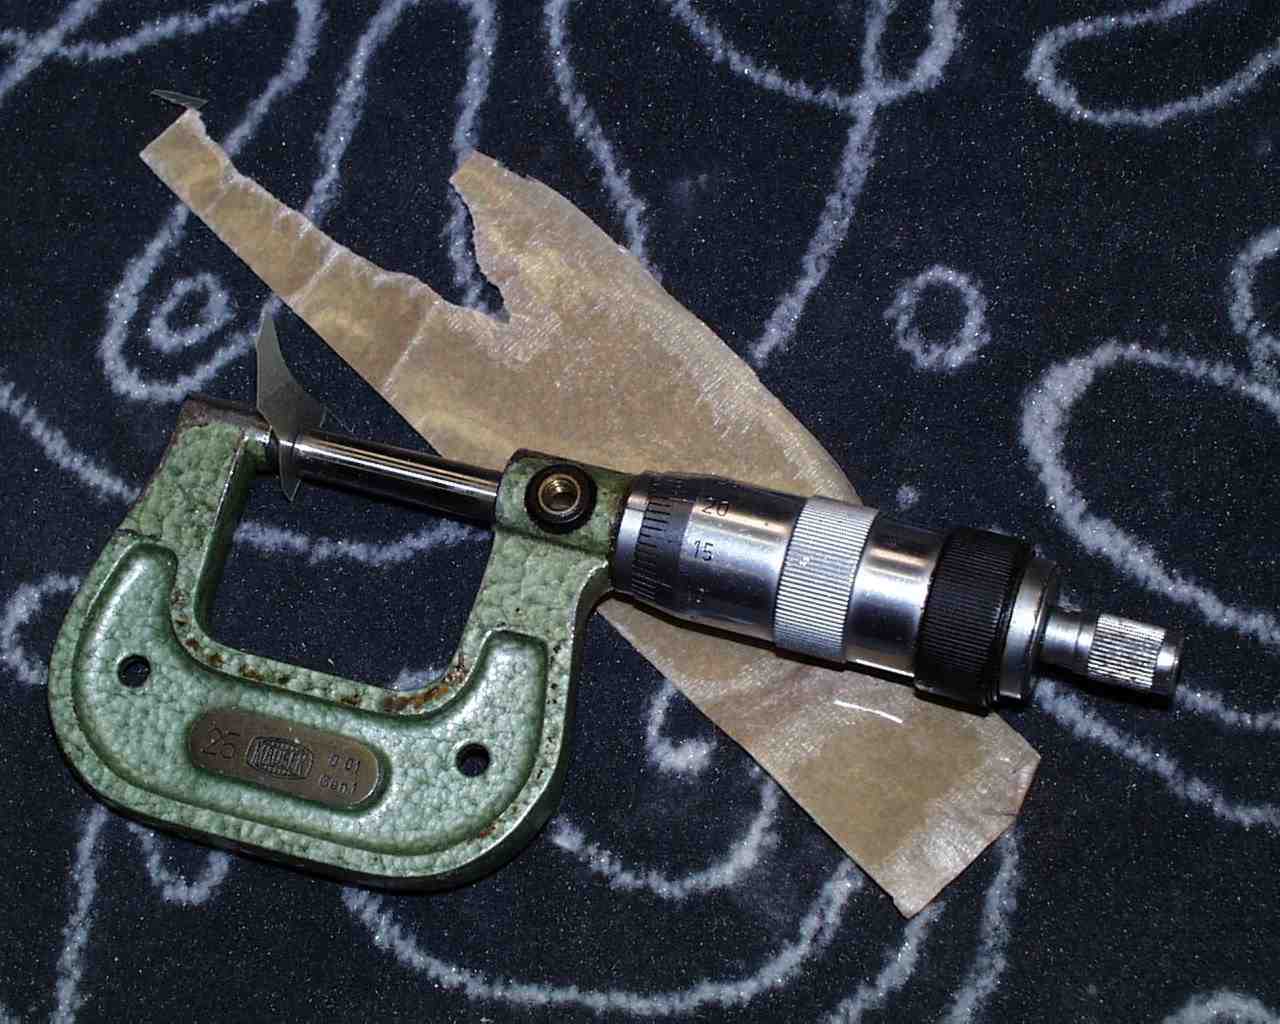
The thickness of the coating can be easily measured, especially at the residues of taped areas. Usually, layer thicknesses around 0.15mm are achieved.
 |
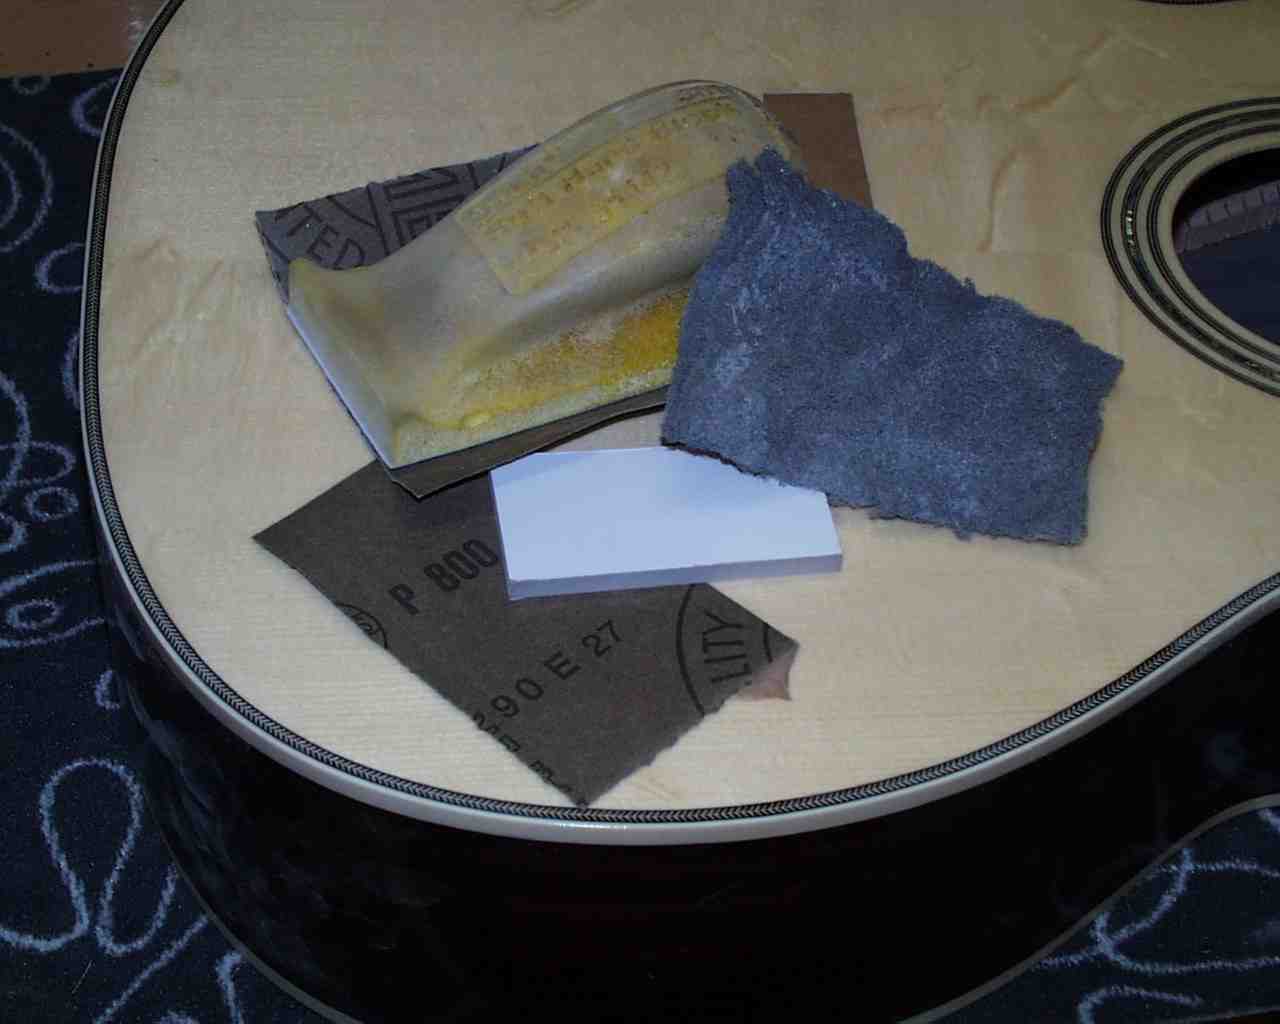
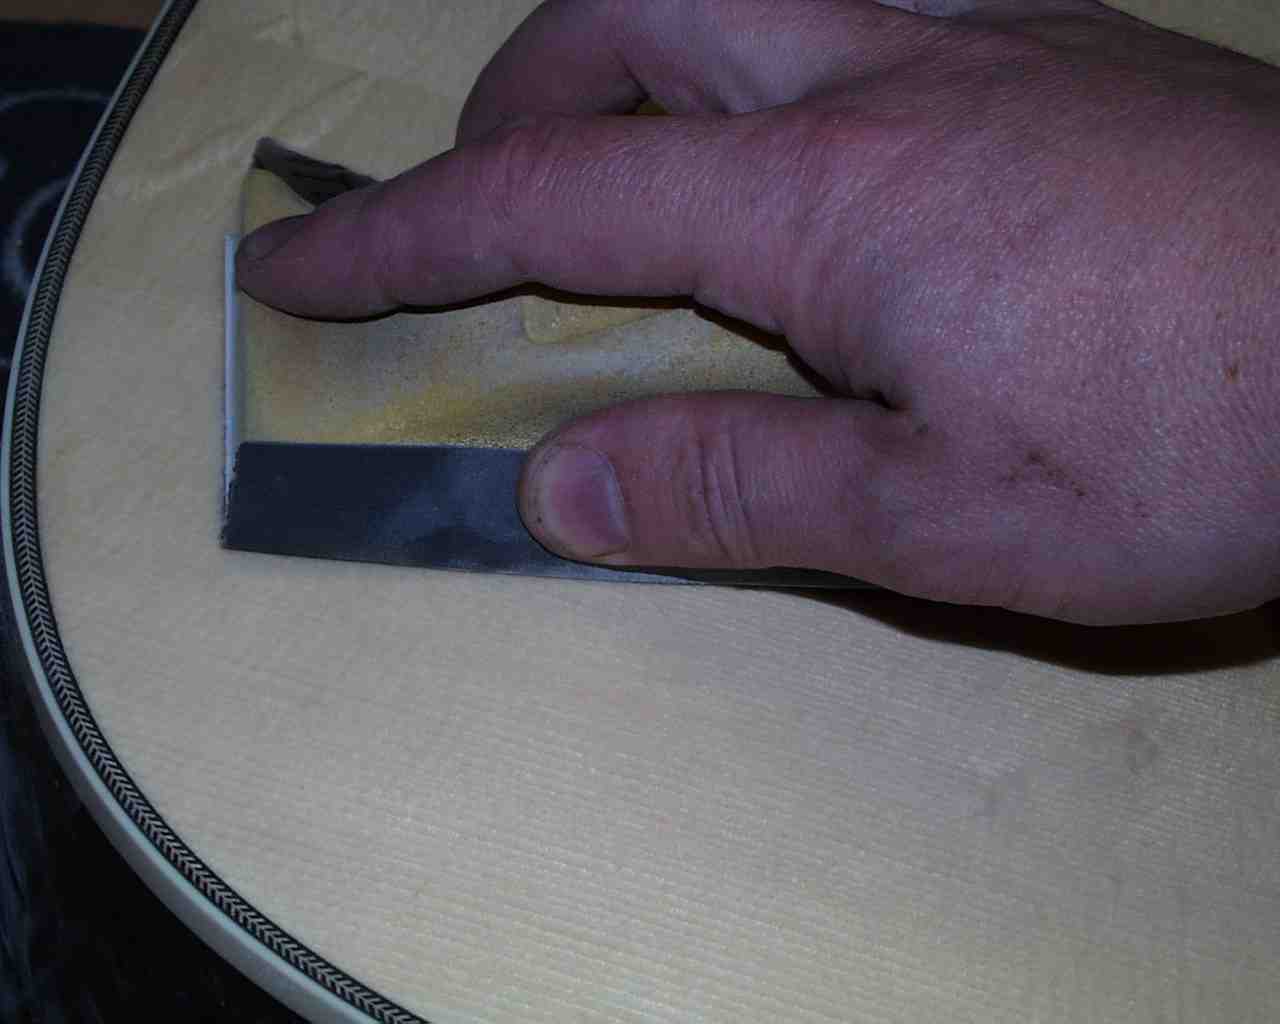
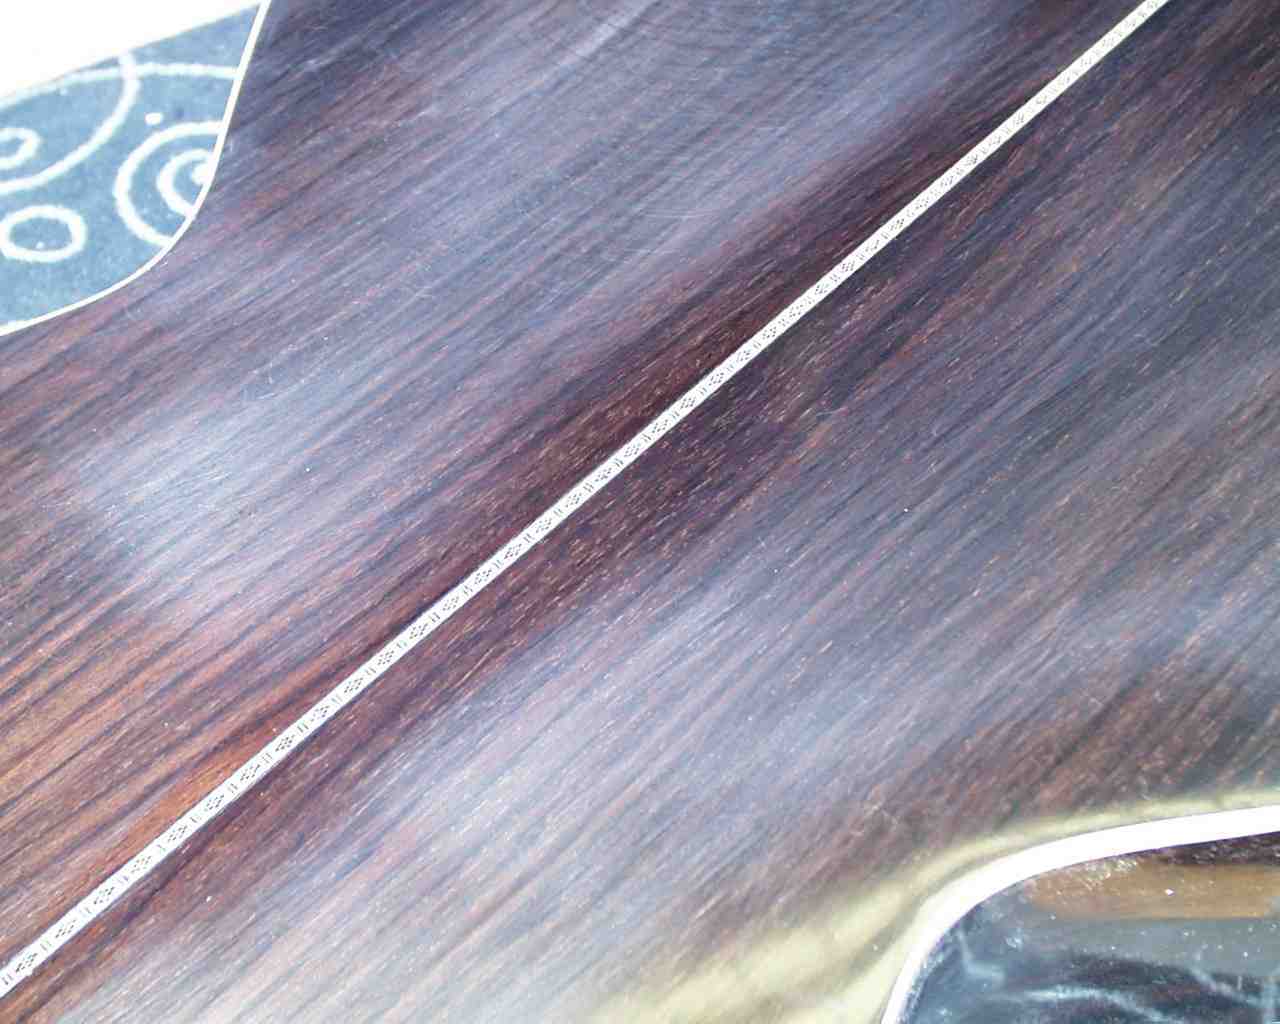
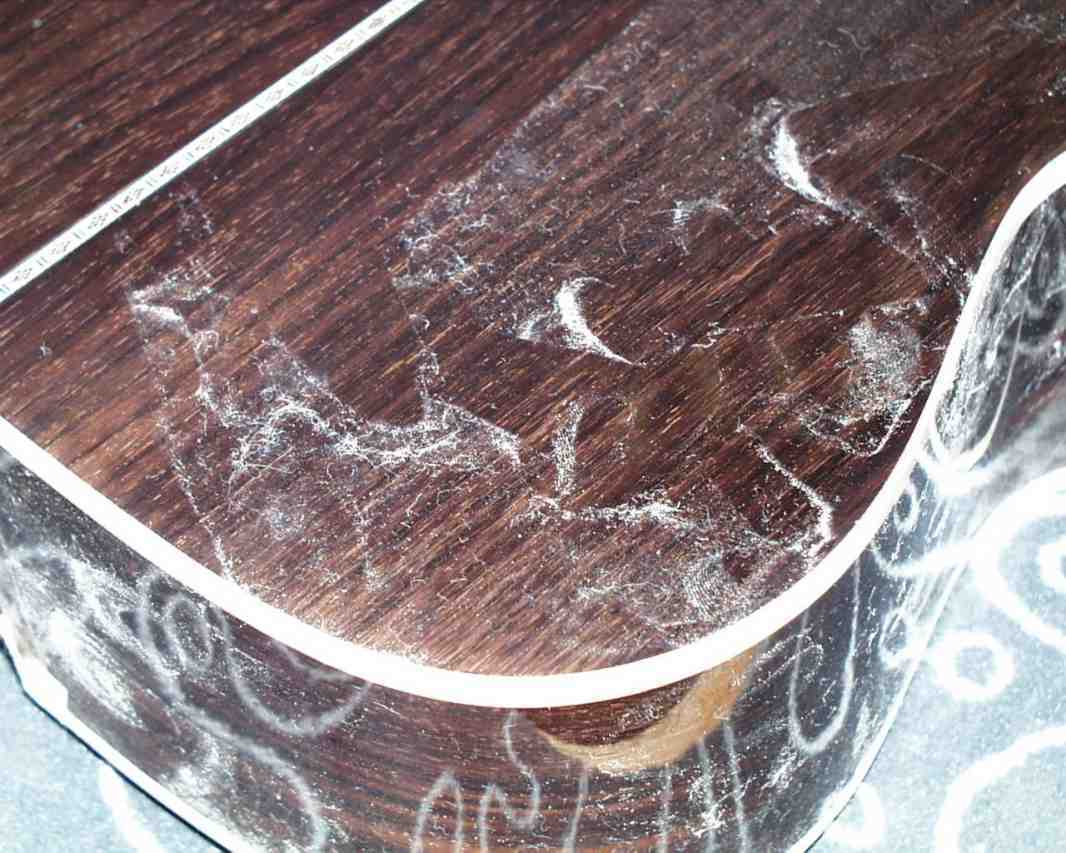
After drying, the entire coating surface is wet-sanded in several steps. I start with 800'er water sandpaper and work my way over 1000'er, 1200'er to 2000'er. Dark rosewood is much less forgiving of scratches than light maple. You should pay attention to lumps and frequent changes of the sandpaper. Since water is the real enemy of the instrument, special care is required here as well. No water should be allowed to enter the interior of the instrument, screw holes swell up and cracks in the varnish caused by water penetration should be avoided.
 |
 |
 |
|
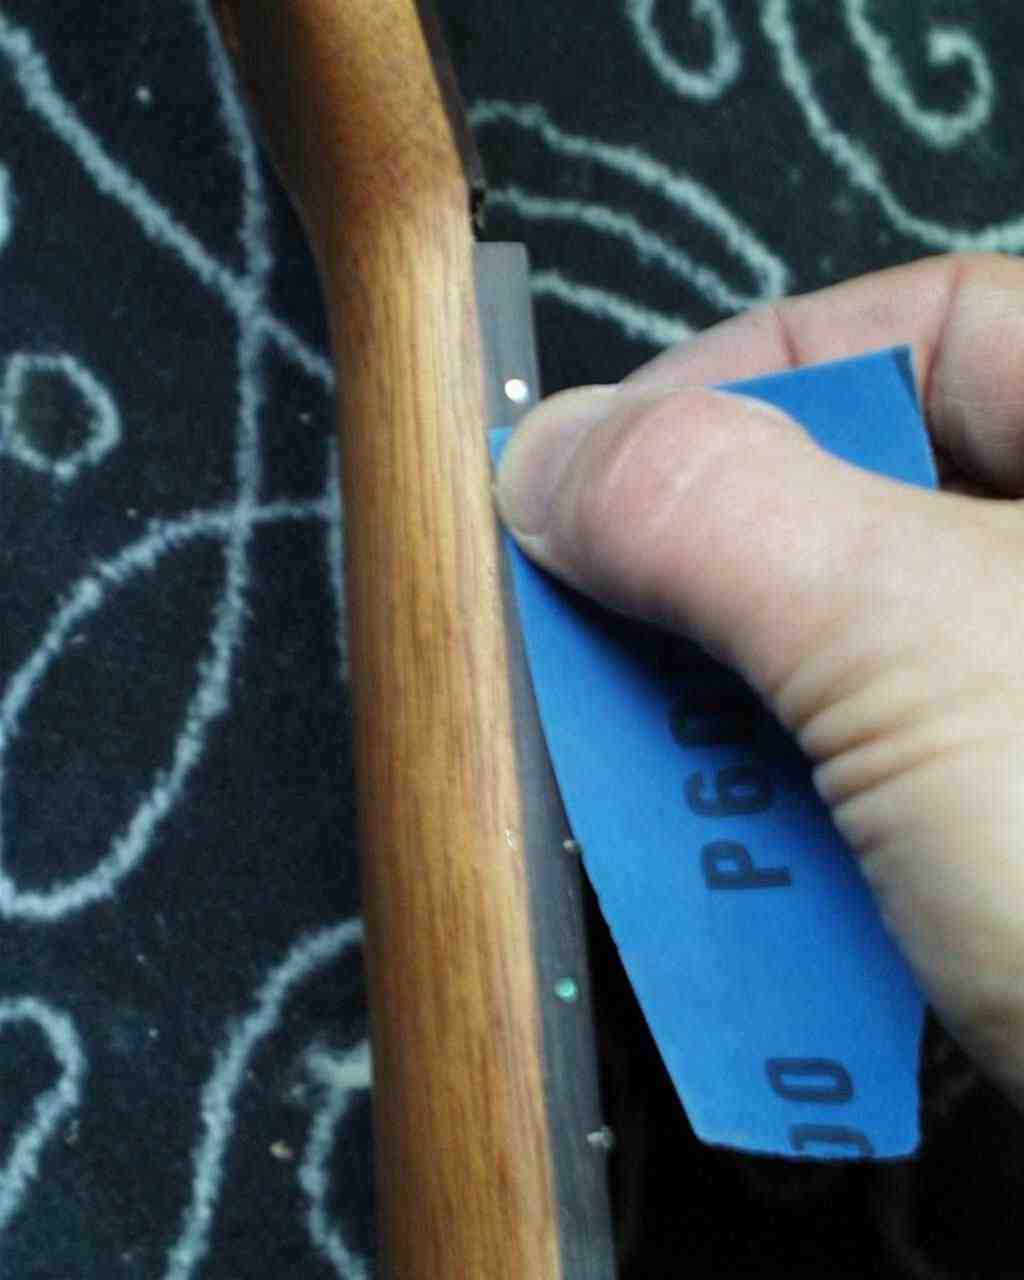
When you have removed the tape from the neck, there is a small step to the fretboard. With a little coarser sandpaper I level this step.
 |
 |
 |
|
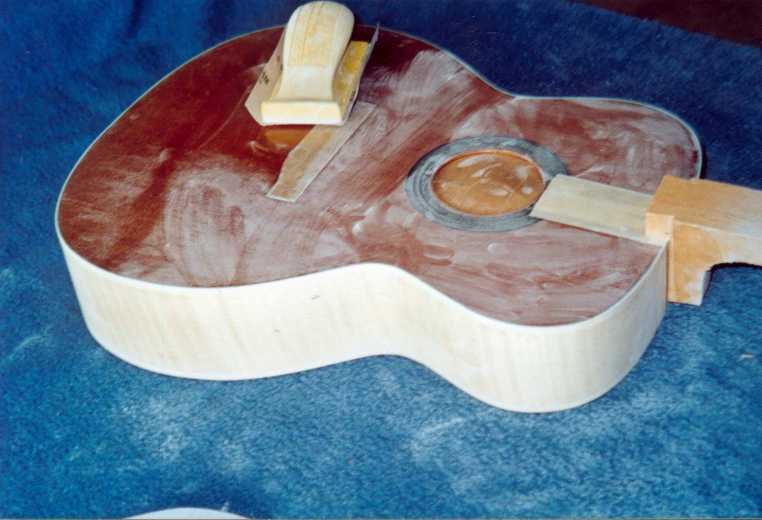
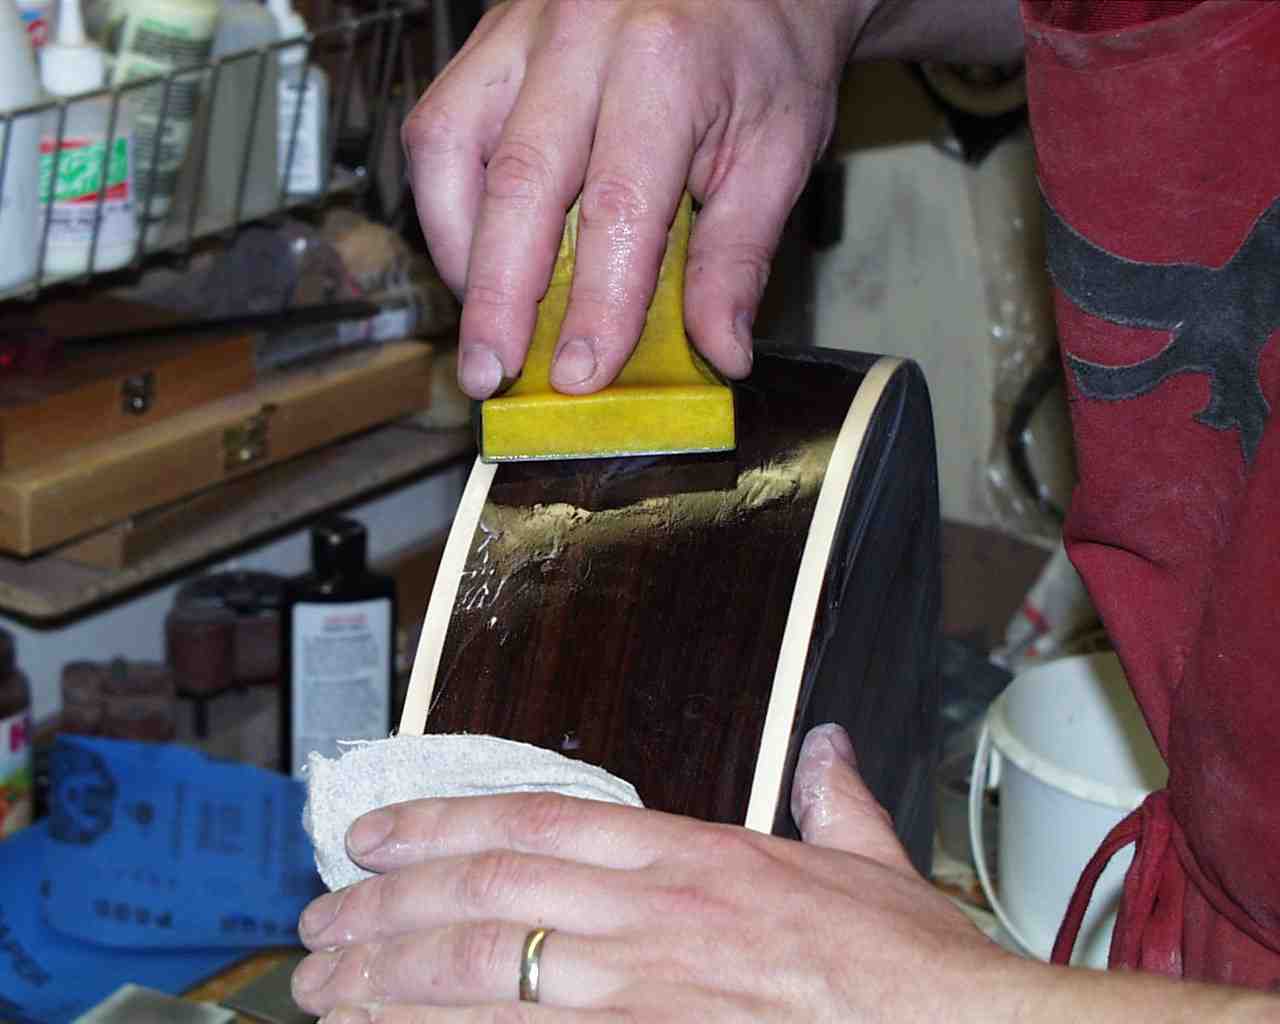
Before polishing, I cover the adhesive surfaces of the glue once more. With polishing wax and buffing wheels I get a nice high gloss in two steps.
 |
 |
 |
|

|
Rall Guitars & Tools Hauptstrasse Tel +49 (0) 8803-48856-56 Retail Shop: By appointment only
|
Subscribe our Newsletter By subscribing our newsletter you accept our Privacy Policy and Terms and Conditions. |