Tools, parts and what you need for guitarmaking

-
Tools & Jigs
-
Tools
- Fretting Tools (Base)
- Pliers
- Sanding Blocks
- Brushes
- Files
- Routers
- Routing Templates
- Templates / Straight Edges
- Fretting Templates - Fret Scale Templates
- Clamps
- Knives
- Measuring Tools
- Tool Sets
- Reamer
- Keys, Wrenches
- Drill Jigs
- Saws
- Drill Bits
- Scrapers
- Bending Irons
- Other Tools
- Fret Hammer
- Fret Pressing
- Fretboard Protector
- Fret Bender & Tang Nipper
- ... More
- Jigs for Luthiers
-
Tools
-
Hardware & Parts
- Necks & Bodies
- Tuners
-
Hardware / Parts
- Truss Rods
- Carbon / Titan Reinforcement
- Trussrod Nuts
- Washer for truss rods
- Bridge Pins
- End Pins
- Bridges & Tailpieces E-Guitar
- Bridges & Tailpieces
- Covers
- Pickguards / Scratch Plates
- Strap Locks
- Bridge Accessories / Spare Parts
- Screws, Nuts, Washers
- Neck Attachement
- String-Ferrules
- Jack plates
- Control Plates
- String Retainer / String Trees
- knobs (pots/switch)
- Relic Parts
- ... More
- Nuts & Saddles
- Fret Wire
- Pickups & Electronics
- Materials & Supplies
- How-to
- Guitar Making
Shop Startpage Guitar Making Luthiery 000-Standard Setup
Setup
Important dimensions, such as the position of the bar, must be determined before painting. The assembly itself can be divided into two processes. The first is before painting and the final assembly. The first one, as already mentioned, determines important measurements and one checks the functional measurements of the guitar (string position, direction of the neck, neck angle...). As shown in the following pictures, you already work to tenth of a millimeter here.
 |
 |
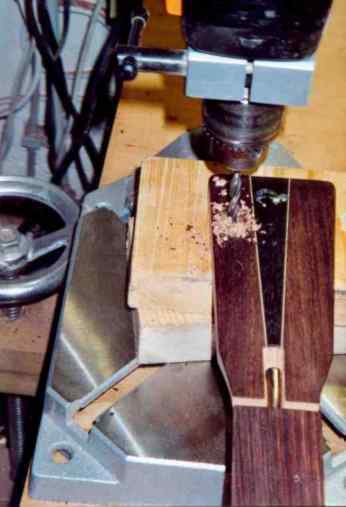
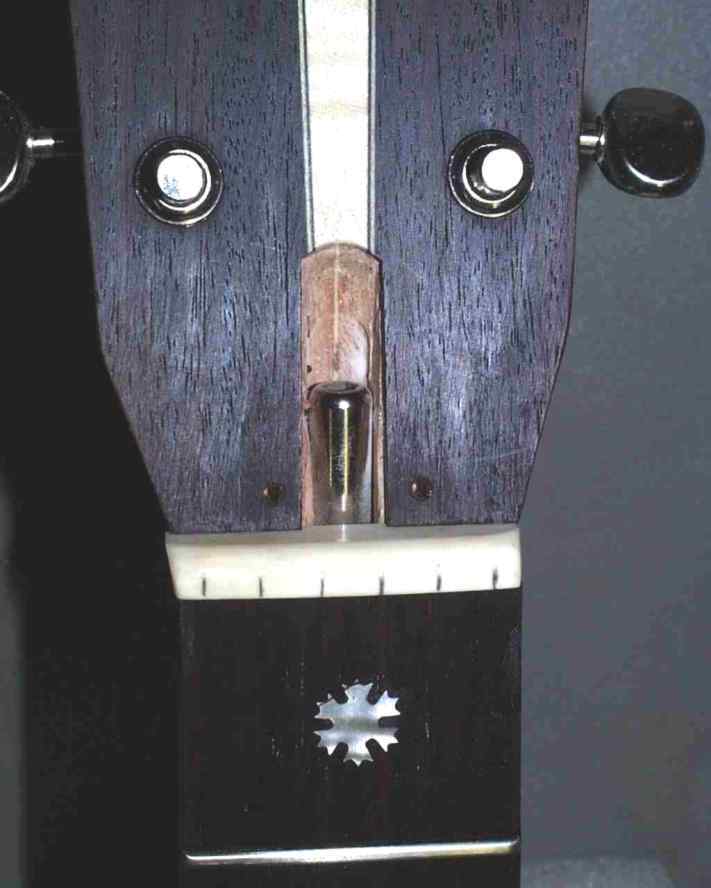
The neck is not painted in the glued state, but separately. Following are the last steps before gluing: Drilling of the machine heads holes.
 |
Inserting the mechanism bearings with the press.
 |
 |
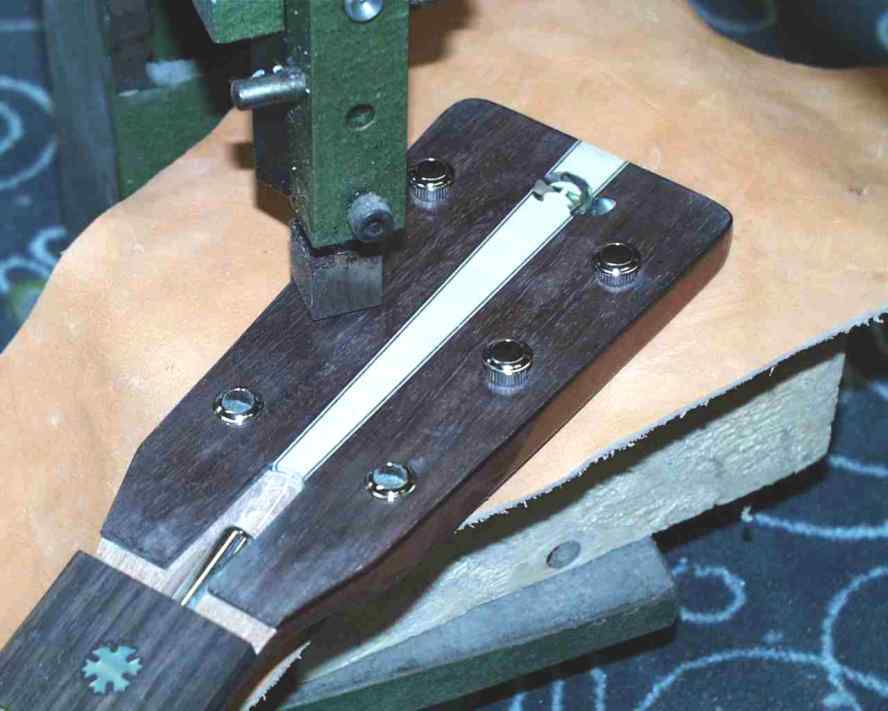
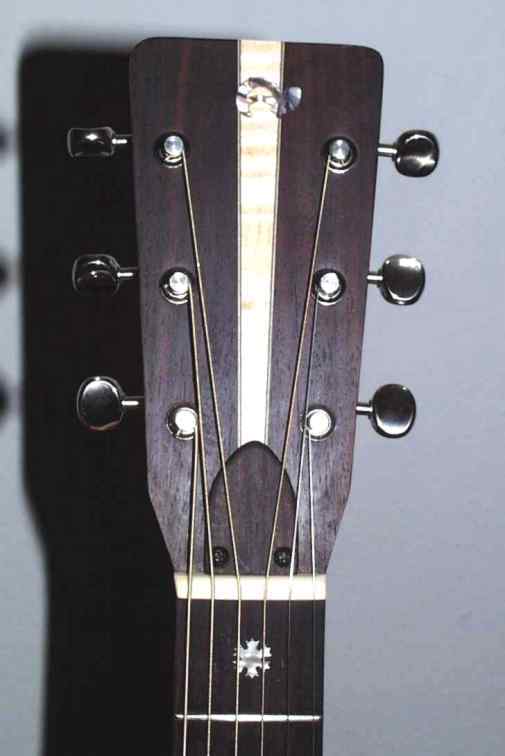
Inserting and aligning the machine heads. Always pre-drill the screw holes.
 |
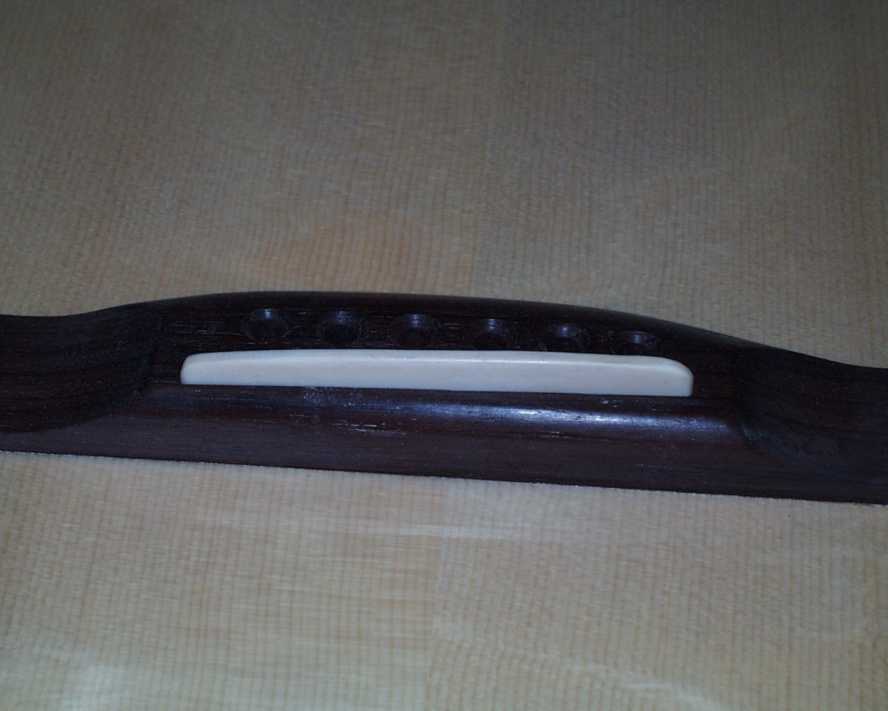
The saddle is made of bone or like here mammoth ivory. At the grinding machine I first make the rectangular blank. With the file and sandpaper I make the final shape. The string spacing is marked with a pencil and sawed in with fret files. The final polishing and gluing of the saddle is done when the string position is fixed.
 |
 |
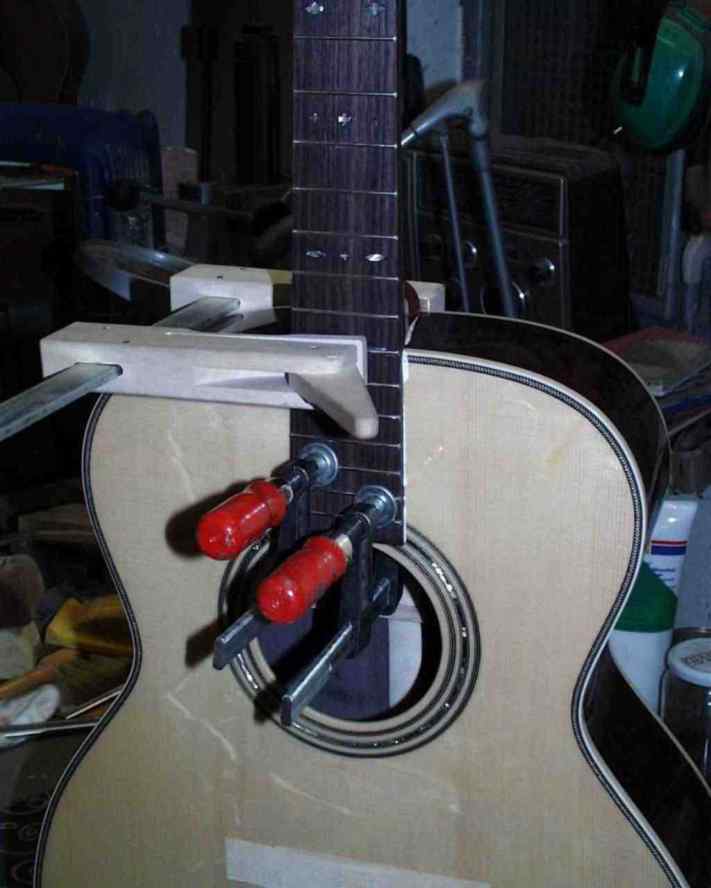
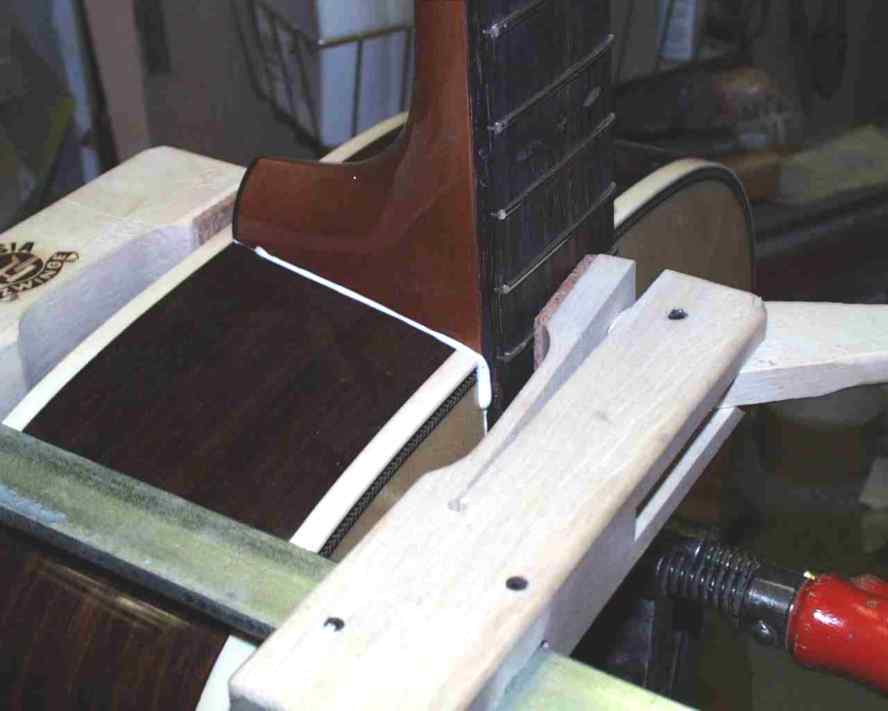
The fit of the neck is checked once again, any remaining varnish must be removed for perfect gluing. With white glue I do it here, I also have good experience with skin glue. In case of a later repair, this glue would then be quicker to open - which I did not need until now, because the necks were always the best.
 |
 |
 |
|
The excess glue must be removed immediately, a damp cloth will also remove the streaks. The neck remains clamped overnight.
 |
 |
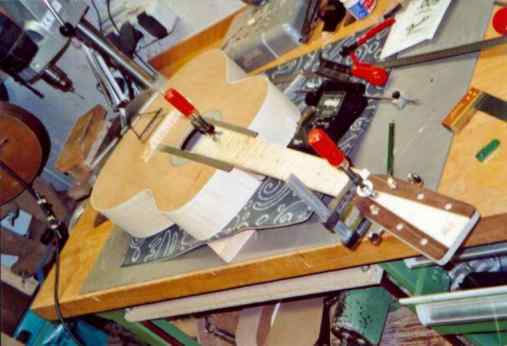
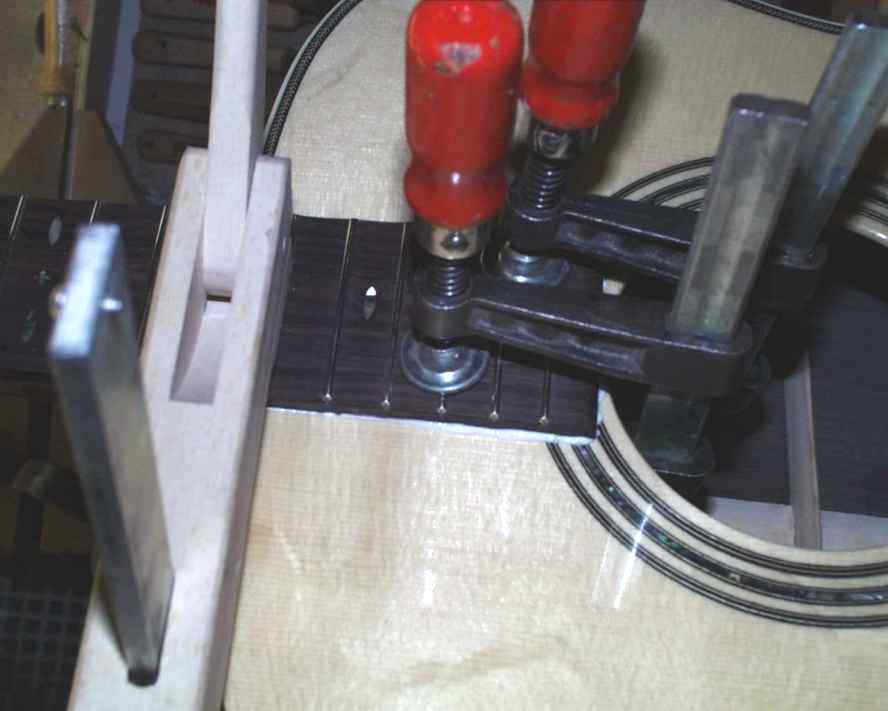
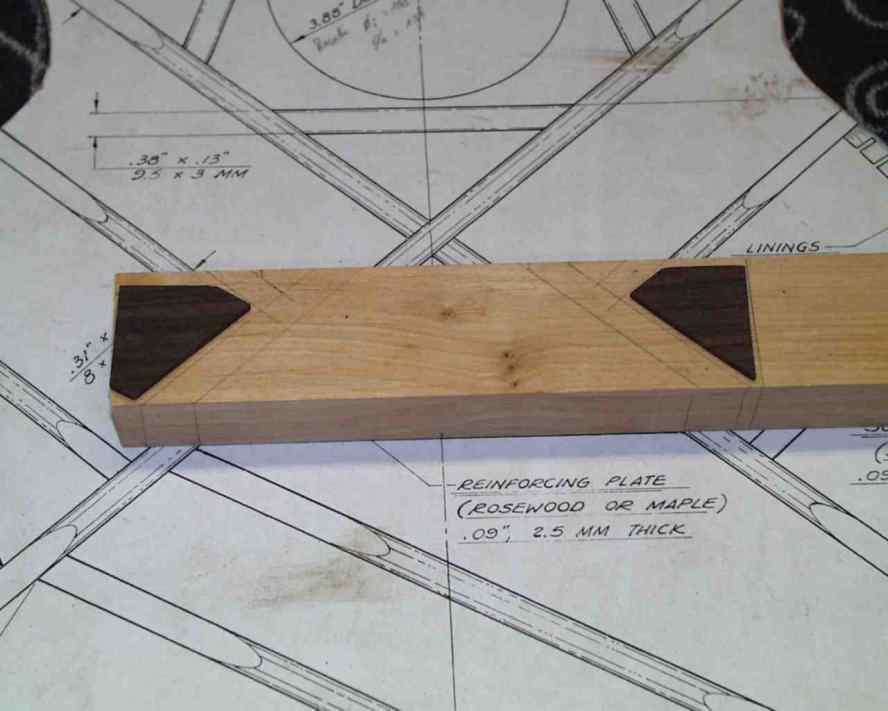
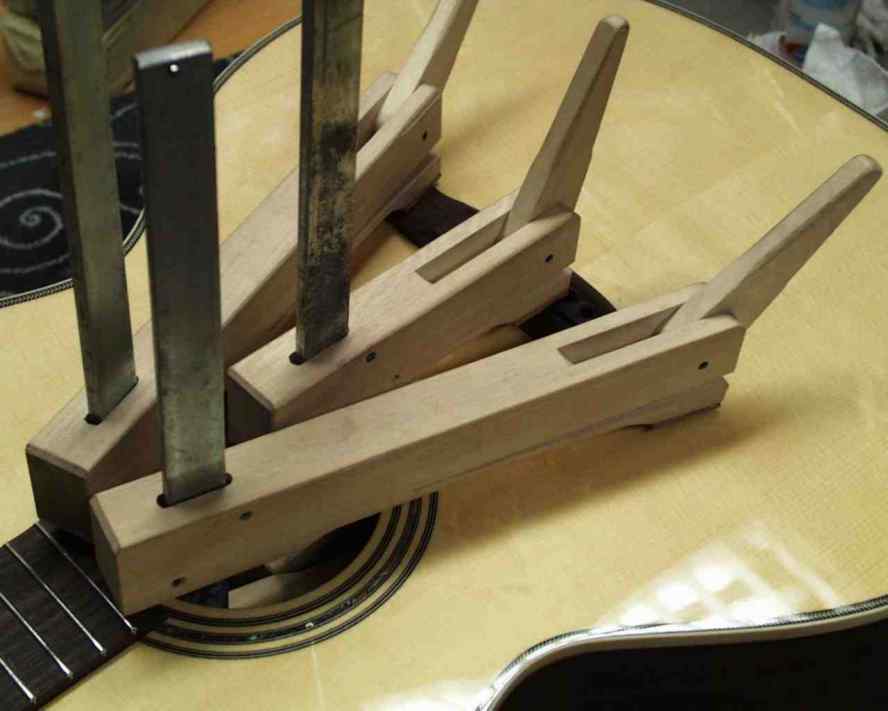
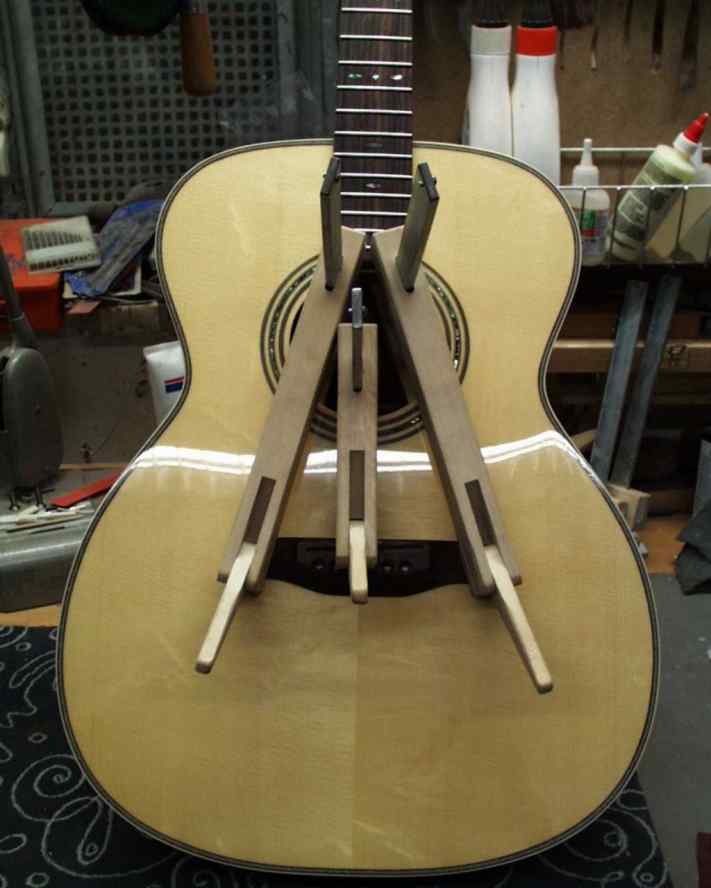
For gluing the bar you need an insert in the interior. It is best to prepare this before gluing the body, you can still access it at any time and can fit the insert well. If the bridge has a good support, apply some white glue and with a few clamps the bridge is fixed. Please take special care that the bar does not slip away with the glue bath and stick to the wrong place. Remove the excess glue - done.
 |
 |
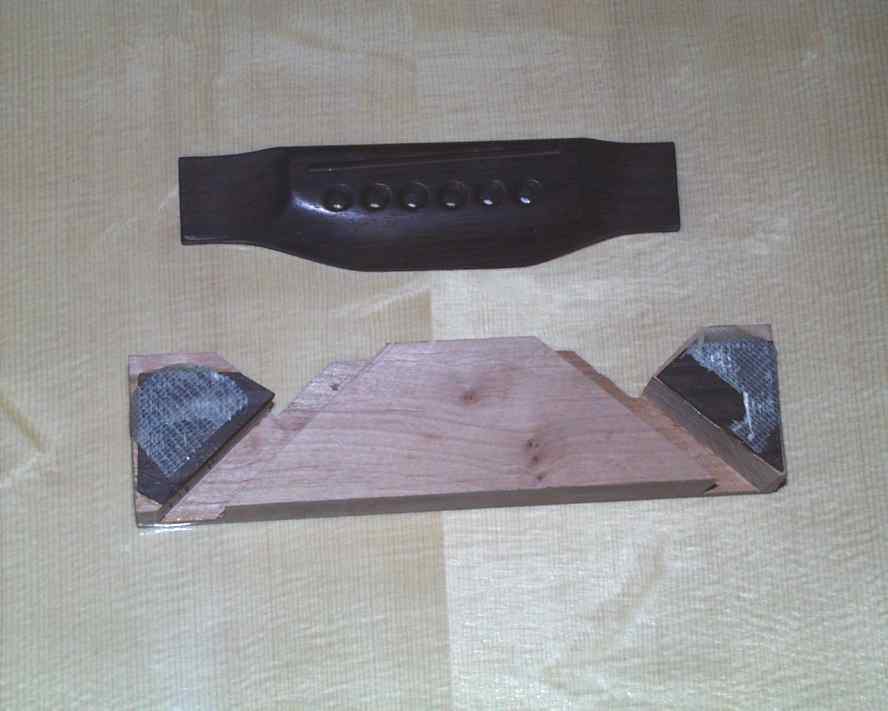
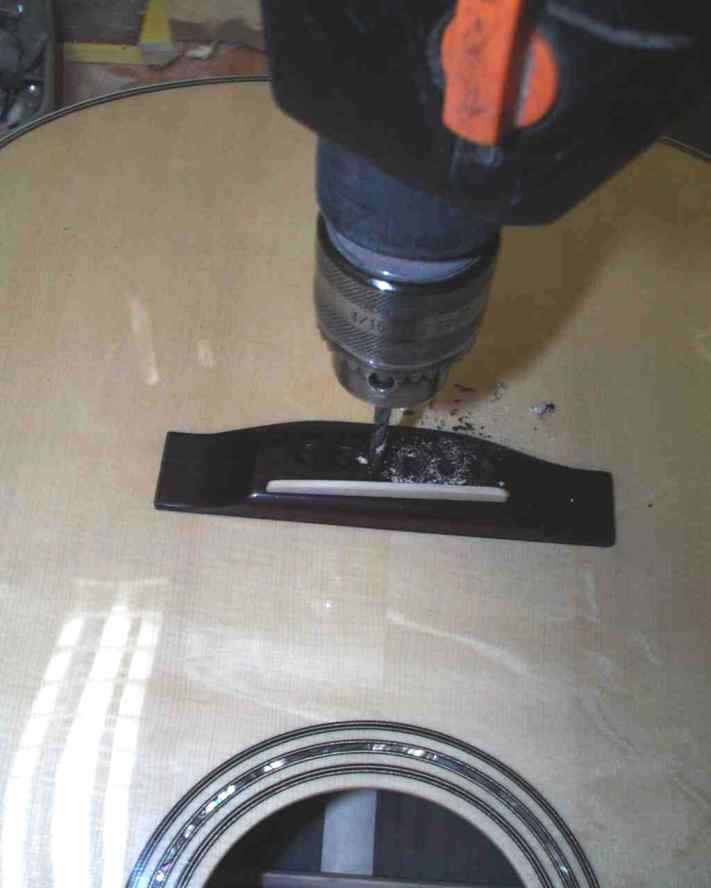
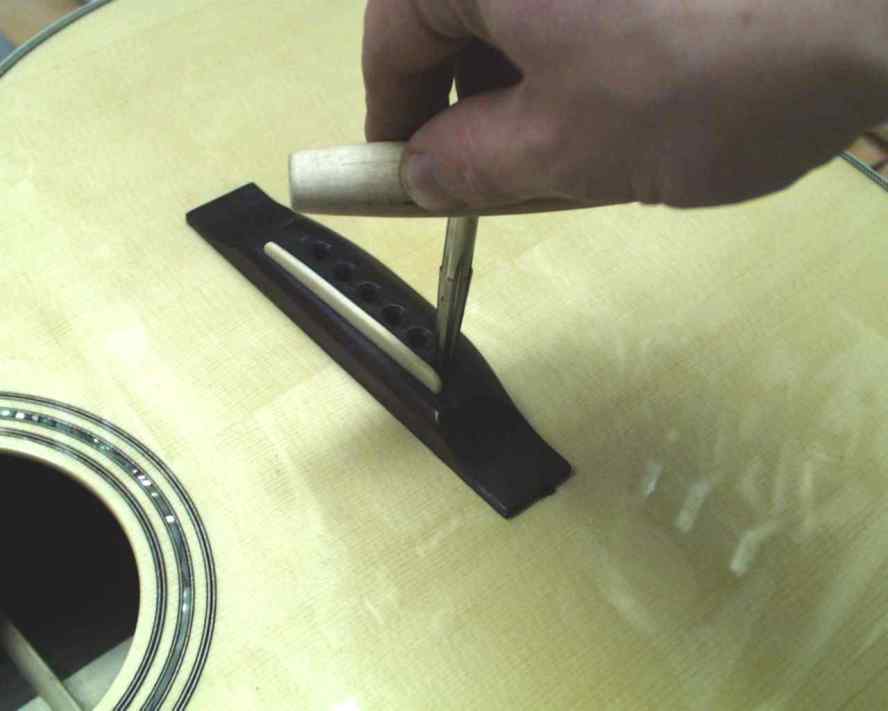
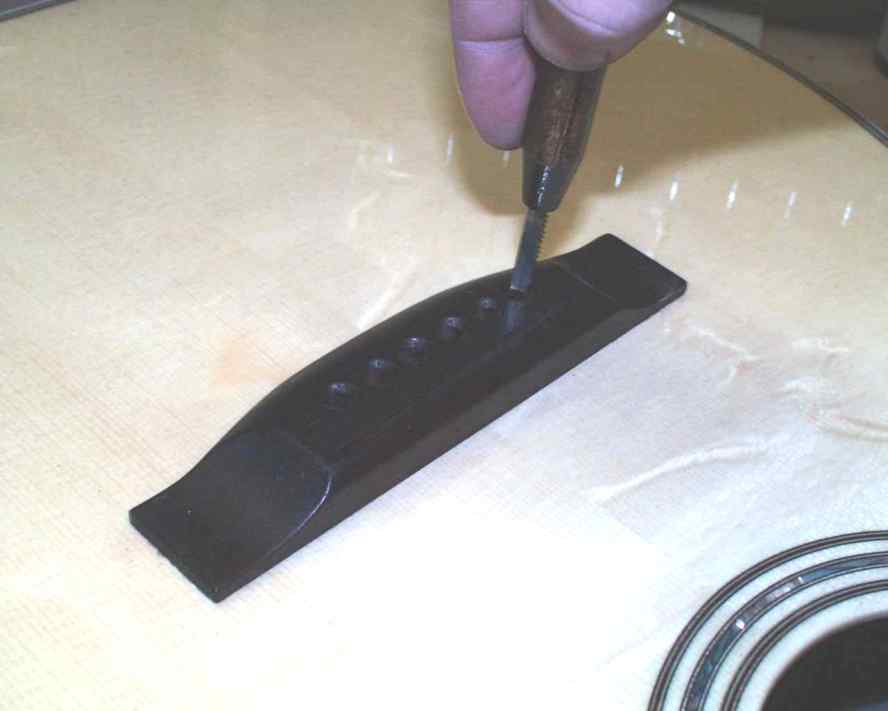
The pin holes are now also drilled through the ceiling and ceiling insert with a 5mm drill. Then ream with a reamer until the string pins are all evenly high and protrude about 1.5mm. With a small saw I cut the string guide into the bridge.
 |
 |
 |
 |
The bar insert must be prepared and inserted.
 |
 |
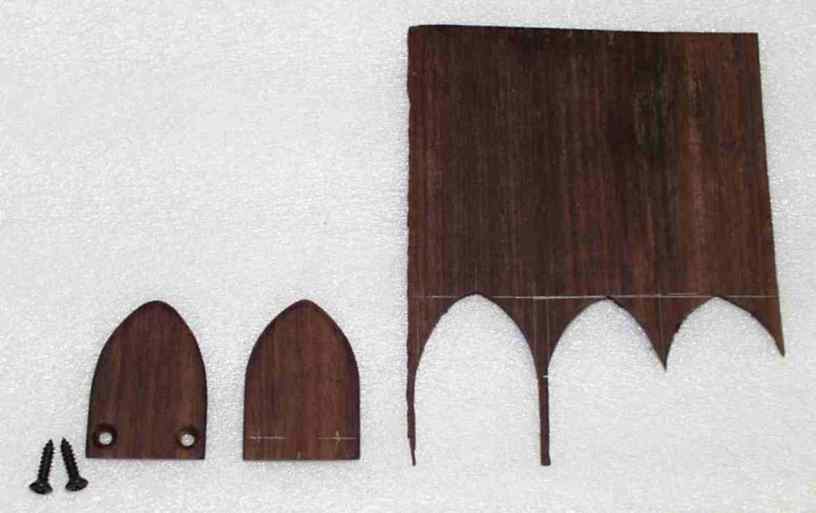
With the fretsaw the steel rod cover must be sawn out, the screw holes drilled and lowered.
 |
 |
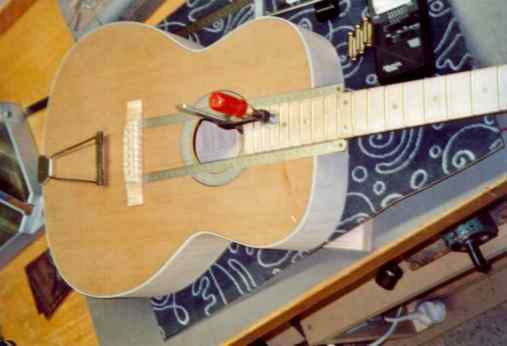
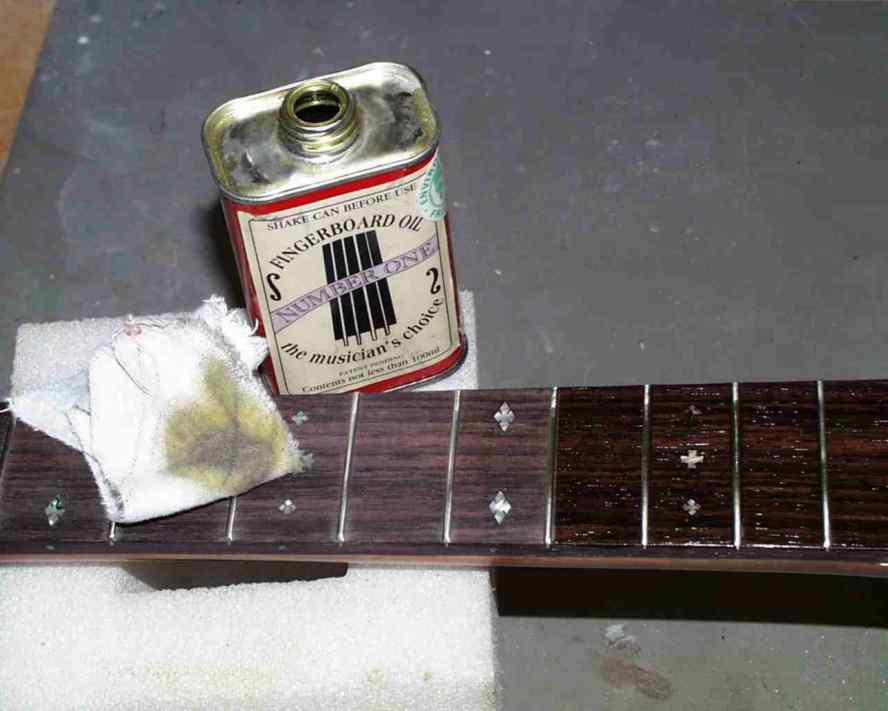
Finally, the fingerboard is oiled and polished with a brush. The strings are stretched, the final touch is made at the string position, neck bend and intonation.
 |
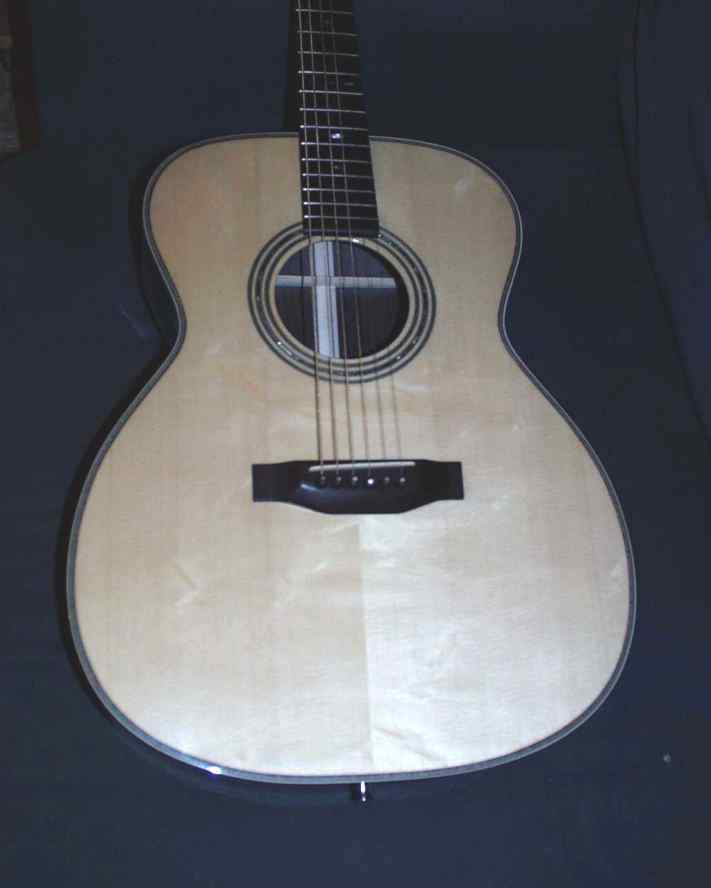 |
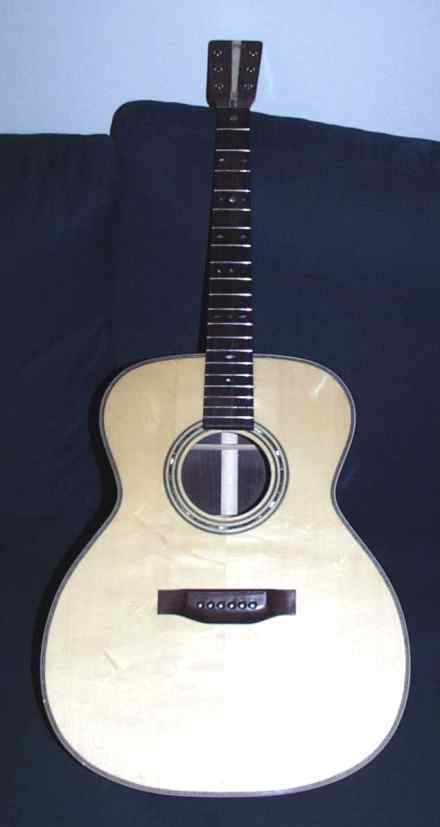
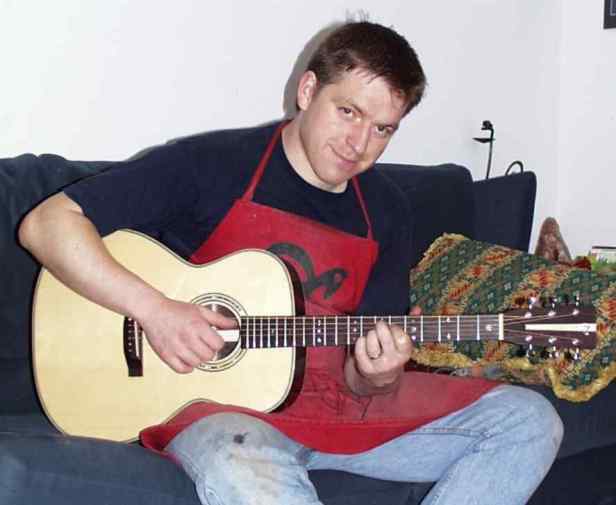
And again a beautiful instrument has been born - ready-to play.

|
Rall Guitars & Tools Hauptstrasse Tel +49 (0) 8803-48856-56 Retail Shop: By appointment only
|
Subscribe our Newsletter By subscribing our newsletter you accept our Privacy Policy and Terms and Conditions. |