Tools, parts and what you need for guitarmaking

-
Tools & Jigs
-
Tools
- Fretting Tools (Base)
- Pliers
- Sanding Blocks
- Brushes
- Files
- Routers
- Routing Templates
- Templates / Straight Edges
- Fretting Templates - Fret Scale Templates
- Clamps
- Knives
- Measuring Tools
- Tool Sets
- Reamer
- Keys, Wrenches
- Drill Jigs
- Saws
- Drill Bits
- Scrapers
- Bending Irons
- Other Tools
- Fret Hammer
- Fret Pressing
- Fretboard Protector
- Fret Bender & Tang Nipper
- ... More
- Jigs for Luthiers
-
Tools
-
Hardware & Parts
- Necks & Bodies
- Tuners
-
Hardware / Parts
- Truss Rods
- Carbon / Titan Reinforcement
- Trussrod Nuts
- Washer for truss rods
- Bridge Pins
- End Pins
- Bridges & Tailpieces E-Guitar
- Bridges & Tailpieces
- Covers
- Pickguards / Scratch Plates
- Strap Locks
- Bridge Accessories / Spare Parts
- Screws, Nuts, Washers
- Neck Attachement
- String-Ferrules
- Jack plates
- Control Plates
- String Retainer / String Trees
- knobs (pots/switch)
- Relic Parts
- ... More
- Nuts & Saddles
- Fret Wire
- Pickups & Electronics
- Materials & Supplies
- How-to
- Guitar Making
Shop Startpage Guitar Making Repairs E-Guitar Repairs Broken Trussrod
Broken Trussrod
Here I show a complex repair when a truss rod needs to be replaced.
This is a very demanding repair - please please please! Do not do it yourself - but give it to an experienced guitar builder! It should show you what effort is necessary in case of failure and you keep in mind what happens if you fiddle around with the neck nut without sense :-)
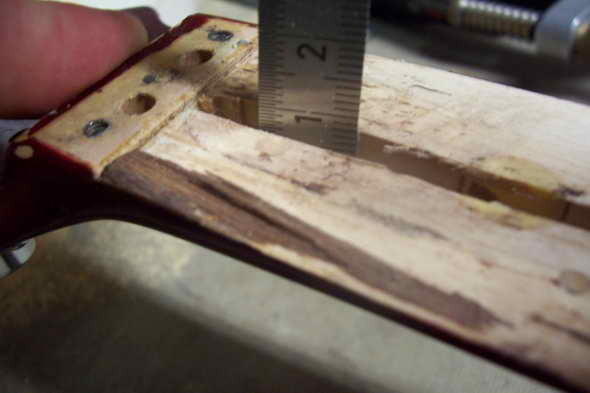
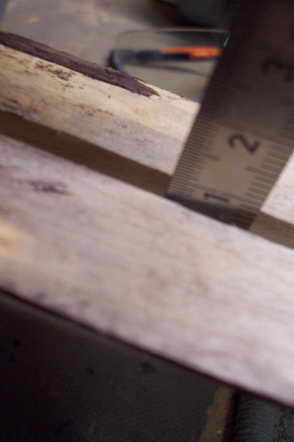
So clear thing. The nut was overdrawn and the soft iron rod tore off in the process. The neck showed a big bend forward with the ruler. What are reasons for the truss rod having to be readjusted and something like this happening?
To do this, you must first understand the function of the rod. I'll try it this way:
the strings are constantly trying to bend the neck forward with about 60kg. Although the neck with its wooden construction holds against it, in the long run a plastic change will result. The string action is then ruined.
If you now install a counterforce (truss rod) in such a way that it also pulls backwards with as much force as the strings pull forwards, both forces cancel each other out and the neck remains straight.
Several principles of truss rods exist side by side. The most common and cheapest is the simple steel rod, which is glued into a convex shaped milling. On one side is an anchor, on the other a nut. If you tighten the nut, the rod tries to straighten, intentionally bending the wood in the right direction.
 |
 |
 |
|
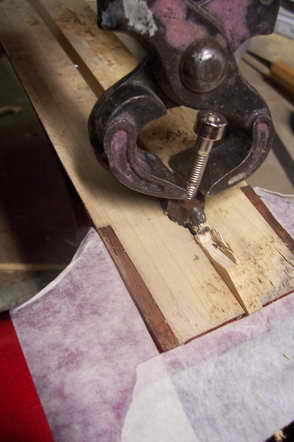
So I have to remove the fingerboard, operate out the rod, install a new one, put the fingerboard back on.
 |
|
 |
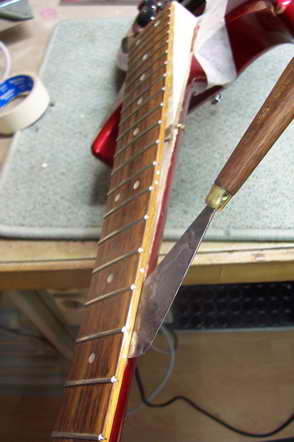 |
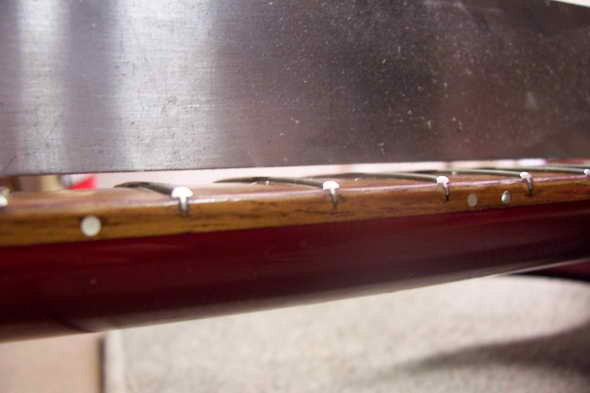
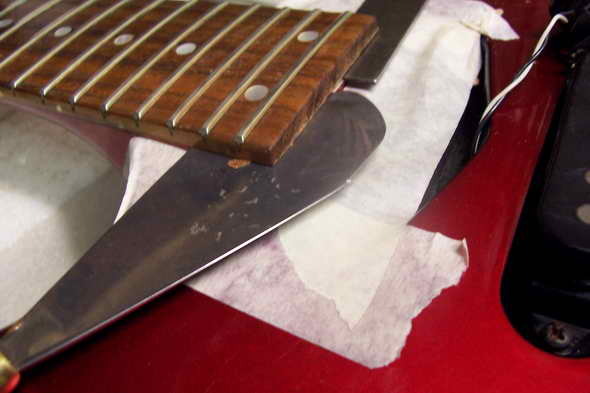
The glue joint must be heated for a longer period of time. Then along the joint carefully lift off the fingerboard.
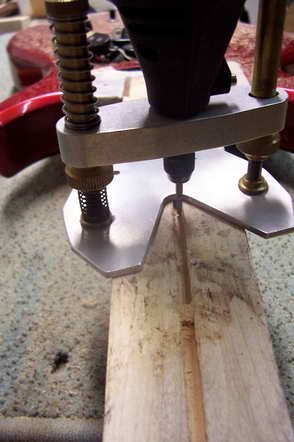
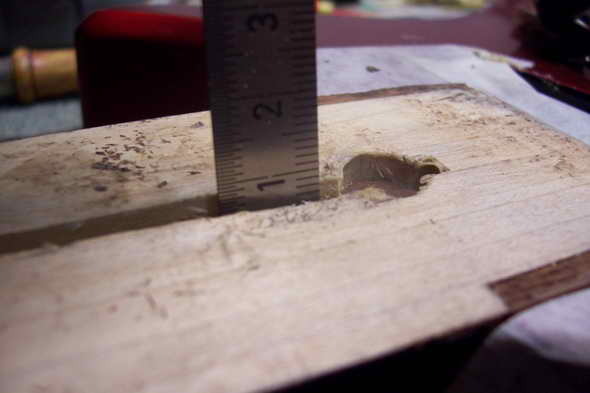
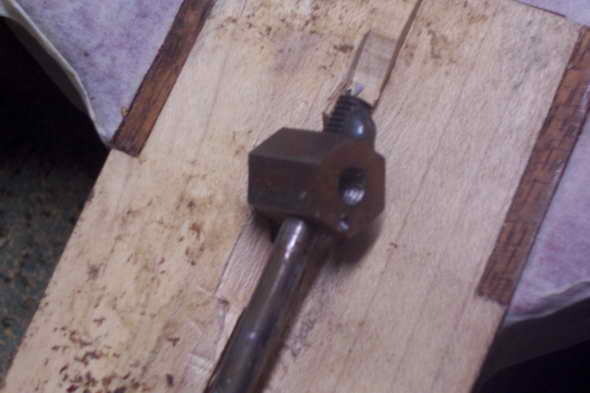
The slot for the rod is closed with a piece of maple. I expect the thickest thickness of material to be in the center. I use a Dremel and carefully mill deeper piece by piece.
 |
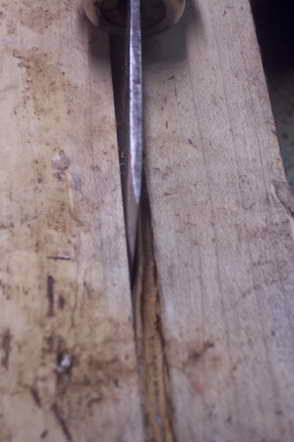 |
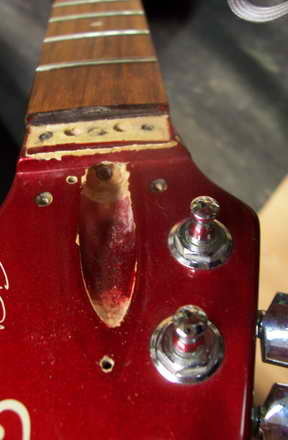
Surprise!!! The rod is the same depth in everywhere! This is normally the slot for a combination rod. When the nut is tightened, there is no counter force at all, the wood is just pressed together. It can't work like that!!!
For me, this is a design or manufacturing defect and also the reason why this damage occurred.
 |
 |
 |
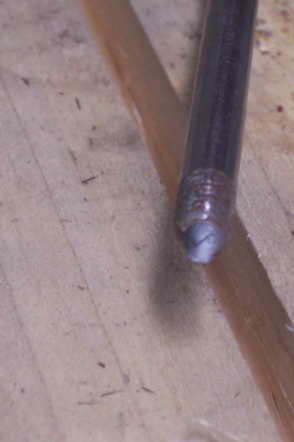
Okay, but it still has to come out. To do this, I cut a thread, turn a screw into it and pull the rod out with a strong pair of pliers.
 |
 |
 |
 |
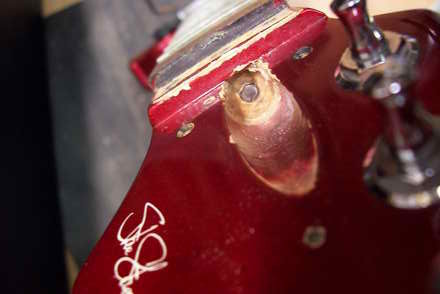
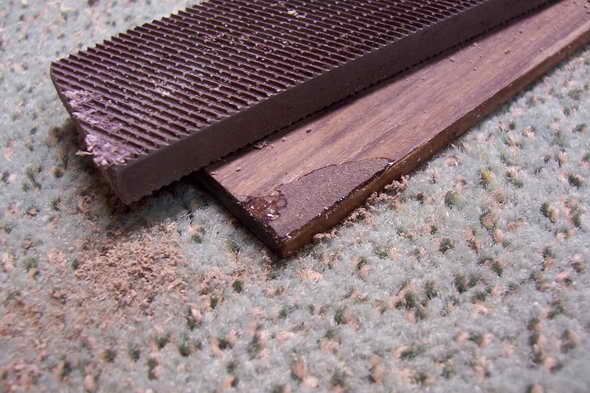
Here the anchor and also the fracture in detail.
 |
 |
 |
|
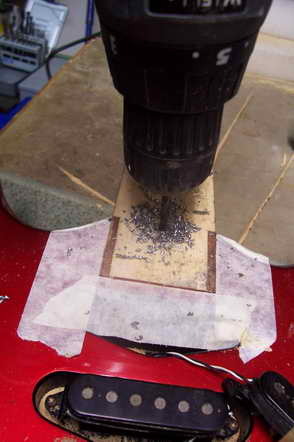
The new rod pocket is milled. Damage from removing the fingerboard is also repaired now.
 |
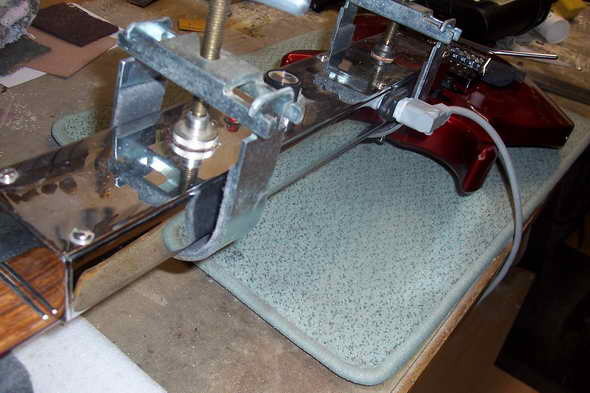
The fingerboard is realigned, fixed with small nails and then glued with hide glue against a straight support.
 |
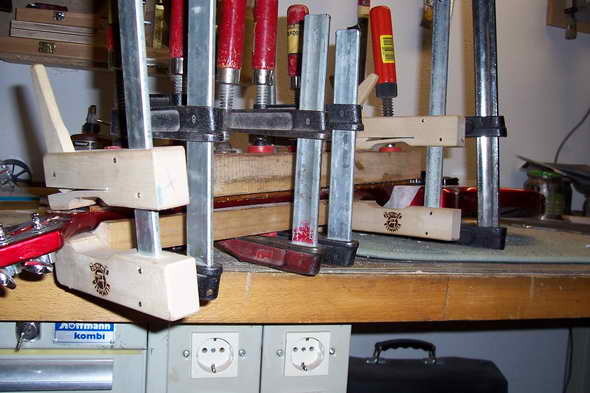 |
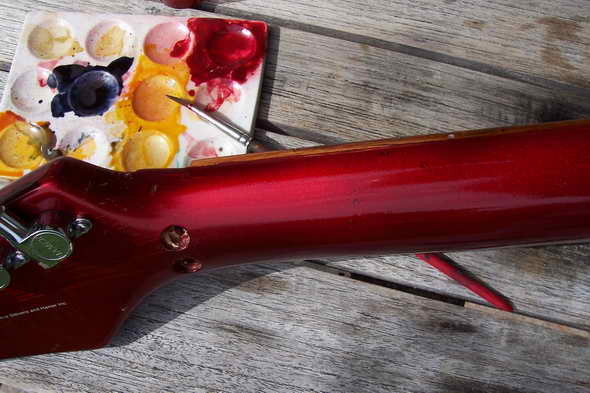
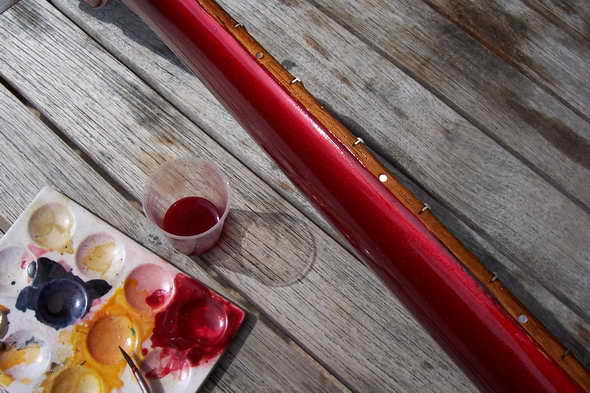
The excess glue is removed, the edges are broken and now the color must be brushed again (Touch Up).
 |
 |
Frets are trued, all parts are reattached, strings are put on and all final adjustments are made. Done.
And again - keep your hands off the truss rod if you don't know what's behind it!

|
Rall Guitars & Tools Hauptstrasse Tel +49 (0) 8803-48856-56 Retail Shop: By appointment only
|
Subscribe our Newsletter By subscribing our newsletter you accept our Privacy Policy and Terms and Conditions. |