Tools, parts and what you need for guitarmaking

-
Tools & Jigs
-
Tools
- Fretting Tools (Base)
- Pliers
- Sanding Blocks
- Brushes
- Files
- Routers
- Routing Templates
- Templates / Straight Edges
- Fretting Templates - Fret Scale Templates
- Clamps
- Knives
- Measuring Tools
- Tool Sets
- Reamer
- Keys, Wrenches
- Drill Jigs
- Saws
- Drill Bits
- Scrapers
- Bending Irons
- Other Tools
- Fret Hammer
- Fret Pressing
- Fretboard Protector
- Fret Bender & Tang Nipper
- ... More
- Jigs for Luthiers
-
Tools
-
Hardware & Parts
- Necks & Bodies
- Tuners
-
Hardware / Parts
- Truss Rods
- Carbon / Titan Reinforcement
- Trussrod Nuts
- Washer for truss rods
- Bridge Pins
- End Pins
- Bridges & Tailpieces E-Guitar
- Bridges & Tailpieces
- Covers
- Pickguards / Scratch Plates
- Strap Locks
- Bridge Accessories / Spare Parts
- Screws, Nuts, Washers
- Neck Attachement
- String-Ferrules
- Jack plates
- Control Plates
- String Retainer / String Trees
- knobs (pots/switch)
- Relic Parts
- ... More
- Nuts & Saddles
- Fret Wire
- Pickups & Electronics
- Materials & Supplies
- How-to
- Guitar Making
Shop Startpage Guitar Making Repairs Steelstring Repairs Frame repair
Frame repair on solid wooden frame
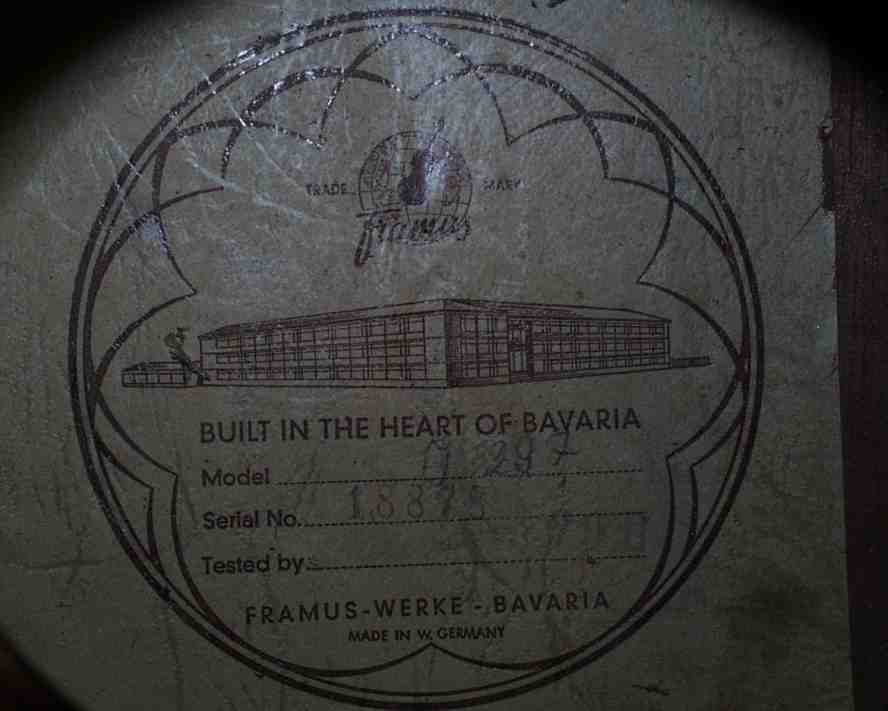
Here I show the side repair of a 12-string thick Framus J297
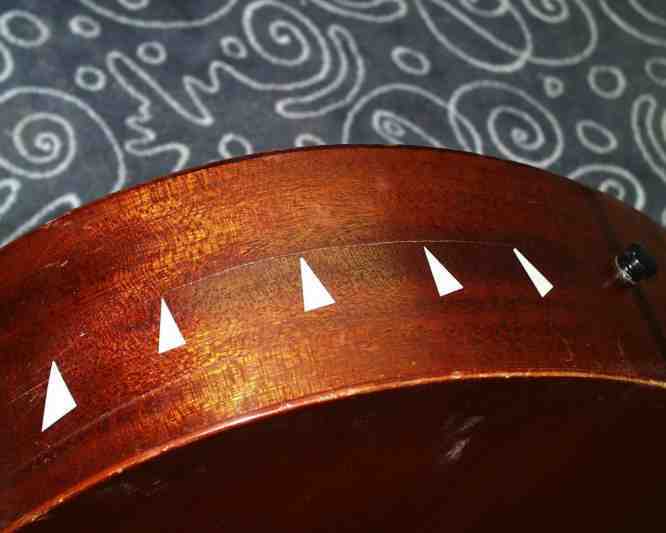
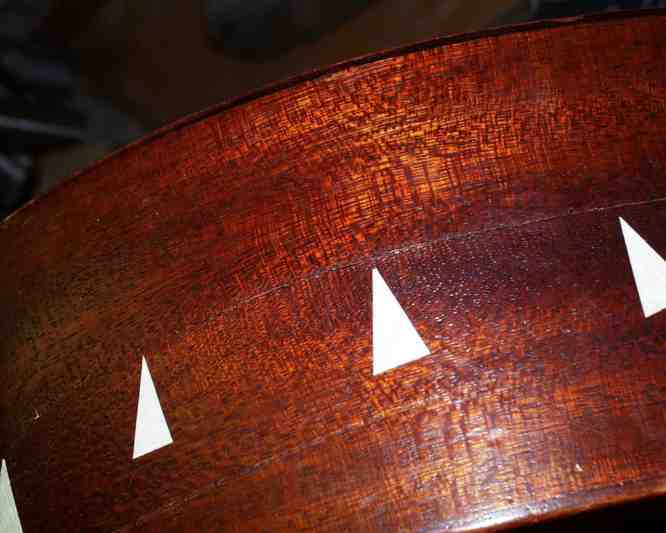
This sweetheart from German production (I think 1978) consists of molded back and locked top. The neck is entirely made of about 1mm thick veneer strips, while the sides are solid mahogany. And one of these sides unfortunately has a large crack.
 |
 |
 |
Since the areas near the end block can hardly be reached by hand (at least not with mine), you have to work with other means. If you could reach them by hand, a few strong magnets would be enough to glue strips of wood against them from the inside for smaller cracks. If the walls of the cracks are very gaping and uneven, greater force is needed to level the walls and sufficient lateral force is needed to press the crack together. The second can be done with outside clamps, the first requires the following trick, which I owe to the American author Don E. Teeter - Thanks Don!!!
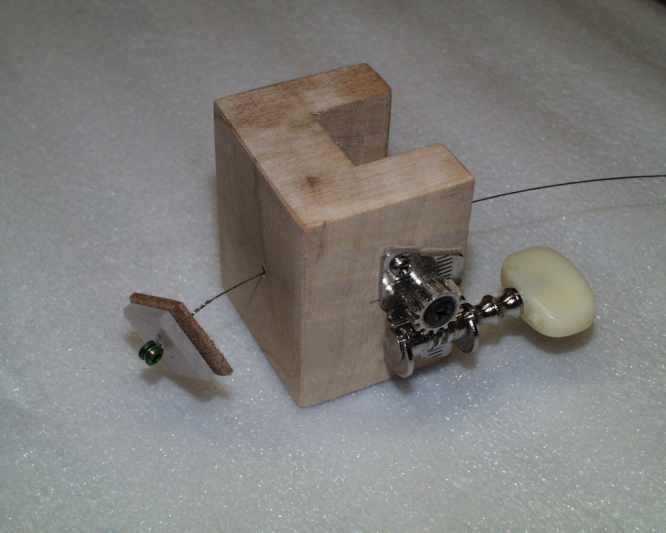 |
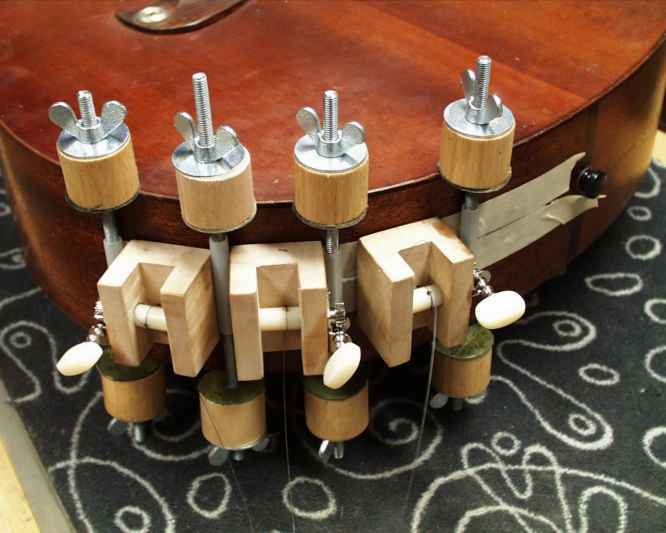
The trick is based on a thin steel string that is guided through the crack and presses a piece of wood against the frame from the inside. The string is wound on the outside via a guitar mechanism on a so-called frame clamp. The manufacture of this clamp can be found in the Tools section. Steel strings often have the strings twisted at the brass ring. These twisted strings hinder the removal after gluing and only enlarge the hole unnecessarily. I make do with an M6 nut that I wrap around so that only a single string passes through the frame. This has the additional advantage that the nut is easier to grasp and remove (if you can't get at it at all, you can also attach a string to it to pull the string out again).
 |
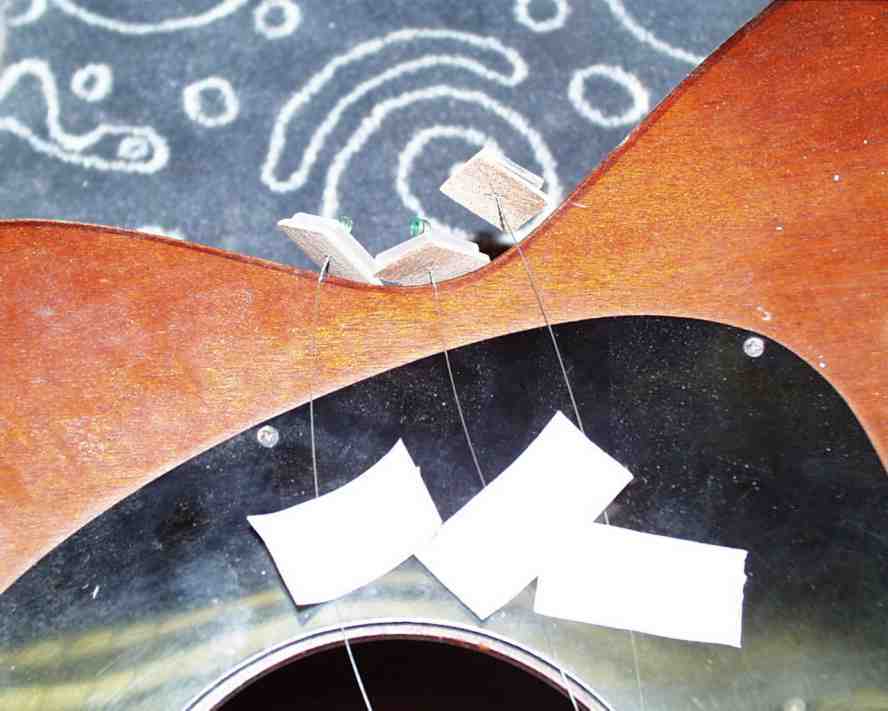 |
Another tricky thing is to insert the string from the inside. The best way to do this is to insert a second thin string through the crack in the rib, pull it out through the sound hole and solder it to the already threaded string. This piggyback with a brass ring at each end is pulled back so far that the beginning and end of the pull string is easily accessible, it is best to secure the ends with tape as in the pictures. A word about stringing: The grain of the wood pieces should run across the crack. The plastic insert has a bevel on two sides. Using a 3x3mm piece of double-sided tape, tape the wood to the shim so that the bevel runs parallel to the grain and then thread it on. In this way, when gluing inside, you can feel or see the orientation. Quite safe, however, is the variant with two holes and strings, where one string serves as a guide, and the other is wound.
 |
 |
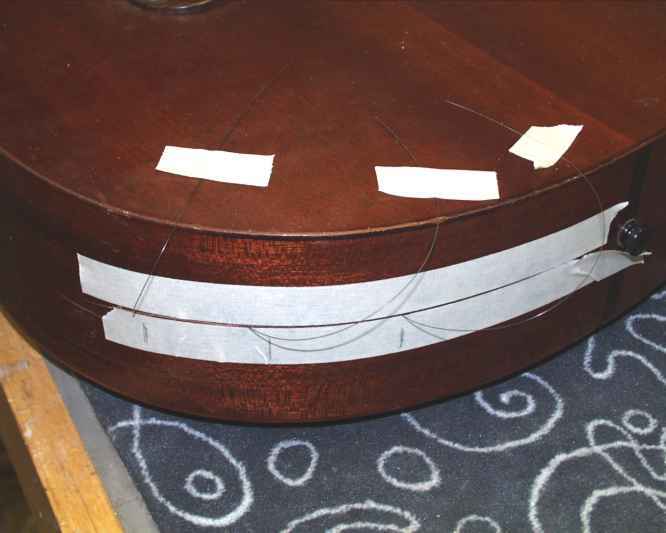
As can be seen in the pictures, adhesive tape is applied next to the crack to protect it from glue. With a "Turk" (they are really called that) I spread the crack open a little from the inside and apply glue (remove the spreader again). At the previously marked points, the frame clamps are attached and the string is wound up. Quickly check that the walls feel the same and then tighten the side clamps. Remove the excess glue immediately. Let dry overnight, clean the area, maybe a touch up is needed. Done!

|
Rall Guitars & Tools Hauptstrasse Tel +49 (0) 8803-48856-56 Retail Shop: By appointment only
|
Subscribe our Newsletter By subscribing our newsletter you accept our Privacy Policy and Terms and Conditions. |