Tools, parts and what you need for guitarmaking

-
Tools & Jigs
-
Tools
- Fretting Tools (Base)
- Pliers
- Sanding Blocks
- Brushes
- Files
- Routers
- Routing Templates
- Templates / Straight Edges
- Fretting Templates - Fret Scale Templates
- Clamps
- Knives
- Measuring Tools
- Tool Sets
- Reamer
- Keys, Wrenches
- Drill Jigs
- Saws
- Drill Bits
- Scrapers
- Bending Irons
- Other Tools
- Fret Hammer
- Fret Pressing
- Fretboard Protector
- Fret Bender & Tang Nipper
- ... More
- Jigs for Luthiers
-
Tools
-
Hardware & Parts
- Necks & Bodies
- Tuners
-
Hardware / Parts
- Truss Rods
- Carbon / Titan Reinforcement
- Trussrod Nuts
- Washer for truss rods
- Bridge Pins
- End Pins
- Bridges & Tailpieces E-Guitar
- Bridges & Tailpieces
- Covers
- Pickguards / Scratch Plates
- Strap Locks
- Bridge Accessories / Spare Parts
- Screws, Nuts, Washers
- Neck Attachement
- String-Ferrules
- Jack plates
- Control Plates
- String Retainer / String Trees
- knobs (pots/switch)
- Relic Parts
- ... More
- Nuts & Saddles
- Fret Wire
- Pickups & Electronics
- Materials & Supplies
- How-to
- Guitar Making
Shop Startpage Guitar Making Techniques Pickups For Accoustics Schertler Bluestick
Schertler Blue Stick 3.0 / 70 Pickup Installation in a Steel String Guitar
Here I show the installation of a top class bridge pickup.
If you play not only alone in the living room on the couch or in front of a silent auditorium, you can not avoid amplification.
The more valuable the guitar, the more important it is to keep it as much as possible in its original condition - i.e. not to drill holes in the sides etc.. Also, the acoustic sound of the instrument must be reproduced as naturally as possible but suitable for stage use. Maximum freedom of movement and insensitivity to feedback during performance is also a goal. But what is the solution?
I have been using this Swiss product for several years. Certainly on the upper price edge but the satisfaction of customers always proves me right.
The pickup transmits the character of the instrument - and this must be taken into account when choosing. A nasal wooden box will transmit nasally! A jumbo with voluminous bass will also transmit so voluminously! Especially if too much bass is to be expected, it can happen that you can't regulate it completely on the system. Schertler also offers Blue Sticks (BLUESTiCK ACTIVE EQ) with active tone control - which in such cases are preferable to the somewhat cheaper devices.
And so Schertler writes on his homepage ( www.schertler.com )
"The SCHERTLER BLUESTICK is a bridge pickup ... and is based on a hermetically sealed air chamber. It is the solution for musicians and sound engineers who value the highest feedback resistance (8 dB above normal piezo). This high-quality pickup guarantees an indescribably natural and especially individual signal reproduction for the entire bandwidth...".
Especially this pickup has it with the installation in itself. Even the smallest inaccuracies in the bridge insert cause unevenly loud string pickups and immediately punish your own carelessness. Leave the installation to a professional!

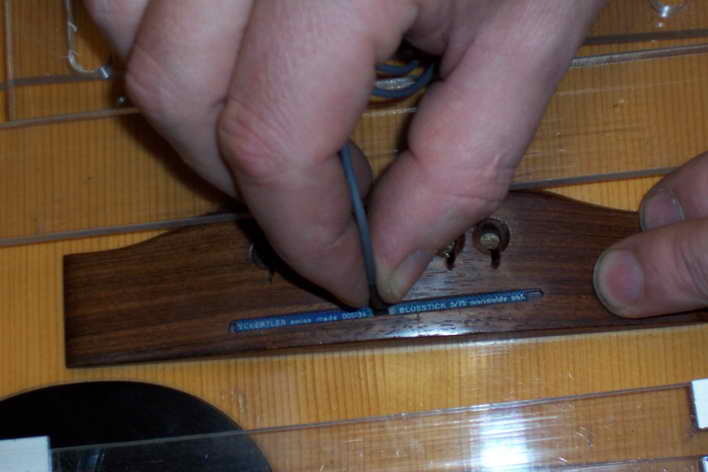
Measuring the width of the web. This one was 2.5mm. There are also for these wide bridge inserts, but here should be a wider one with 3.0mm in - the guitar gives that well.
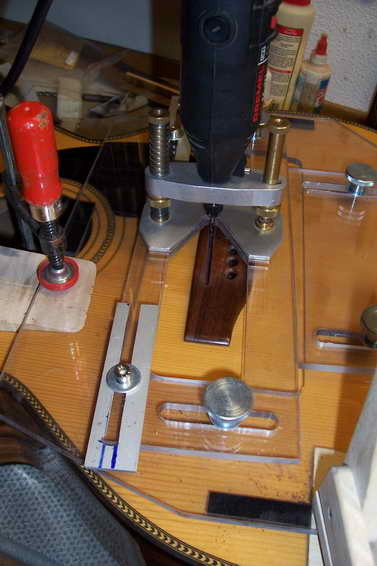
The bar is milled wider and deeper with the Dremel using a milling device. The evenness of the groove is important.
 |
 |
Now the accuracy of fit is checked. It must not jam.

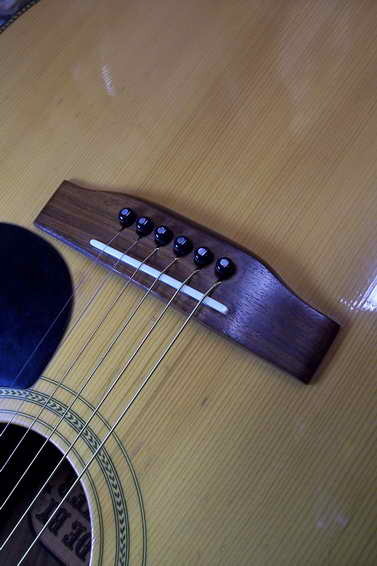
The bone inlay is fabricated. Ground and polished.
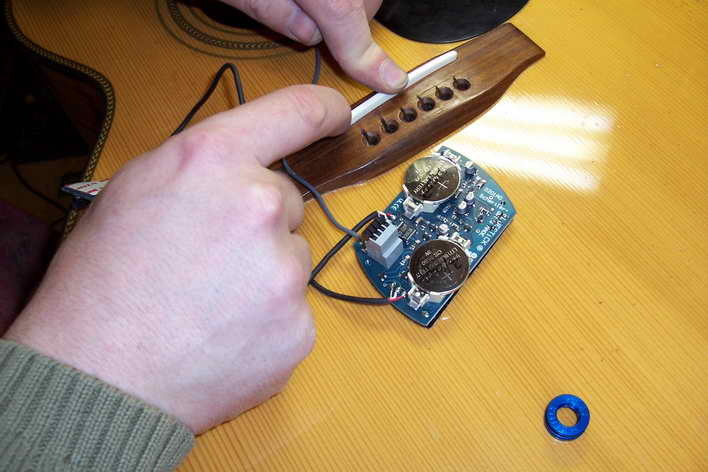
Before everything is assembled, one more function test.
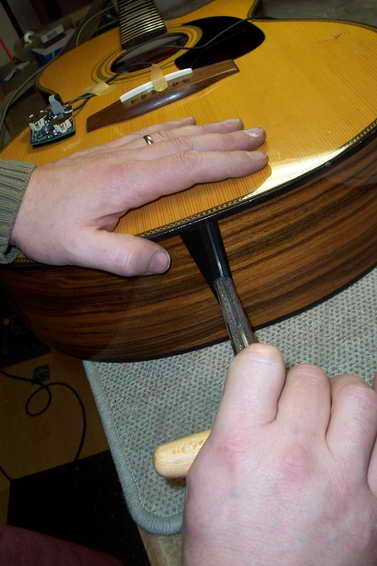
Then the end bushing is reamed to the appropriate diameter.
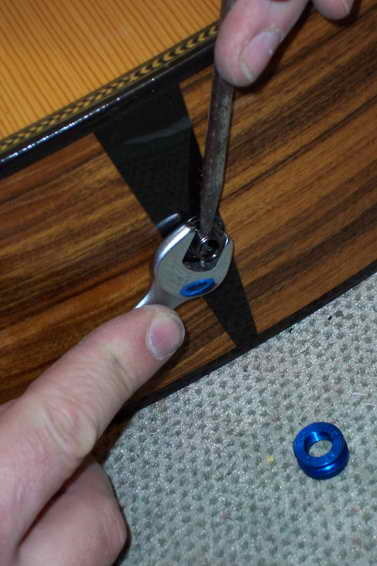
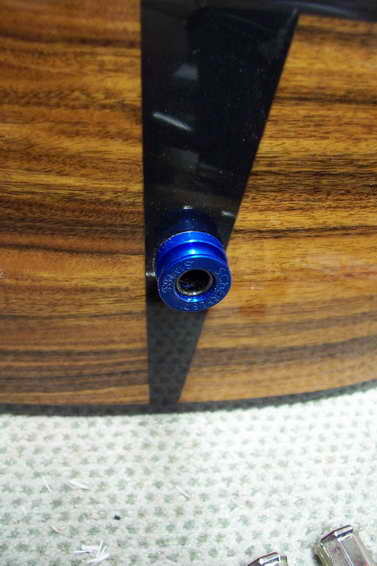
Bushing inserted and fastened.
 |
 |
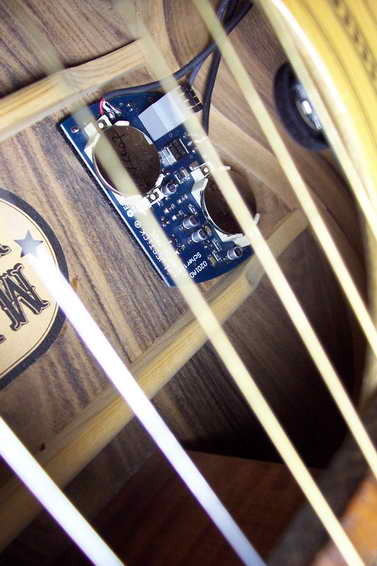
The wheel for the volume is mounted hidden on the edge of the sound hole, also the amplifier is placed so that you can get in to change the batteries (~1000h).
And then you're ready to go!

|
Rall Guitars & Tools Hauptstrasse Tel +49 (0) 8803-48856-56 Retail Shop: By appointment only
|
Subscribe our Newsletter By subscribing our newsletter you accept our Privacy Policy and Terms and Conditions. |