Tools, parts and what you need for guitarmaking

-
Tools & Jigs
-
Tools
- Fretting Tools (Base)
- Pliers
- Sanding Blocks
- Brushes
- Files
- Routers
- Routing Templates
- Templates / Straight Edges
- Fretting Templates - Fret Scale Templates
- Clamps
- Knives
- Measuring Tools
- Tool Sets
- Reamer
- Keys, Wrenches
- Drill Jigs
- Saws
- Drill Bits
- Scrapers
- Bending Irons
- Other Tools
- Fret Hammer
- Fret Pressing
- Fretboard Protector
- Fret Bender & Tang Nipper
- ... More
- Jigs for Luthiers
-
Tools
-
Hardware & Parts
- Necks & Bodies
- Tuners
-
Hardware / Parts
- Truss Rods
- Carbon / Titan Reinforcement
- Trussrod Nuts
- Washer for truss rods
- Bridge Pins
- End Pins
- Bridges & Tailpieces E-Guitar
- Bridges & Tailpieces
- Covers
- Pickguards / Scratch Plates
- Strap Locks
- Bridge Accessories / Spare Parts
- Screws, Nuts, Washers
- Neck Attachement
- String-Ferrules
- Jack plates
- Control Plates
- String Retainer / String Trees
- knobs (pots/switch)
- Relic Parts
- ... More
- Nuts & Saddles
- Fret Wire
- Pickups & Electronics
- Materials & Supplies
- How-to
- Guitar Making
Shop Startpage Guitar Making Luthiery 000-Standard
The project "000"
The production of an acoustic steel-string guitar modelled on a C. F. Martin "OOO", as shown on the following pages, took place between November 2000 and May 2001. As far as possible, I have refrained from using machines. I have summarized the individual steps as compressed as possible. I would like, and this is my goal, to share my experiences with other interested people. I do not claim in any case, only this shown way leads to a good instrument, it was mine at that time.
In any case, I would like to thank you for your comments and suggestions.
Planning the ProjectFor me personally, besides the varnish, planning is the most important thing in building a guitar. Both the one and the other can completely destroy a whole work. Of course you can't plan or foresee everything, but the worst mistakes can be avoided absolutely by simple construction. |
The Guitar TopThe wood for the guitar top is made of two symmetrical boards glued together in the middle. When you buy the top tonewood, you can get raw, sawed boards. These boards must then be laid together at the joint and marked with a triangle, for example. |
Preparation of the Guitar BackThe floor is normally glued together like the ceiling from two mirrored boards. Together with the sides the back has the technical task of keeping the body stiff and straight. Since the sound is produced by excited string vibration over the top, the back and sides do not need to have the characteristics of being particularly light and quick to respond. Usually hardwoods such as maple and rosewood are used for this purpose, but it is also possible to build attractive guitars with rarer species such as pear or cherry. |
Production of BindingsAnother requirement for a beautiful instrument is a long life span, despite extensive use. |
Preparation of the NeckThe neck here consists of the fingerboard and the actual neck wood. For the fretboard I plane the wood to 6.5mm thickness and use the scraper and a radius block to attach the desired fretboard radius (16"). I keep some of the fine sanding dust. |
Preparation of the BridgeFor the bridge you need a narrow piece of hardwood with standing annual rings. Usually rosewood is used, but flamed maple makes an equally good bridge. |
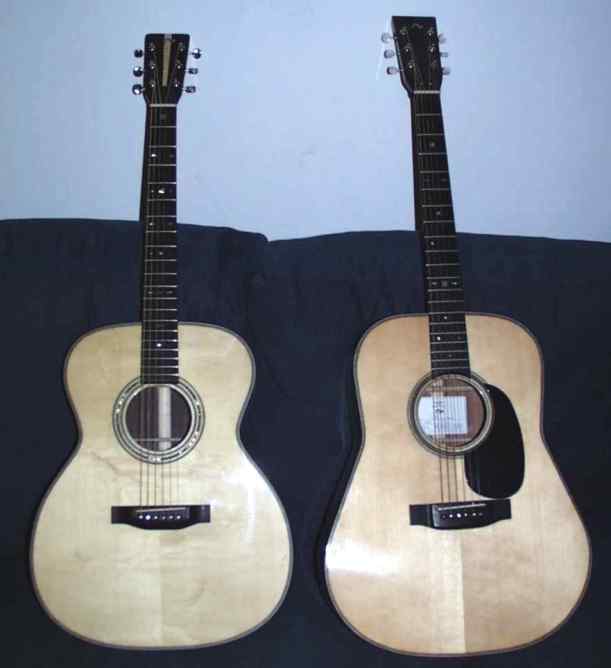
Progress of the BodyHere you can see different stages of the bodies. Following these immediately after the gluing of top and bottom. The outer dimensions are already pre-milled, the bindings are already waiting. |
Finishing 000-StandardWith the paint finish, the icing on the cake is the many hours of hard work. If this work is not done very carefully, you can watch the disaster every time you play and get annoyed again - not my case! |
SetupImportant dimensions, such as the position of the bar, must be determined before painting. The assembly itself can be divided into two processes. The first is before painting and the final assembly. The first one, as already mentioned, determines important measurements and one checks the functional measurements of the guitar (string position, direction of the neck, neck angle...). As shown in the following pictures, you already work to tenth of a millimeter here. |

|
Rall Guitars & Tools Hauptstrasse Tel +49 (0) 8803-48856-56 Retail Shop: By appointment only
|
Subscribe our Newsletter By subscribing our newsletter you accept our Privacy Policy and Terms and Conditions. |