Shop Startpage Guitar Making Luthiery Dreadnought
Dreadnought

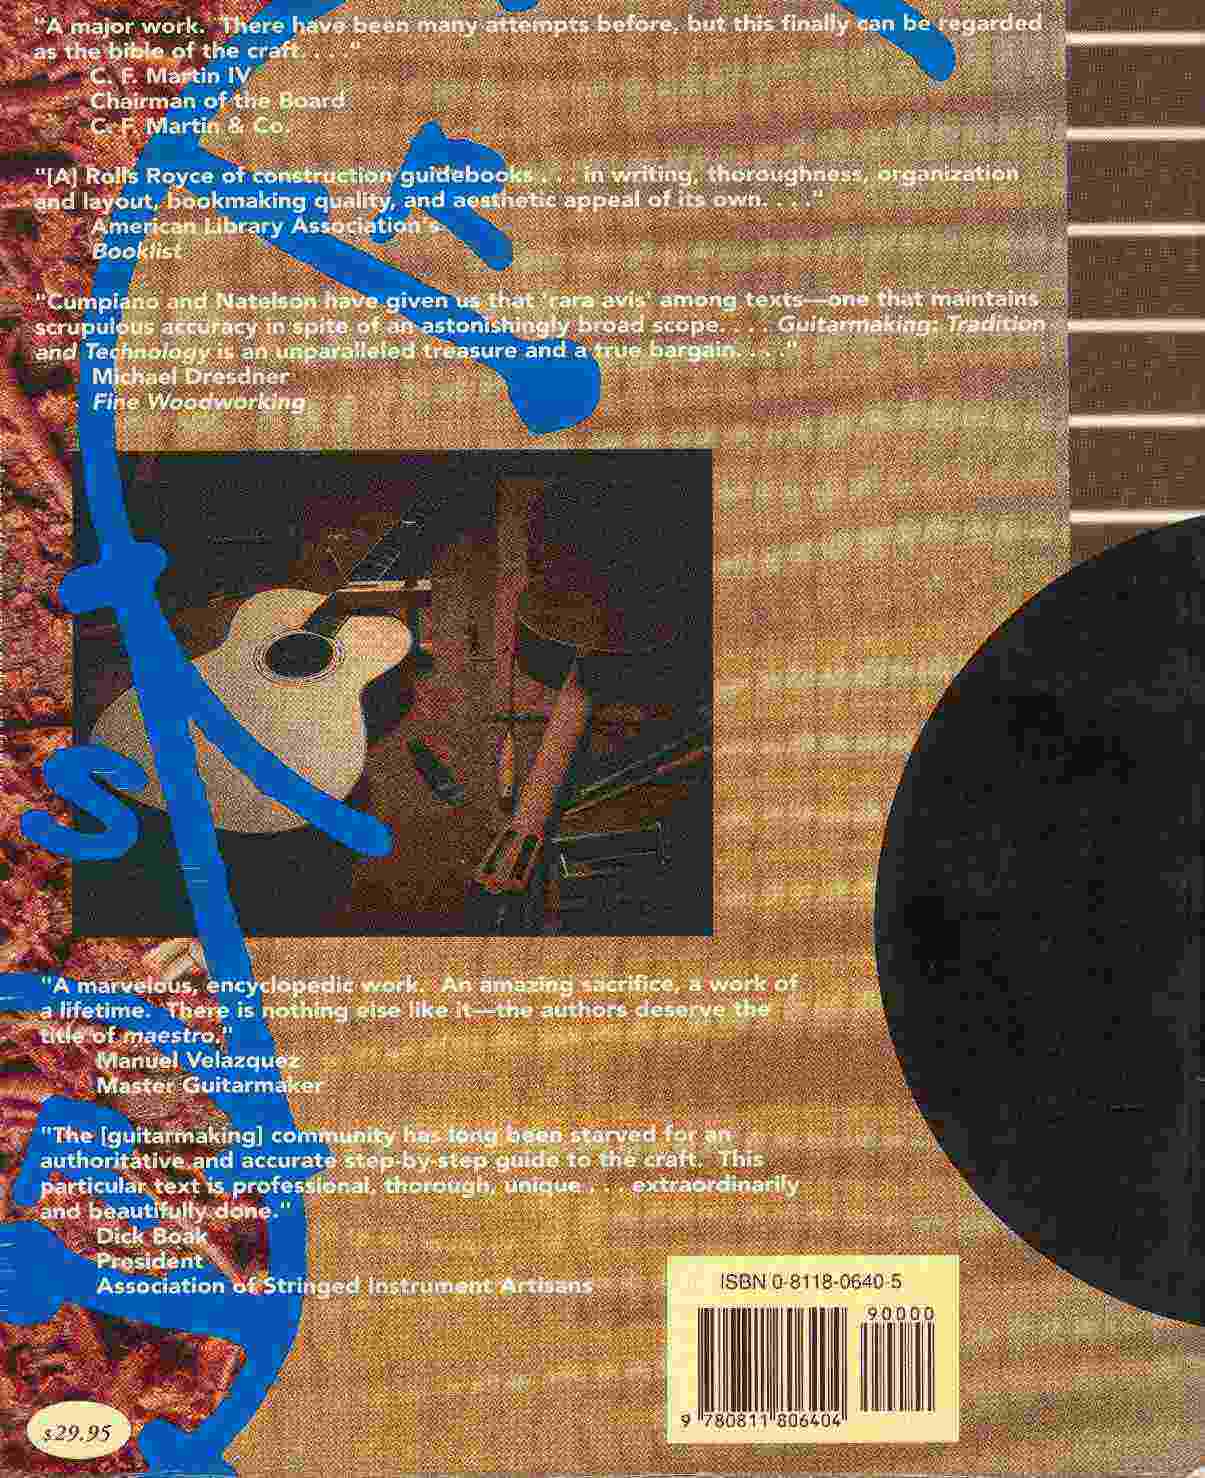
After the many experiences through the repair work, I wanted to build a whole acoustic guitar for the first time. Since I had never built a guitar myself before, I needed a lot of information, I surfed the Internet, asked instrument maker friends and read mostly English literature about it. In the USA, "private" guitar building is much more widespread than here. In addition, the knowledge about the profession of the instrument maker is not passed on through vocational schools as it is here, but often through one's own initiative, "training on the job". This results in very good experience reports and books. One can argue about the principles of the German and American way of vocational training, but they simply have the better instructions. I got the book "Guitarmaking: Tradition & Technology" by William Cumpiano ( link to Cumpiano's homepage ) from Amazon. It is the most detailed and comprehensible guitar building book I have come across. It describes how to build a steel string guitar and how to build a classical guitar and was the model for many other guitar building books. Since it assumes that you don't need large mechanical devices (because you don't have them), the interested novice can get valuable guidance from this book.
 |
 |
This article is also the first time for me, my pictures, which initially made only for their own memory, to put together a field report and put on the Internet. I do not have the claim to give instructions for rebuilding, but rather to encourage the undecided reader to build his own guitar. However, if someone is thinking about saving money by building his own guitar, he should rather buy a finished one. Of course, the raw tonewood, hardware and varnish costs a few hundred marks, but if you count the time to prepare the jigs, reading the books and the craftsmanship, the hourly wage is only a few EUR - man you need quite a bit of patience. Just out of curiosity to build something like this is honorable, I think you either get so excited and get addicted to it or leave the project in the middle of the work and the effort goes bad. So you have to be crazy to do it (I was, I still am and excited about it ;-) so here goes).
The photographs were mostly taken with a small viewfinder camera and scanned afterwards, accordingly the quality - but the overall path is still good to follow. It is subdivided as follows:
- Tools I needed in addition
- The top
- The frame rim, bending and glueing
- The back
- The neck
- The position of the bridge
- The assembly and the varnishing
- The finished instrument
After a long study of the literature, I started to get or rebuild first the woods, then the hardware and the jigs recommended by Cumpiano. You can get tonewoods in Germany in highest quality e.g. from the company Kollitz in Weisendorf (Link to Kollitz ), from Theodor Nagel GmbH in Hamburg ( Link to Nagel ) or from Woodland GmbH. My advice is: start with simple and cheap materials
| designation | Quantity | Dimensions [mm] | material |
| Ceiling material | 1x | 3x550x430 | Spruce |
| Back / Sides | 2x | 2,5x120x870 | mahogany |
| Fretboard | 1x | 6x60x510 | Ebony |
| neck | 1x | 100x75x590 | Mahogany, 5x locked |
| web | 1x | 11x48x175 | Ebony |
| Bracing | 1x | 20x50x510 | Spruce |
| Fret | 8x | 5x15x400 | Slotted Mahogany |
| Neck block | 1x | 95x70x33 | Spruce |
| Endblock | 1x | 120x80x19 | Spruce |
| Soundhole rosette | 1x | - | Herringbone |
| Binding | 1,5x7x800 | Herringbone / flamed maple | |
| Back-decoration | 1x | - | Zipper Stripe |
| Tuners | 1x | 3 L / R | Kluson |
| paint | - | - | Filler Water-based, high-gloss nitrocellulose lacquer |
| glue | - | - | Hide glue |
| Fret Wire | - | - | Dunlop Medium Wire |
| Inlays Fretboard | - | D45 style | Abalone |
Tools I additionally required:
- Bending Irons electric
- 1 piece of spring steel 100x800x0,15 (eg Hasberg foil stainless steel) to protect against frame breakage
- glue stove for hide glue
- Kreisfräsvorrichtung for Dremel (soundhole rosette)
- 2 piece Flexible steel ruler to saddle positioning
- Board with sandpaper 120'er 80x60cm
- Work surface in guitar shape made of plywood approx. 5 cm thick
- Top Plan 1: 1 glued to pressboard
- Glue Clamps small for Fret
- Clamps (12 pieces and 4 pieces 200'er 120'er) for bracing
The blanket
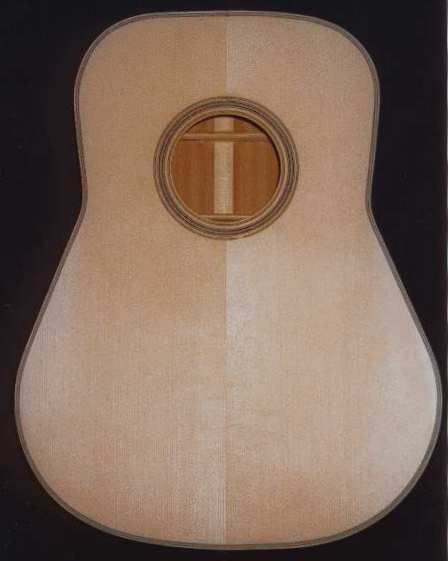
I bought the ceiling wood already glued and sanded to the right thickness, so I bypassed the tedious and lengthy planing. A ceiling prepared in this way costs about 8 EUR more and what reason is there not to make it easier for yourself in such a simple way? I had made myself a ceiling plan on pressboard, now I aligned it with the center line of the ceiling wood and positioned the outlines so that I had as even annual rings as possible. I then carefully transferred the positions of the beams, the soundhole center, and the outside line to the ceiling with a pencil. Since bending the frames without From is somewhat imprecise, one should leave the outer line a good 15-20mm larger than nominal and then saw out the shape on the bandsaw at this offset line.
I was looking for fine-grained wood for processing and discovered that sawmills sell cut pieces of roundwood very cheaply. These outermost boards of the tree, which we call "blackwoods", have almost completely horizontal, narrow annual rings. On the outside you have to add some waste, because there the bark sets in and the wood here is not so good. From dry and seasoned wood I cut the battens for the ceiling (and of course the floor) according to the plan. The large battens are curved about 3-5mm on the glue side along the entire length. This gives the top a certain preload, the resulting dome-like structure makes the top stiffer and more tonally appealing.
Before starting on the inside of the ceiling, the sound hole decorations are applied to the outside, then the sound hole is cut out. For this I used my Dremel Multi. In the center of the sound hole I drilled a Ø6mm hole for a 30mm long straight pin. I let this dowel pin into the guitar making pad. I positioned the top with the Ø6mm hole on the pin, this pin is then the center for the Dremel circular router. I measured the sound hole rosette and then milled the channel so that about 0.3mm allowance was left over. Now I glued the chips, worked them even, then I set the cutter so deep that it cut out the sound hole (clamp the entire ceiling, because the cylindrical pin in the center then holds nothing!).
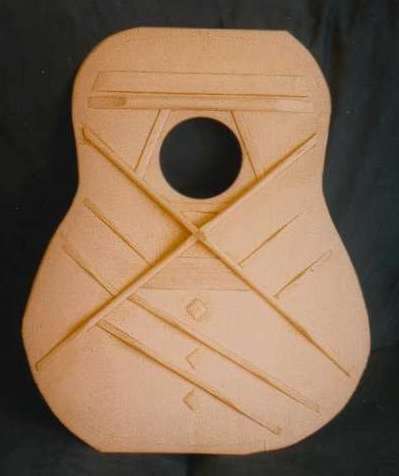
If you glue the battens on, the X-braces are the last to be glued on. First come the 6 smaller, the upper crossbar and reinforcements. The 6 fan beams are left 2-3mm inside the X-beams and carved out at these points with the carving iron to fit exactly. By overlapping the beams a little, one hopes for better clan transmission and a stiffer construction. When the top is finished, the underside of the bridge is reinforced with a piece of hardwood (maple, 2mm thick). Martin Guitars changed the size of the bridge plate in the late 60's to reduce the risk of the top collapsing due to string tension. I followed the original plan and made a small reinforcement and had no problems so far. To support the glue joint of the top, three small pieces of wood (spruce, approx. 12x12mm) are glued on below the bridge reinforcement across the grain direction of the top wood. For me, they are a bit too large, but have an imperceptible influence on the sound.
 |
 |
Tip:
-Always place a soft base under the ceiling wood and make sure that no chips or the like are hidden. Scores and pressure marks are visible after varnishing. (Cedar is especially bad)
-The curvature of the large crossbar (above the sound hole) must be designed so that the resulting gap is closed by the neck angle between the top and the underside of the fingerboard. Otherwise you will have a sloping fingerboard on the top. I sell finished and matching spar molds for the top (01-010-0002) and back (01-010-0001). This allows the dome to be made and glued precisely.
-The X-bracing was made and glued on first, then the rest. All battens are first attached in a rectangular shape and then carved on the sides and top (scalloped bracing).
-The carving and adjusting of the soundboard ("tuning and tapping") to a harmonic sound is not witchcraft. At the beginning the sound of the soundboard is dull and deep, with the lateral planing of the soundboard strips the sound increases and becomes clear. You can detect a triad on the surface between the large finger strips. Just don't make the soundboard too thin, because otherwise it won't withstand the tension of the strings (unfortunately, you'll notice this only after a while)!
The Frame rim, bending and gluing
Bending the frames went as follows:
In the bathtub or a flower box, let the mahogany worked on strength for 5-8 minutes to soak with lukewarm water, then you can start the bending process. At this time, the bending iron must already be so hot that water drops burst away. I used 0.15mm thin and 150mm wide and 1000mm long stainless steel foil (Hasberg) as breakage protection. If you put it on the wood while bending, you support it and prevent frame breakage and excessive evaporation of moisture.
Since this guitar was not made on a fixed form, the outer contour had to be repeatedly held against a template and checked during bending. With a tape measure I took the highest points of the sides from the From, these points I then drew with pencil and angle on the side. These lines were then a reference point when placing the bow on the bending iron. Overnight, the frames open up a bit, but you can easily reshape the contour on the bending iron without water.
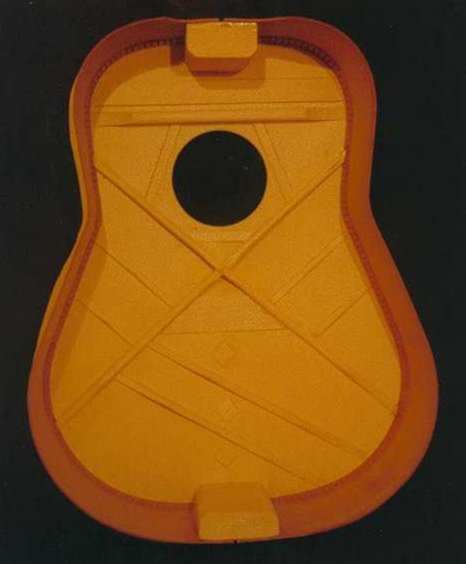
Once you have both ribs, you build the rib ring with the neck and end blocks. It is important that the blocks are glued at right angles to the top, as these will then determine the position of the neck. Then draw the height line of the top according to the plan to get an orientation where to glue the hoops. The hoops serve to increase the gluing area to the top and bottom. The frame contour is prepared using a plane and sanding board. A little fine-tuning with the sanding board and you have the support surface for the top. Once the frame rim and the top are ready, gluing can begin.
 |
Tip:
- The gluing surfaces at the neck and end blocks must not be completely perpendicular to the ribs, but should have a slight curvature in the transverse direction, since the top has a corresponding counter-curvature and a straight surface after painting looks like a defective, twisted top.
- Also, when using hide glue, it gets funky with large surfaces or gaps. You have to be very nimble in applying the clamps because the glue gels within fractions of a minute as it cools and no longer sticks properly. A few dry rounds without glue and preheating the glue surfaces with an iron or hair dryer and a high room temperature is highly recommended.
The back:
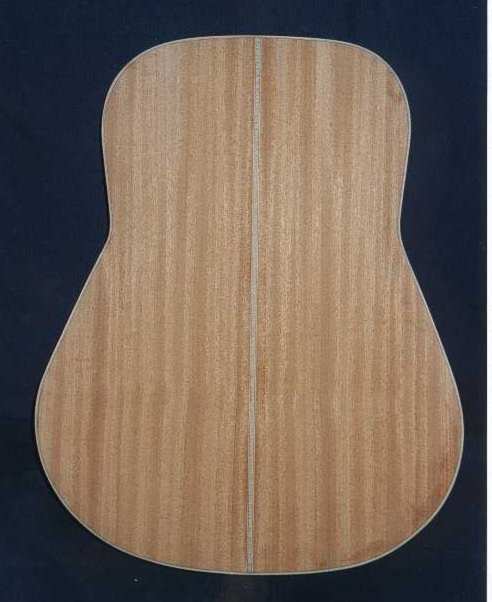
Again, the mahogany was already sanded to thickness and glued. On the back, I inserted a zigzag strip of wood in the center. To do this, I ran the Dremel along a straight piece of wood and milled out the channel according to the cross-section of the strip. Again, I glued the strip in place with hide glue and worked the excess flat with a plane, scraper and sandpaper. After the outer contour was marked with a template, I cut out the guitar shape with enough safety margin.
After drawing and preparing the three strips, they were glued on, the glue seam between the strips was reinforced with a 20mm wide spruce strip (leftover from the ceiling, annual rings across). The strips were carved to a point at the end.
 |
The sound body
Now that the top and bottom are ready, they must be glued together. Use the emery board to make the rib edge fit exactly. Gluing with hot glue is a real challenge and can also go wrong. It can happen that the glue cools down before all the clamps have been applied. While it is possible to re-melt the glue with an iron or other heat source, this should be the exception. So what to do:
- Position the back
- Mark the position of the ceiling in such a way that you can also check the position markings with the clamps in place.
- Spread clamps and apply without glue, mark positions if necessary
- Check air gap and accuracy of fit of joint
- Perform gluing process twice without glue as tests and improve processes
- Have tea and think through the process
- Prepare and heat glue
- Apply enough glue quickly to the hoop
- Put the bottom on
- Check position
- Put the first clamps on the end and neck block
- Check position
- Apply the rest of the clamps evenly
- Check glue joint
- Remove glue residues after 10 minutes
- Leave the sound body overnight
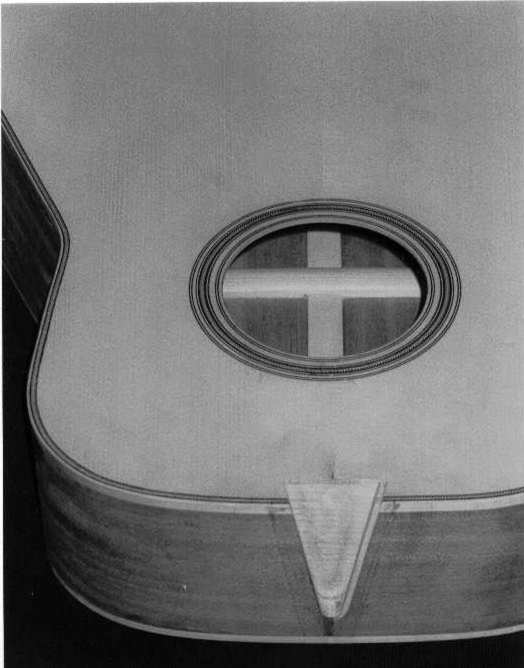
When the corpus is ready the next day, the top and bottom are trimmed with a router and a flush cutter. Decorative strips are inserted at the corners of the body. I prepared curly maple for this, on the top a herringbone stripe is added on the inside, on the bottom a black/white/black stripe. I worked out the milling channel with the Dremel. With hide glue and strips of not too strong adhesive masking tape the stripes were glued. Using a scraper and sandpaper, first the binding is machined, then the entire outside.
The connection to the neck is made with a dovetail. I had an old Martin neck from which I took the measurements and used them to make myself a template out of Plexiglas and the associated jig for milling. Here it is important to mill both the sound body and the neck exactly aligned with the center line, because only then it is guaranteed that the strings afterwards also hit the intended position on the saddle.
 |
 |
The neck
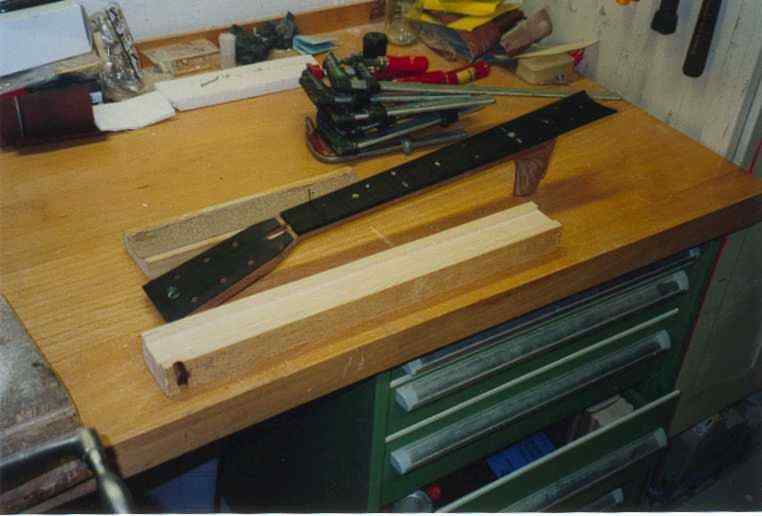
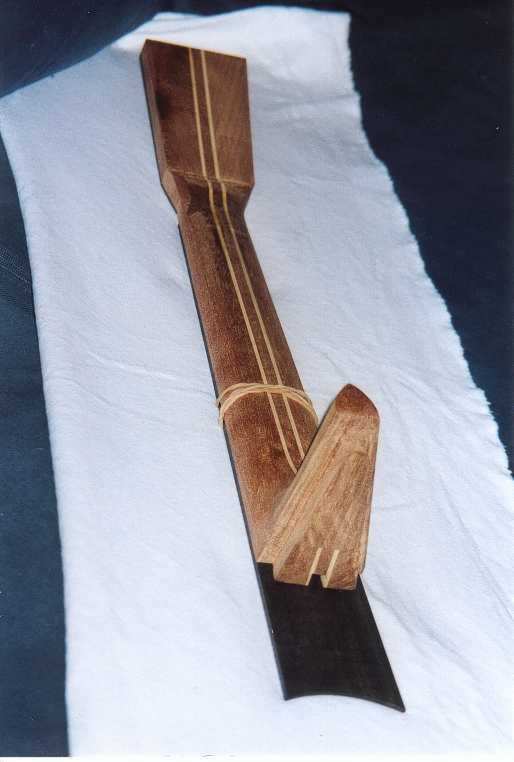
The blank mold consists of two main parts. Once the base and then the boom. For better stability, I locked the boom with two 2mm thick maple strips. Once these main parts were glued together, I had to cut out the rough contour on the bandsaw. With the router I worked out a channel for the steel rod. If you draw from the 14th fret (body junction) backwards to the saddle and now add 6mm, you have the point where the headstock slopes backwards. I glued a 2mm ebony veneer onto the headstock and inserted my abalone mark into it.
The fingerboard I bought ready sawn, it was made of ebony. With the Dremel and a few small cutters I inserted the abalone inlays. This is done by first brushing an area with a light, water-soluble paint (Plaka) in the places where the inlays should go. When dry, glue the inlays in place with a dot of super glue. Then run a pointed knife along the outer contour in such a way that the trace is pressed into the paint. If you now lift off the inlay again, you only need to mill along the track. If the inlay fits in the depth, you glue the bottom again with a drop of super glue. The lateral gaps are closed with a mixture of epoxy and ebony dust. Sand the inlays easily with a file or sandpaper.
 |
|
 |
The position of the land
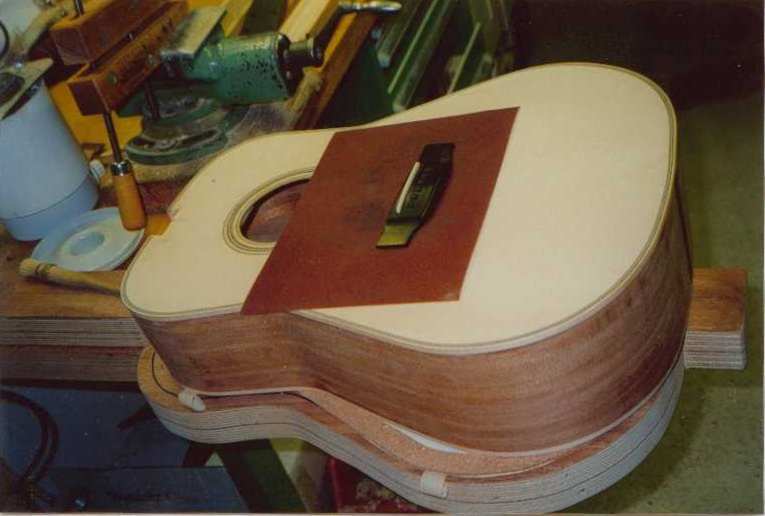
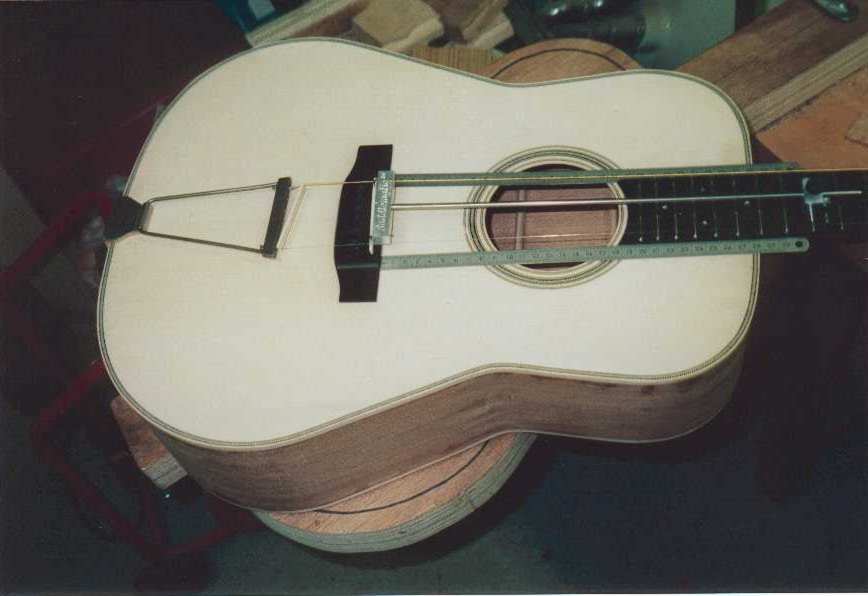
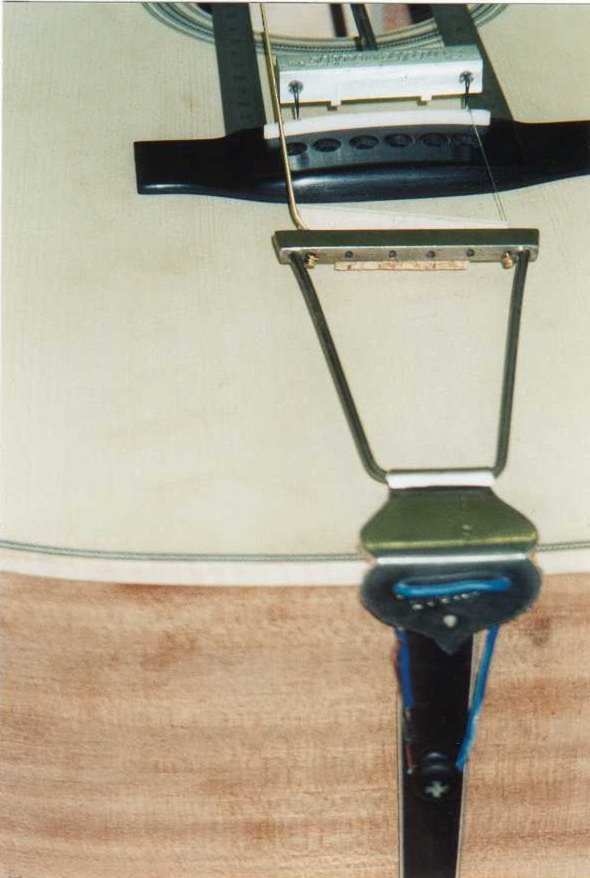
All the effort for such an instrument is only justified if it sounds beautiful and pure afterwards. The exact position of the bridge is extremely important for this. After the neck and body fit together and the fingerboard is glued on, the position must be constructed. To the left and right of the fingerboard I placed two steel rulers with the "0" on the nut. This allows one to see the distance to the nut and the exact direction. With an old tailpiece and the outermost strings strung, I also simulated the string position. Now carefully draw the position with a pencil. Since the top is slightly curved and the underside of the bridge is straight, it has to be adjusted. To do this, place a piece of sandpaper on the spot and move the bridge back and forth. If you color the underside with white chalk, you can easily see the progress. If everything fits, drill through the side support holes in two places and you can use small, tapered plastic cylinders to fix the position for later gluing.
 |
 |
 |
 |
The assembly and the coating
At this point, I had already strung the guitar. This is important for checking the individual function. Does the string action fit in height, is the string run across the fingerboard correct (distance left, right), Is the fingerboard straight on the piece of top?
If all this is correct, it goes on to the surface treatment. Besides the varnishing, the preparation for this is very important. With a lot of attention and in several stages, all the outer surfaces of the guitar must be sanded. Especially now it is important to sand with the wood grain, to remove all irregularities and to remove any imperfections. I wanted to stain the mahogany sides and top dark, but leave the binding and stripe on the back light. To do this, I used water-based stain. To keep the stain from getting on the light areas, I painted over them with clear varnish. For a perfect fit, you have to cover the stripes with a special curve tape (3M) before painting, as well as the top with paper. Once the stain was applied to the sides, back and neck, I had to fill the pores with a pore filler. After a final sanding, I had to mask off the later glue areas on the neck and bridge.
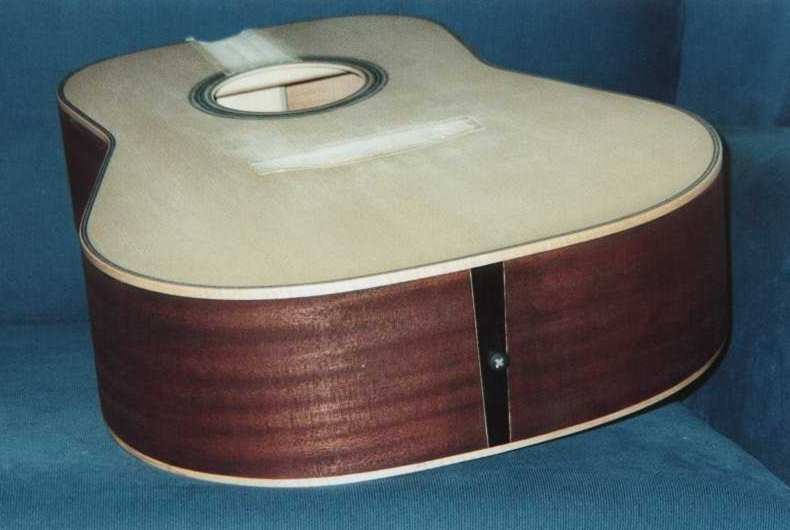 |
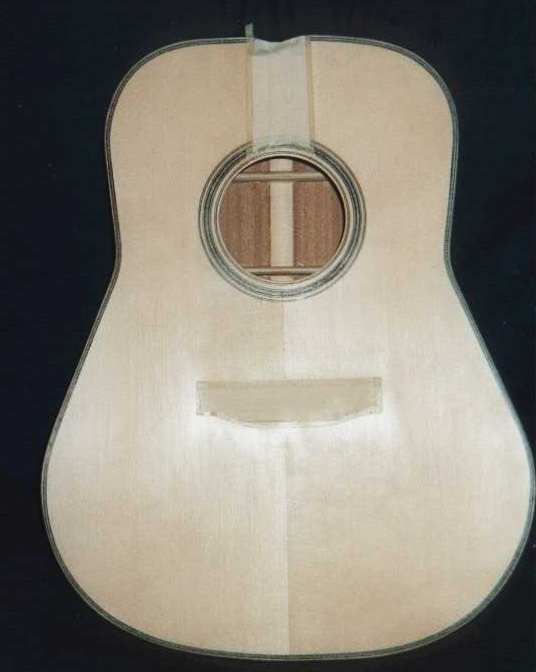 |
Since I had the opportunity to work in a professional paint booth, the paint application with brushes was out of the question for me. With 6 layers of high gloss clear lacquer the good piece was painted and then hung to dry for a good 14 days. After that, I wet sanded the paint with water sandpaper and polished it up with sanding and polishing compound (3M has great stuff here too, ask car painters). Nowadays I polish easier with the polishing stand !
I glued both the neck and the bridge with hide glue. and then nothing could stop me. The holes for the hardware were already drilled before varnishing. I freed them from the varnish and screwed the parts all on. The tailpiece holes still needed to be drilled and reamed, the bones for the nut and bridge filed and polished. And of course, before stringing, my nameplate had to be attached in the soundhole.
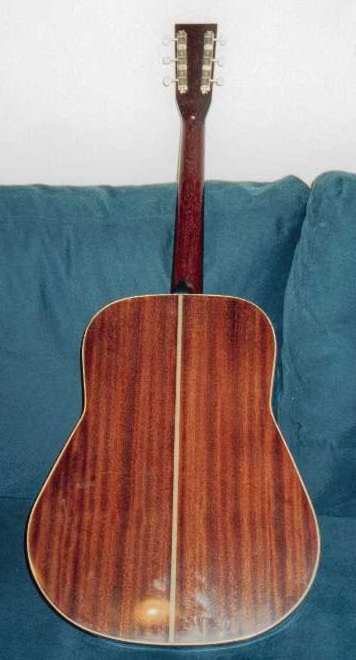 |
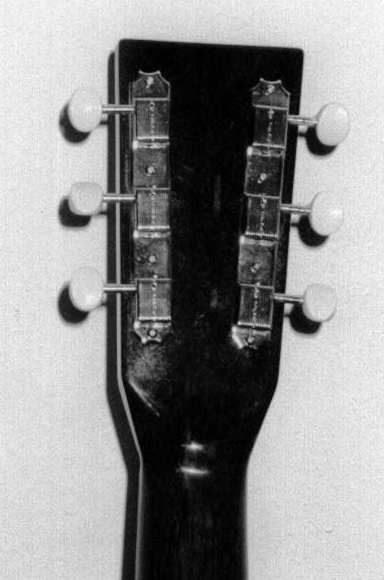 |
The finished instrument
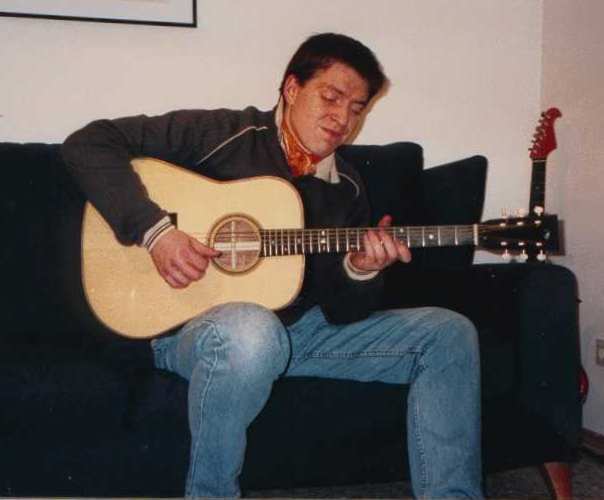
My wife photographed me secretly. But that's how you look when you play the good piece for the first time after a good 100 hours of work. Viewed soberly, this instrument has become simply great. The many fears and thoughts that one made, had turned out afterwards as much too theoretical and I am glad that I have done it and can now have a say. I still have the prophecies of doom in my ear: "better buy a Gibson, then you know what you have". So nothing against Gibson, but the money would repent me today. Soundwise, the guitar is a good-natured, first-class dreadnought: lots of bass through the volume, lots of briliance through the solid spruce top and nice straight mids through the mahogany. It is clean fretted, has a low action, responds quickly and lasts to this day.

